vSphere Lab-in-a-Box 09: vCenter Server Configuration
This post will describe the initial configuration of the vCenter Server, which will be used to manage the virtual ESXi servers.
Connecting and Adding Hosts
On the vCenter server, open the vSphere Client. Enter the FQDN of your vCenter server, and tick Use Windows session credentials, before clicking Login.

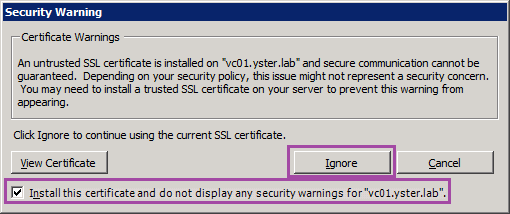
When the Security Warning pops up, tick Install this certificate and then Ignore.
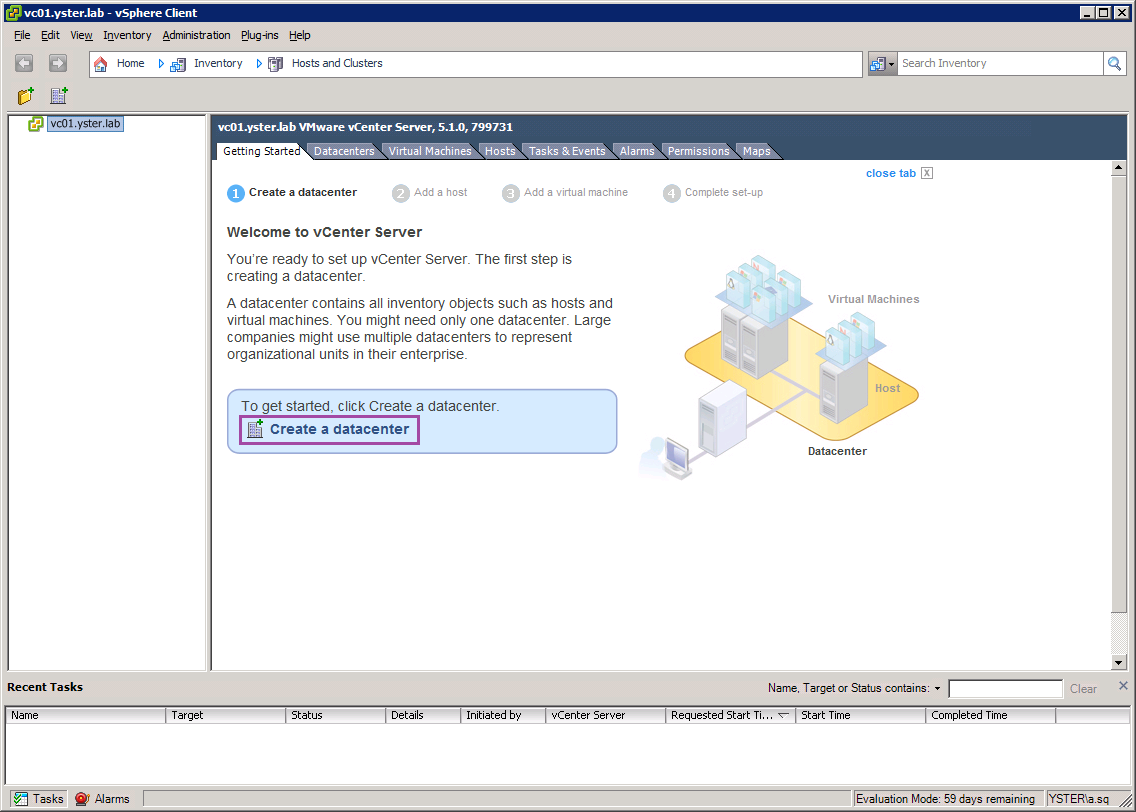
After it logs in, you will be presented with the familiar vSphere Client start page. Click Create a datacenter to start.
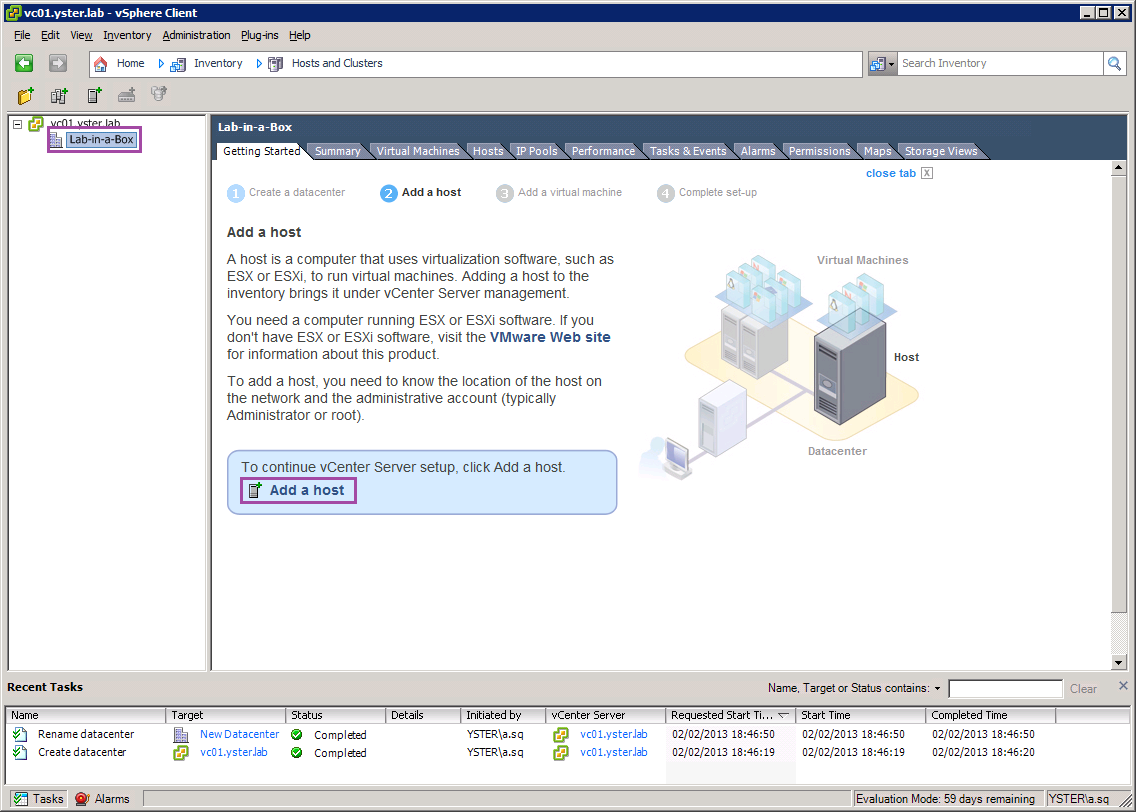
Give your datacenter a name, then click on the datacenter and choose Add a Host.
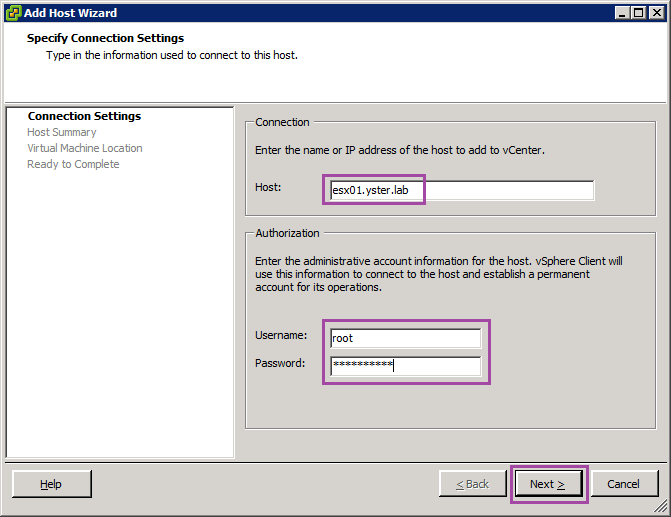
Type in the FQDN of your first virtual ESXi server, together with root as the username and the root password for the server. Click Next to continue.
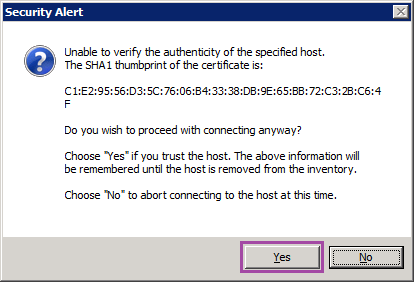
Another Security Alert will pop up, click Yes.
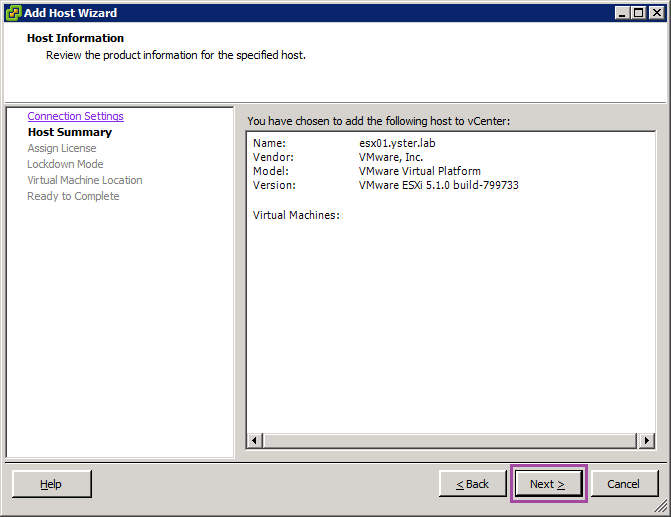
A summary screen will be shown, click Next.
We will use the server in Evaluation Mode, so click Next.

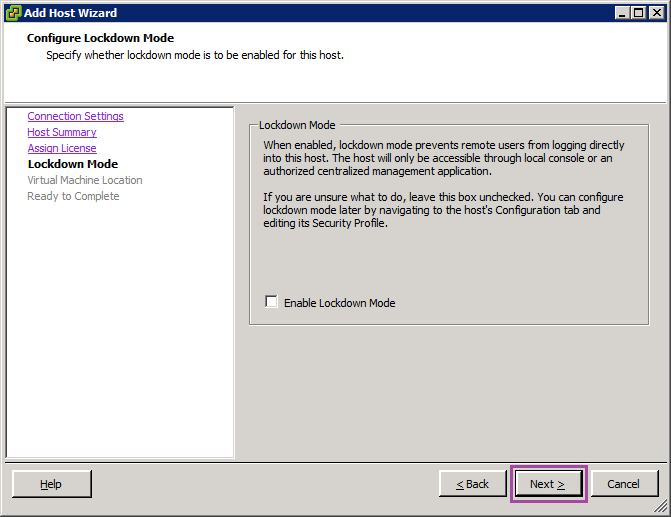
It’s not necessary to configure Lockdown Mode in a lab, so click Next.
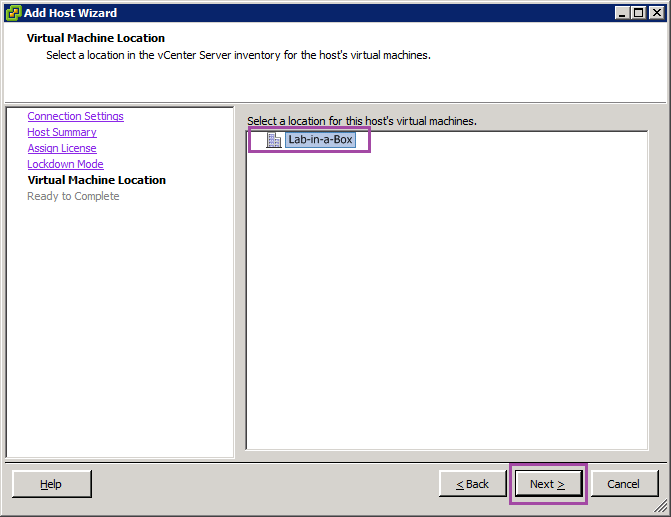
Select your datacenter and then Next.
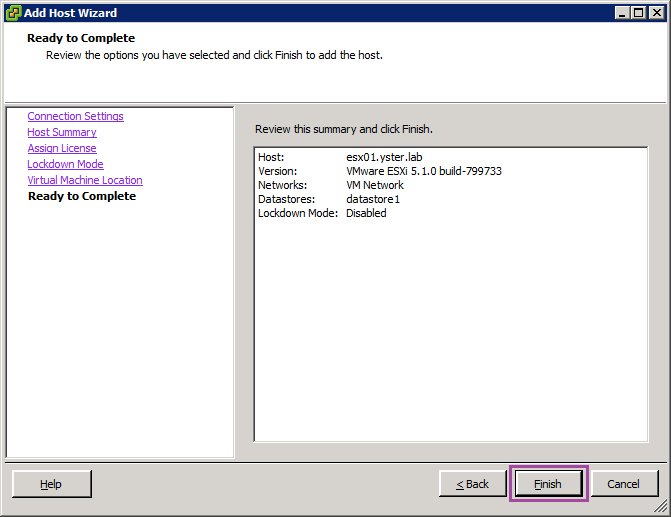
Click Finish to complete.
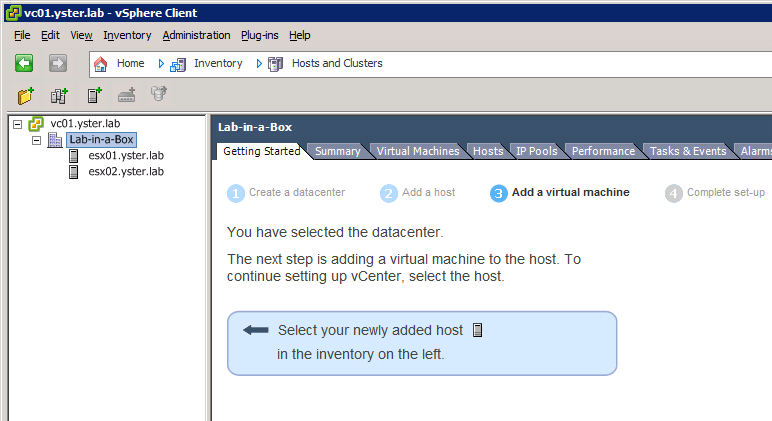
Once the first virtual ESXi server has been added, right-click your datacenter, choose Add Host again and follow the same procedure to add your second virtual ESXi server.
After this has completed, you will be left with something similar to the following:
Local Storage
The first customisation task I perform is to change the name of the local datastore on each virtual ESXi server, to more easily tell them apart.
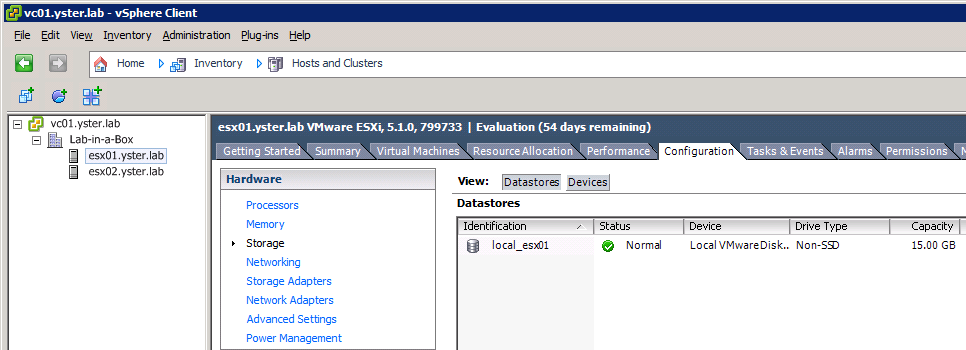
Click your first virtual ESXi server in the left-hand list, then go to the Configuration tab and Storage.

In the right-hand pane will be the local storage volume. Right-click on it and choose Rename. Give it an appropriate name. I name all the local storage devices “local_<servername>”. All shared storage devices are named “shared_<type>”, but we will configure those in a future post.
Perform the same steps to rename the local storage on the second virtual ESXi server.

Networking
Next we need to configure the 3 networks that our virtual ESXi servers are connected to (Management and vMotion, Virtual Machines and Storage).
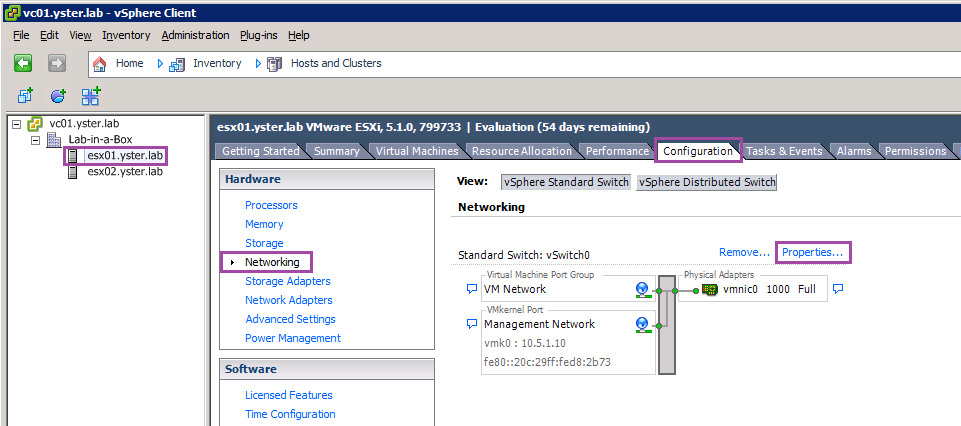
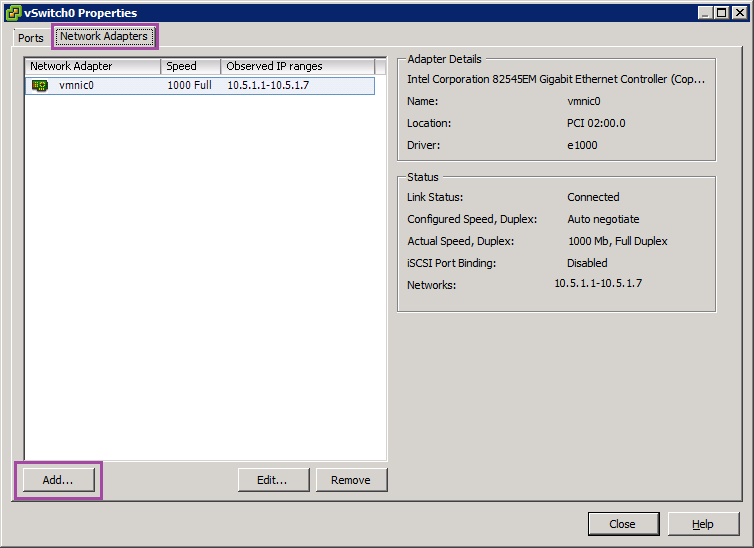
Select your first virtual ESXi server and go to the Configuration tab – Networking. Click the Properties… link next to vSwitch0.
Click on the Network Adapters tab, then the Add… button.
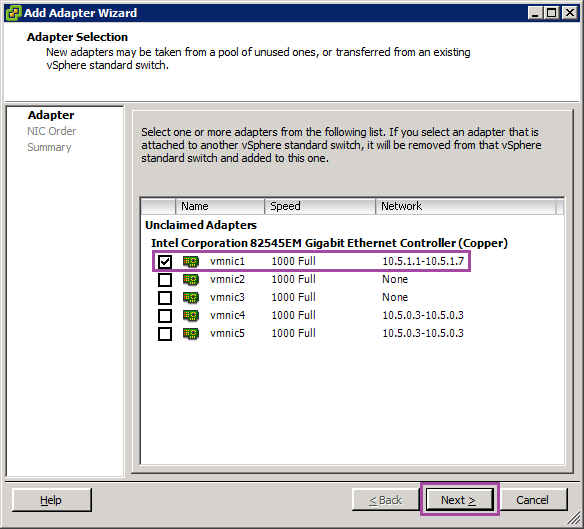
The Adapter Selection window will show that vmnic1 is also connected to the Management and vMotion network, so tick vmnic1 and click Next.
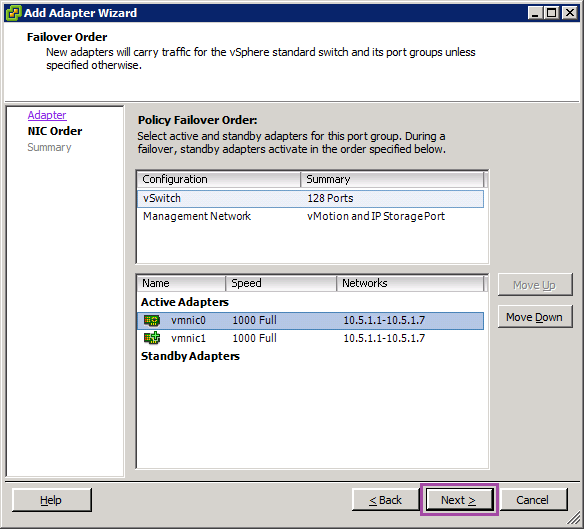
Leave the NIC order as is and click Next.
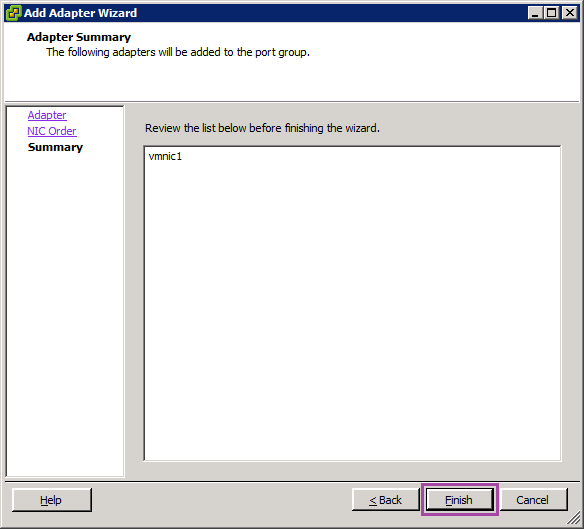
Click Finish to complete.
Once the adapter has been added, click the Ports tab, select Managment Network and then the Edit… button.
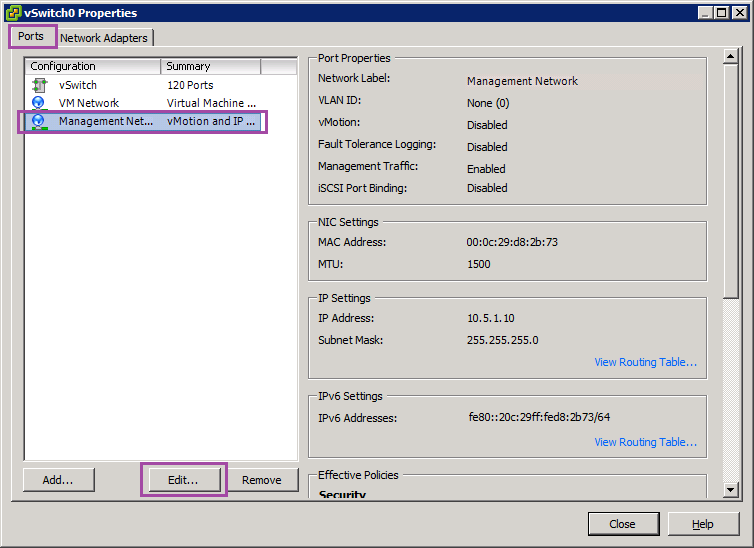
On the General tab, change the Network Label to Management_vMotion and tick vMotion. Click OK to finish.

Click Close to finish the configuration of vSwitch0. Your setup will look like this:

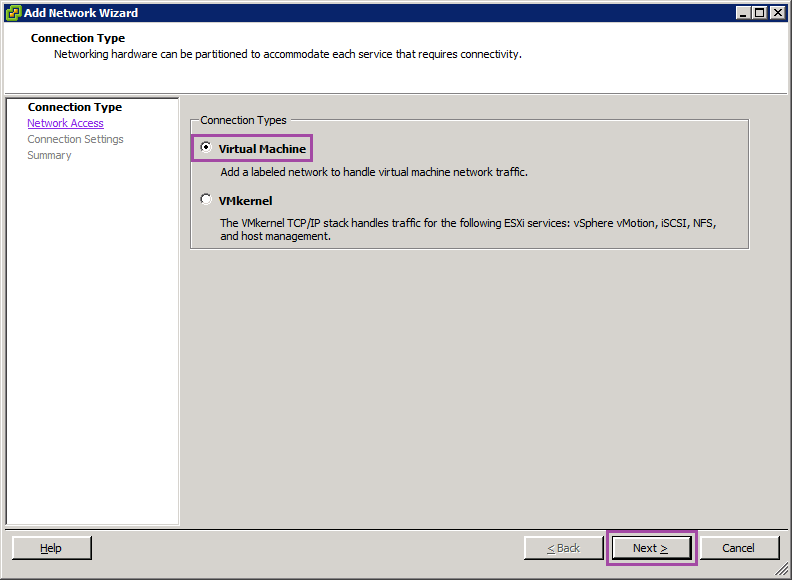
Next, click Add Networking… in the top right.
Choose Virtual Machine and click Next.
Untick vmnic2 and tick vmnic4 and vmnic5, both of which show they are connected to the Virtual Machines network (10.5.0.0). Click Next.
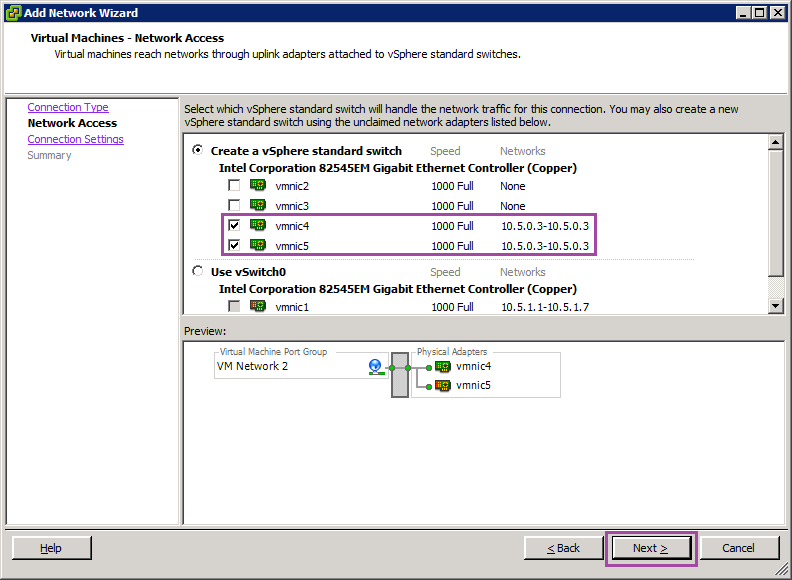
Change the Network Label to Virtual_Machines and click Next.

Click Finish to complete.
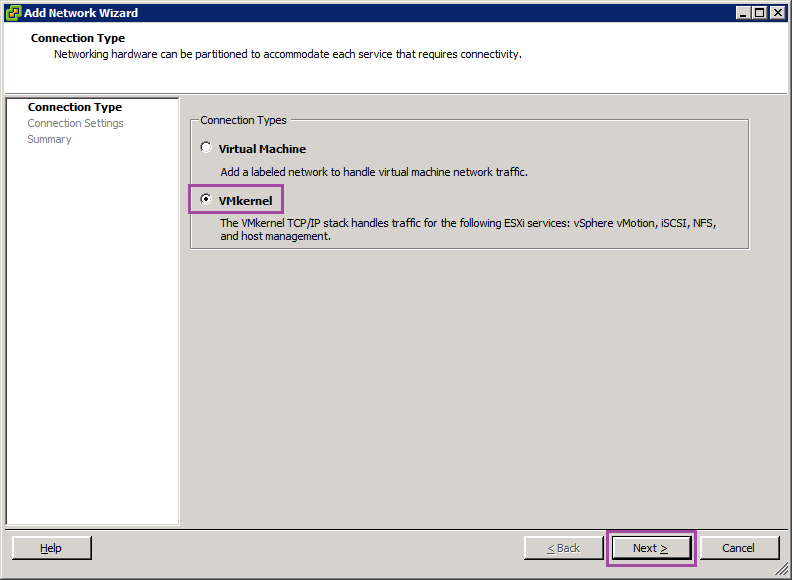
Lastly, we’ll set up the vSwitch for Storage. Click Add Networking… again.
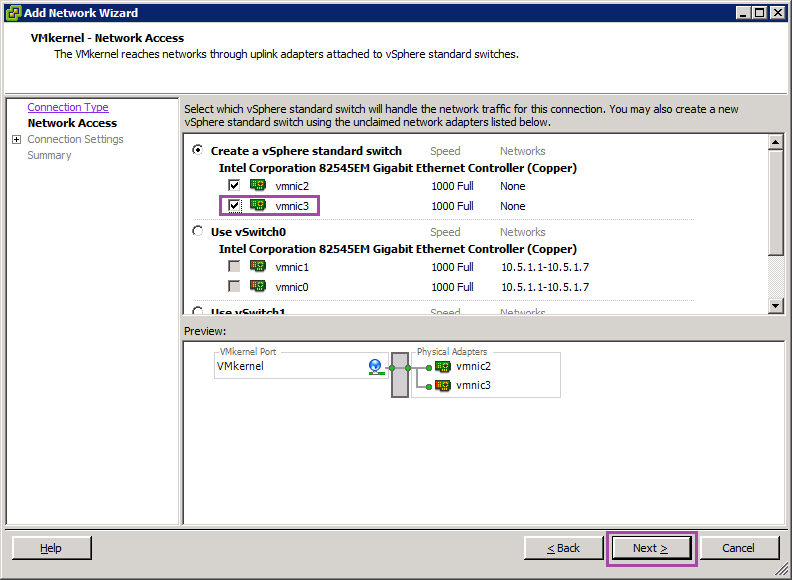
Select VMkernel and click Next.
Tick vmnic3 and click Next.
Change the Network Label to Storage and click Next.

Assign an IP address. I use 10.5.2.0 as my network for iSCSI and NFS, so 10.5.2.10 is assigned to the Storage network.

Click Finish to complete and click No on the default gateway warning.
When vSwitch2 has been saved, go back to the Properties… of vSwitch0 and remove VM Network.

Edit… the Management_vMotion network. Click the IP Settings tab and select No IPv6 Settings.

When you are done, your network configuration will look like this:

Now perform the same steps with the second virtual ESXi host. Use the IP address 10.5.x.15 where relevant.
Once complete, you will be left with the following setup:

That completes the bulk of the configuration of the vCenter server and virtual ESXi hosts. In the next post, we will set up the OpenFiler NAS device.
Lab-in-a-Box Series: 01 Introduction 02 ESXi Installation on Physical Hardware 03 Installation of vSphere Client 04 Lab Host Configuration 05 Domain Controller Setup 06 Domain and Related Services 07 Configuration of Virtual ESXi Servers 08 vCenter Server Setup 09 vCenter Server Configuration 10 Set up OpenFiler NAS 11 Set up iSCSI 12 Set up NFS 13 Set up Secondary Domain Controller 14 vMotion Tests
Leave a Reply