vSphere Lab-in-a-Box 06: Set Up Domain and Related Services
In this post, we will configure our server to host an Active Directory domain, and set up some related services.
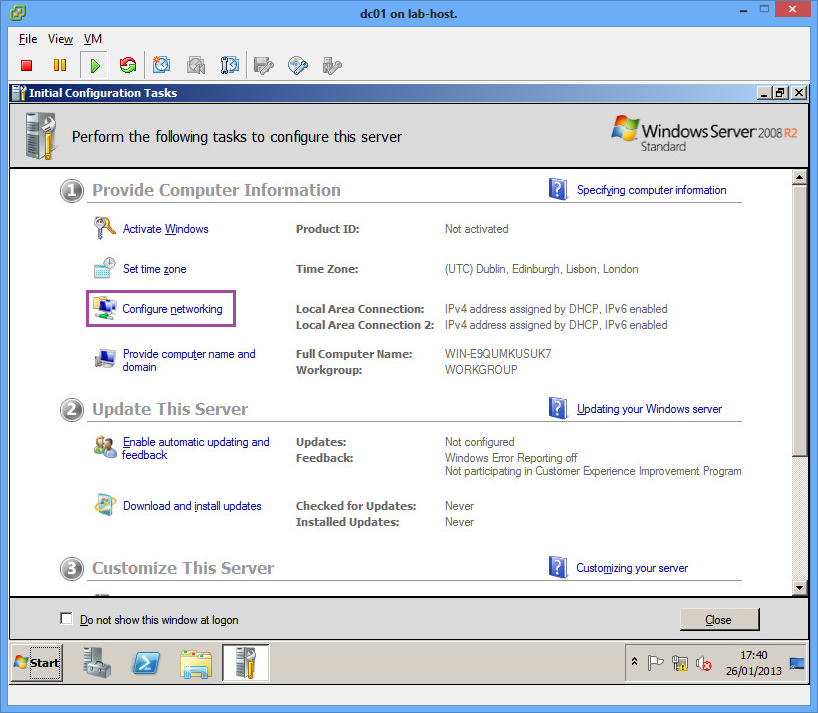
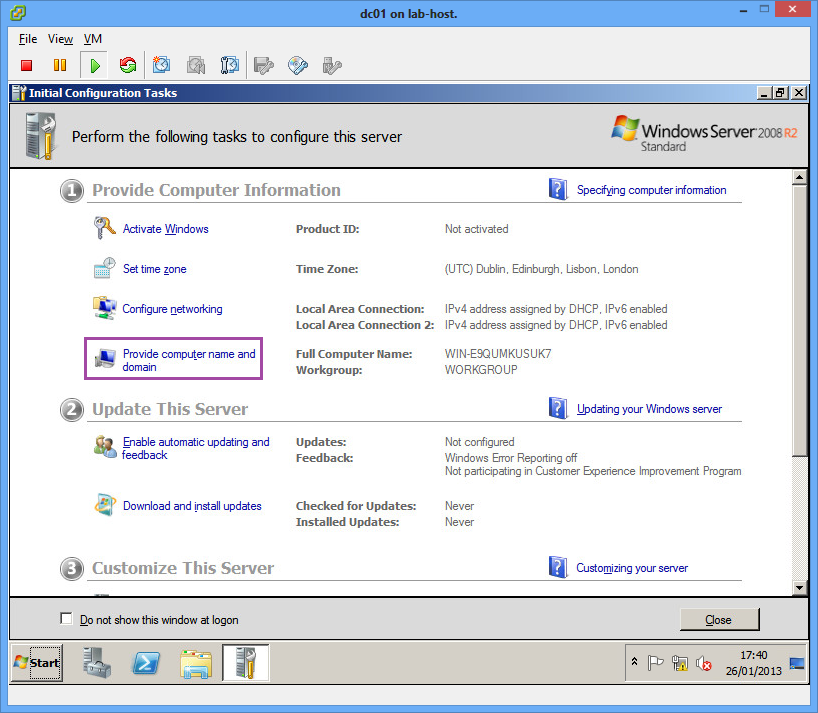
After you set up Windows 2008 on your server, it will log in automatically and open the Initial Configuration Tasks window.
Configure Networking
First off, we’ll configure the network, so click on Configure networking.
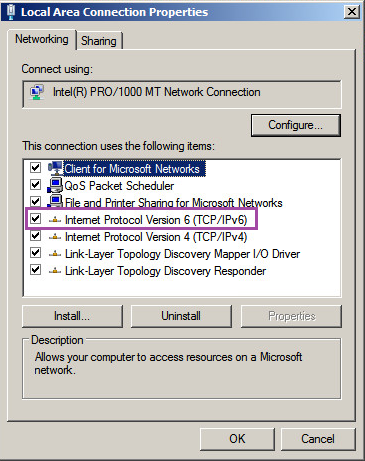
You’ll be presented with two Local Area Connections, as we configured two network cards on the virtual machine. Right-click on the first one and choose Properties.
Untick the IPv6 binding, as we are not using IPv6 on the lab network, and not setting it to a static address can generate extra warning messages during later setup.
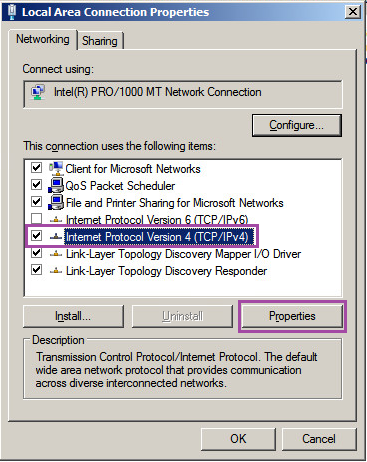
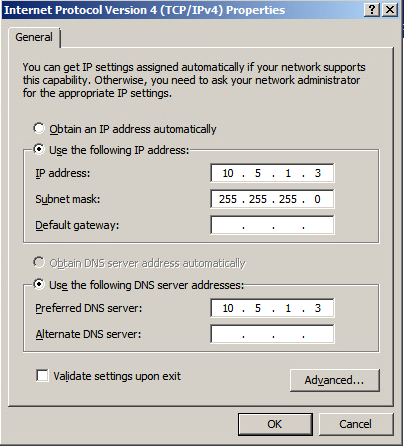
Click on IPv4 and then Properties.
Give the server a static address and use the same address as the Preferred DNS server. In my home lab, 10.5.0.0 is the Virtual Machines network. I’ve given it a gateway address as well, since I intend to set up a firewall and router VM on that address later.
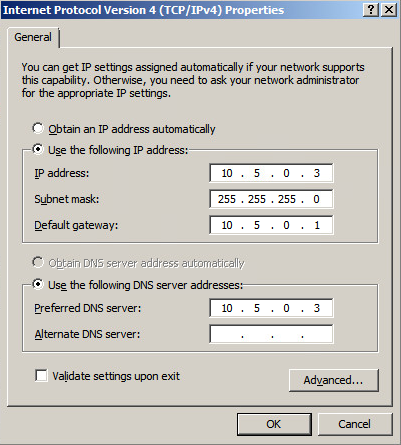
Click OK and then Close to save the network details. Go to the Properties of Local Area Connection 2 and perform the same steps, but give it an address on the 10.5.1.0 network. Don’t give this network card a gateway though.
Save this configuration and then close the Network Connections window.
Configure Host Name
Back in the Initial Configuration Tasks window, click Provide computer name and domain.
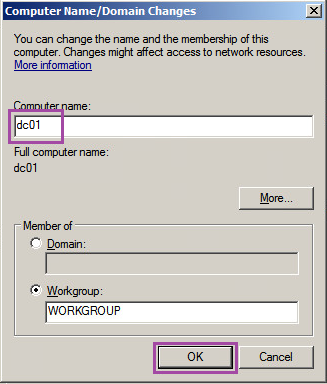
Click Change….

Give the server a Name and click OK.
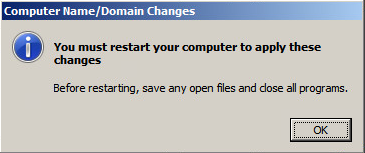
You’ll be presented with a warning saying that the computer needs a restart. Click OK.
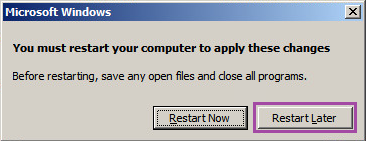
Click Close and then when prompted to restart your computer, choose Restart Later. We will set up the VMware Tools next, which also require a reboot, so we’ll reboot when that installation is complete instead.
Install VMware Tools
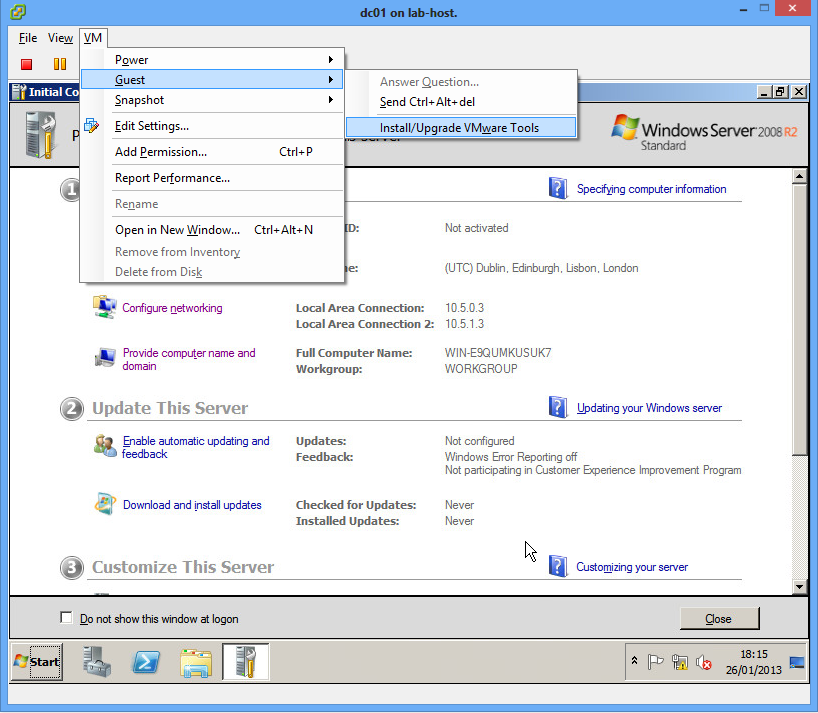
On the VMware Console window, choose VM – Guest – Install/Upgrade VMware Tools.
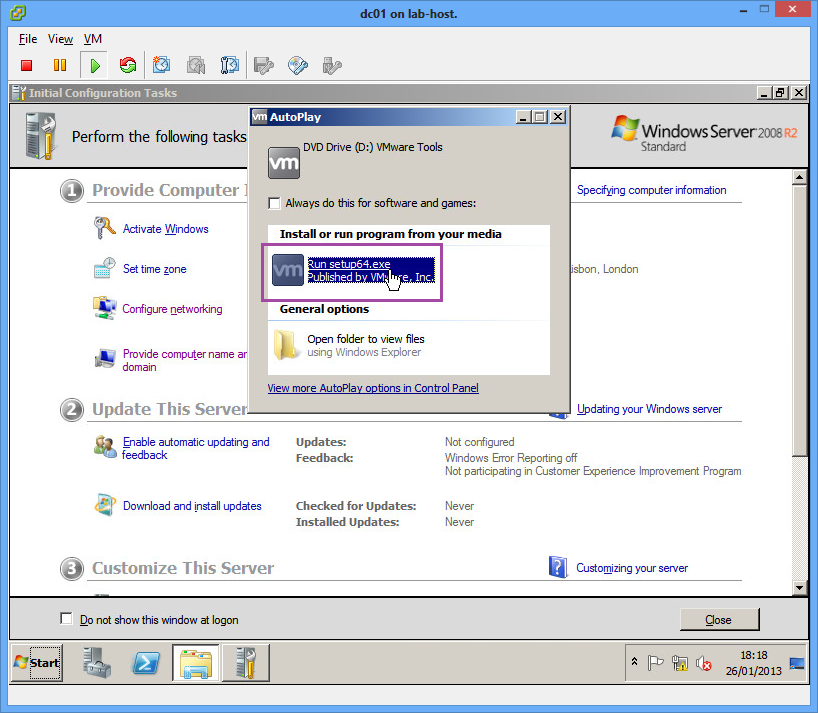
Click OK on the warning. After a few seconds, the AutoPlay window should pop up. Choose Run setup64.exe. If this window does not pop up, just browse to your DVD drive and run it.
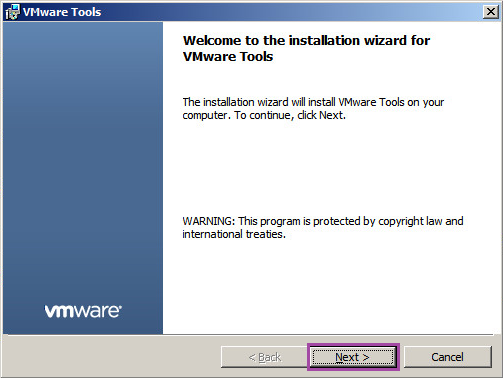
Click Next to start.
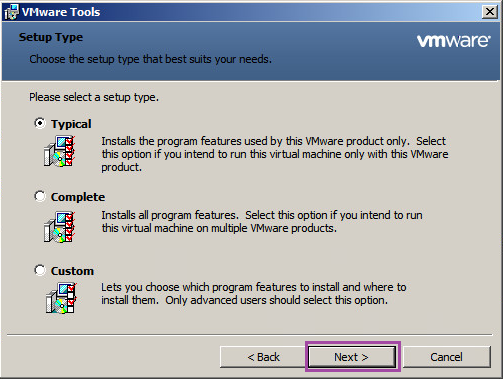
Leave the setup on Typical and click Next, then Install.
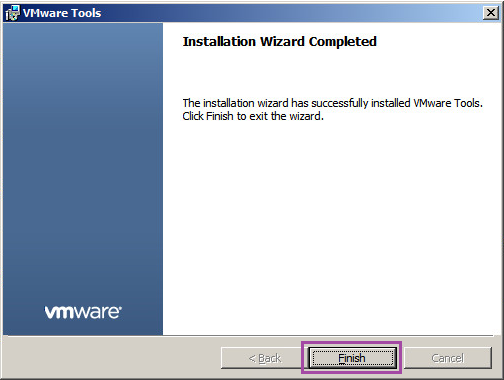
After the installation has completed, click Finish.
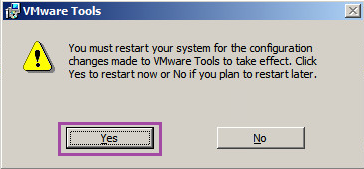
When prompted, click Yes to restart.
After the reboot, the mouse and keyboard should be far more responsive in the virtual console.
Set up the Domain
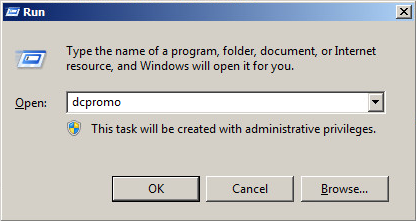
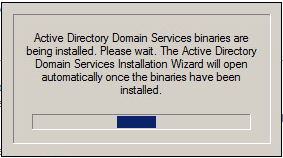
Click Start – Run and type in “dcpromo” and click OK.
The AD DS Role will be installed automatically.
You will be presented with the AD DS Installation Wizard. Click Next to start.

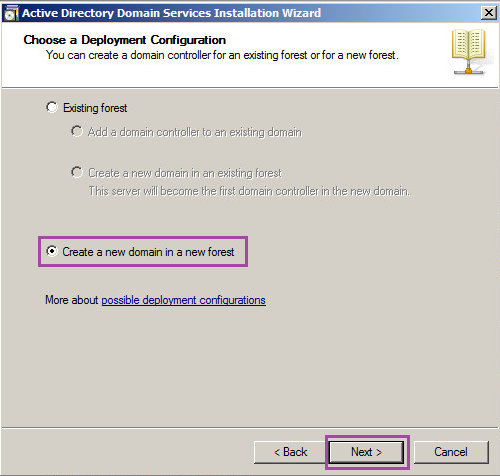
Click Next on the Operating System Compatibility screen, and then select Create a new domain in a new forest and Next.
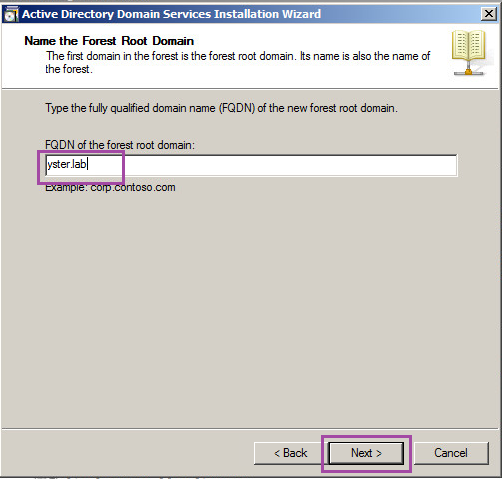
Enter the root domain name and click Next.
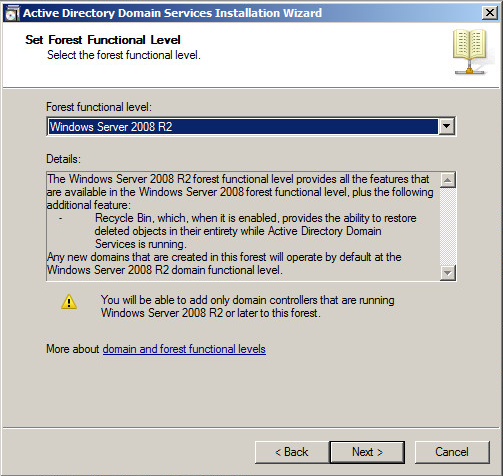
On the Forest Functional Level, select any of the options. For the purposes of this lab, the Forest Functional Level will make no difference.
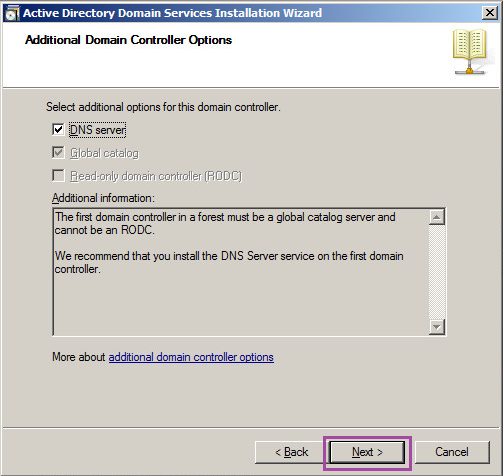
Leave the DNS server ticked and click Next.
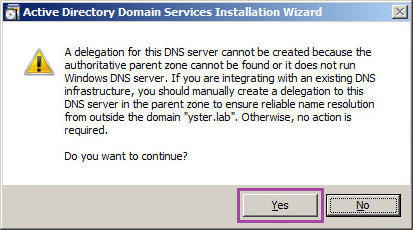
The delegation warning is perfectly normal, since we have no existing DNS servers. Click Yes to continue.
Leave the folder locations on the defaults and click Next.

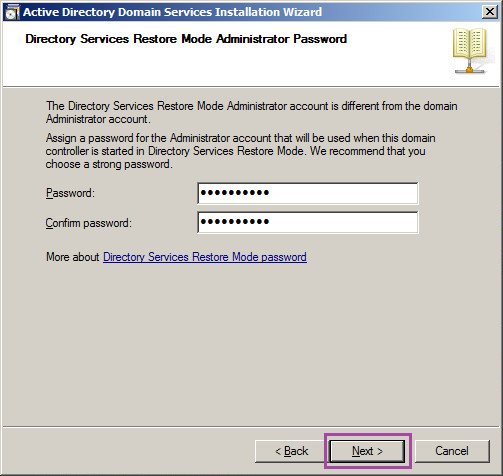
Enter an AD DS Restore Mode password and click Next.
At the Summary, click Next to start the installation. While the installation is in progress, click the Reboot on completion box and wait for the server to restart.

Set up DHCP Server
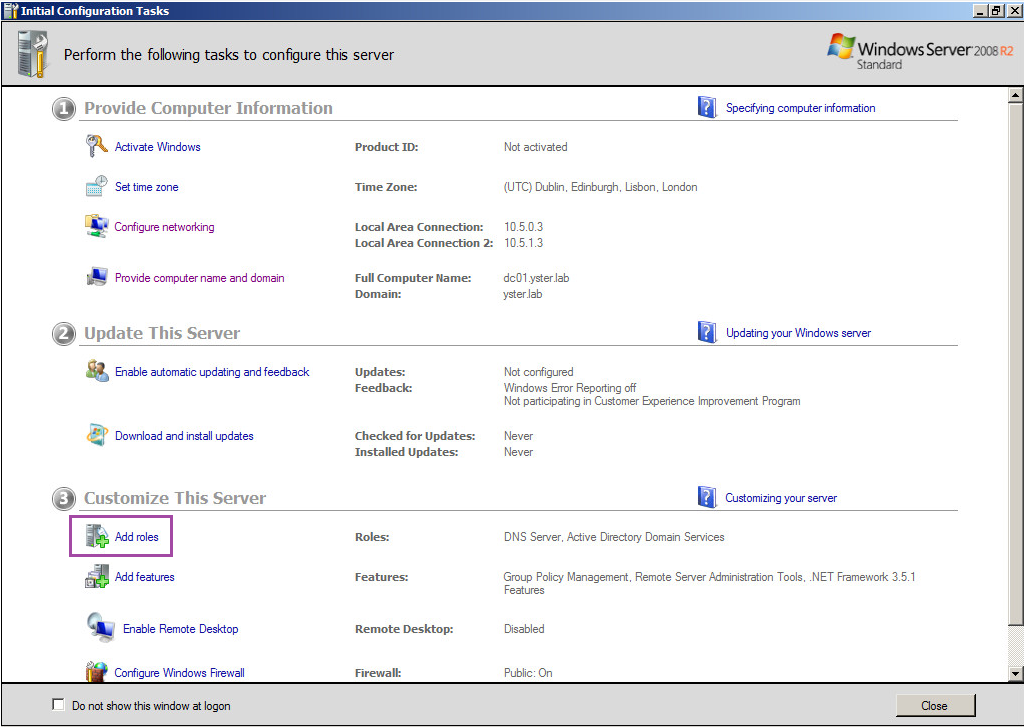
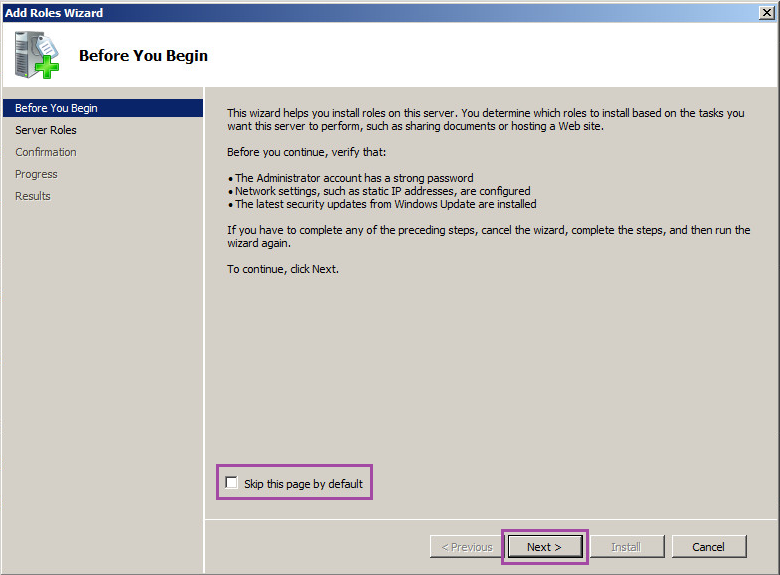
After logging back in, choose Add roles from the Initial Configuration Tasks.
Tick Skip this page by default, then Next.
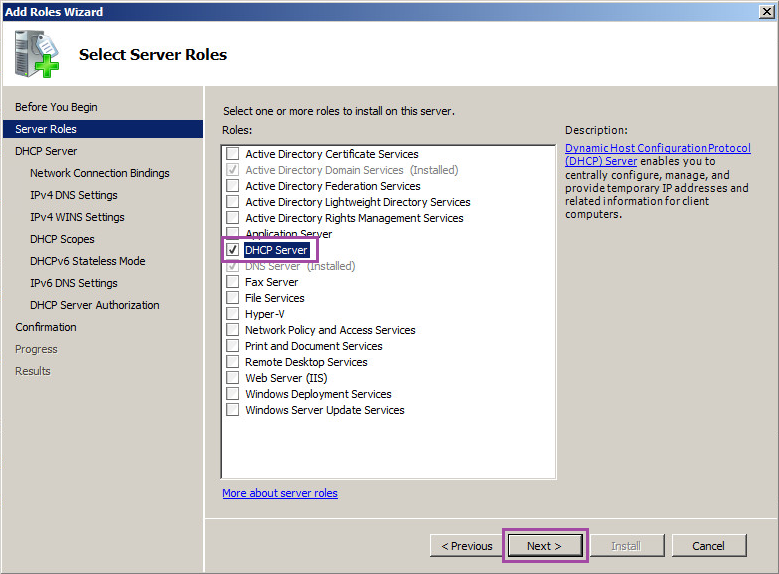
Tick DHCP Server and Next.
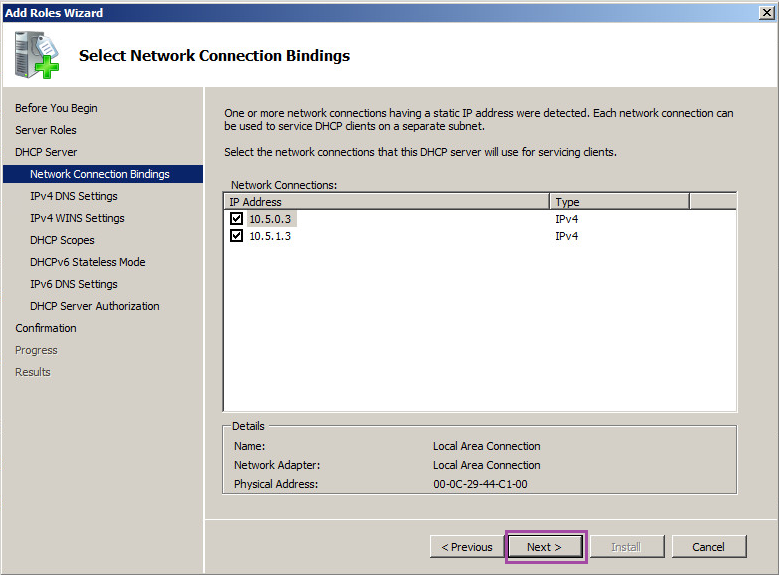
Click Next at the Introduction, and then you will see a list of your network connections. I want to run DHCP services on both networks, so I leave them both ticked and click Next.
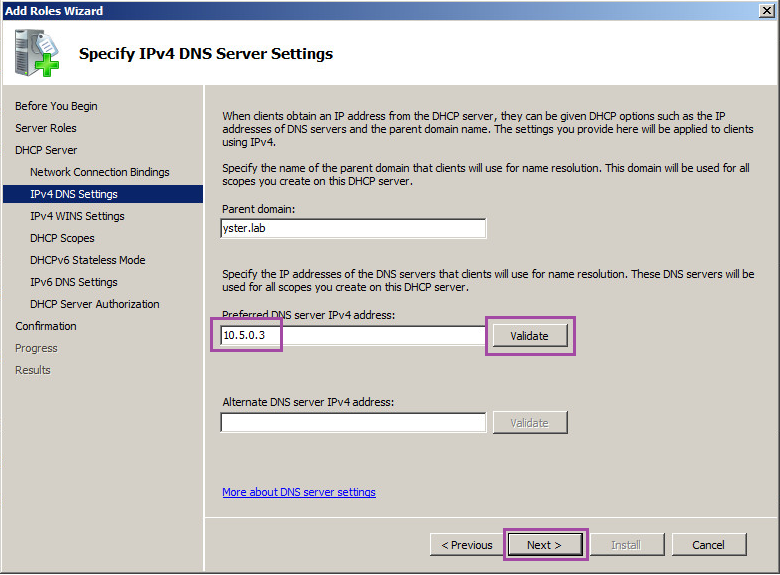
Change the Preferred DNS server address to the IP address of your domain controller and click Validate. Then click Next.
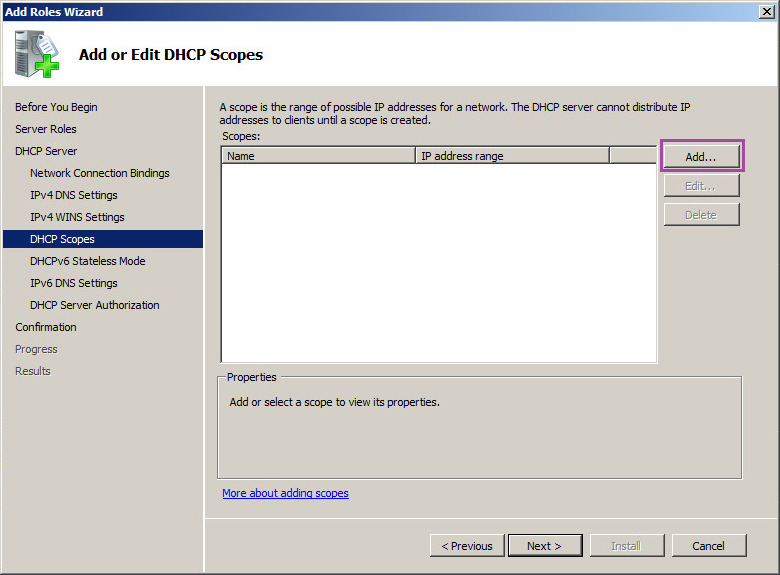
Leave the WINS setting on the default and click Next. On the DHCP Scopes page, click Add…
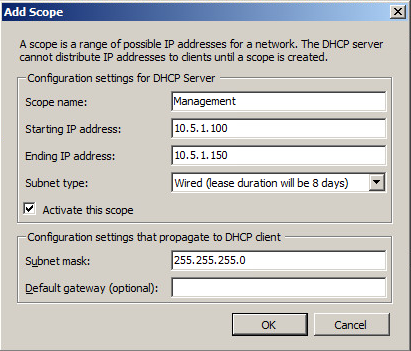
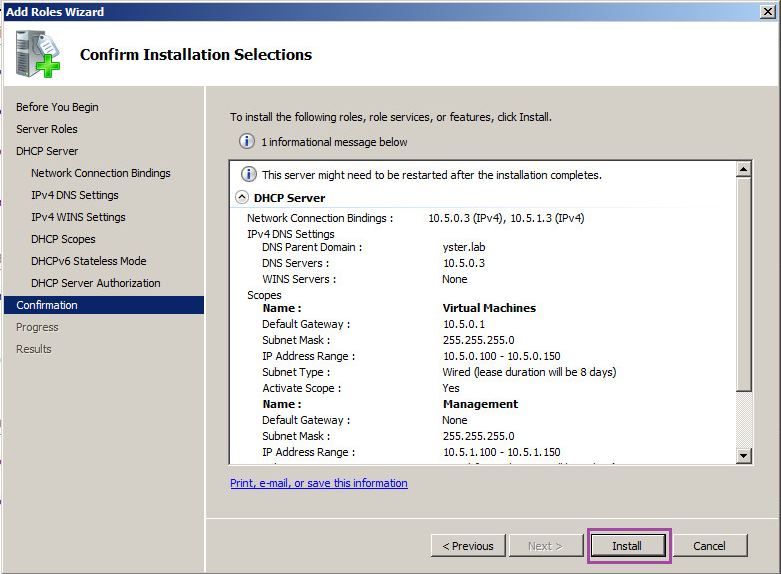
Add a scope for the Virtual Machines network with the following details. Click OK to save.

Click Add… and define another scope for the Management network as below. Click OK to save.
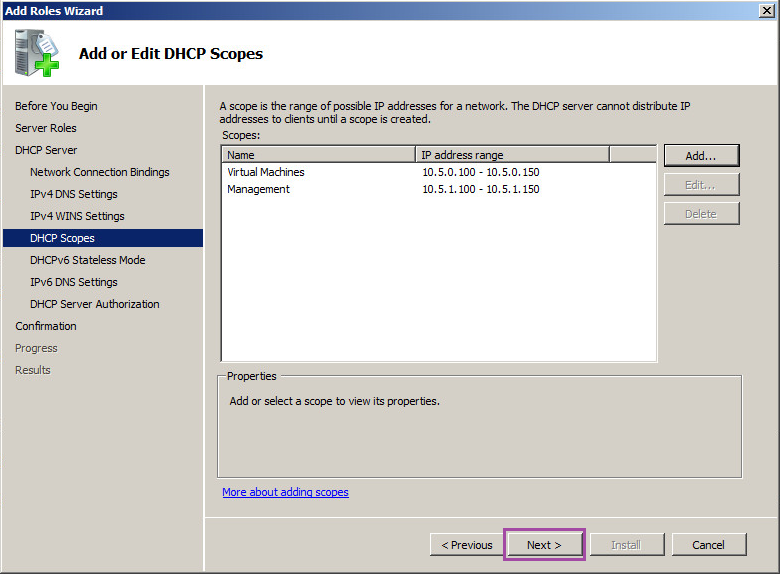
After configuring both scopes, click Next.
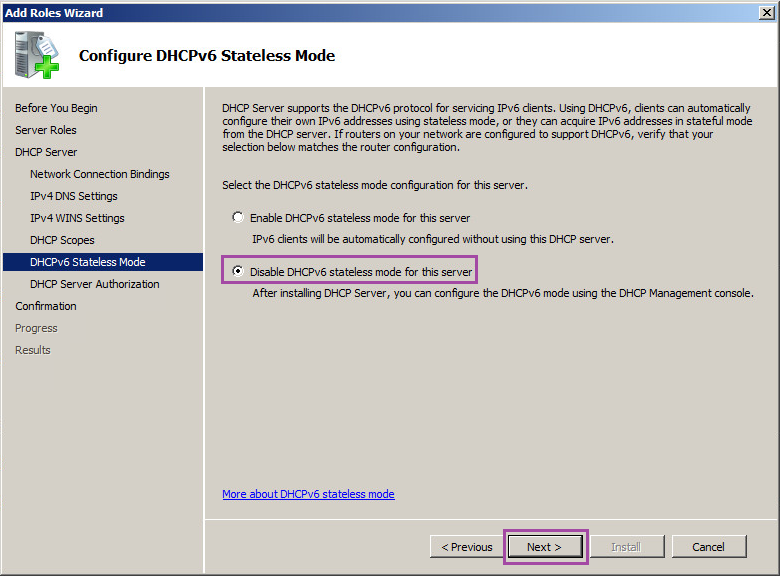
As I don’t intend to use IPv6 on my home network yet, choose Disable DHCPv6 stateless mode for this server and click Next.
Leave the credentials on current and click Next.

At the Summary screen, click Install.
DNS Configuration
The last remaining task is to set up the reverse lookup zones in DNS.
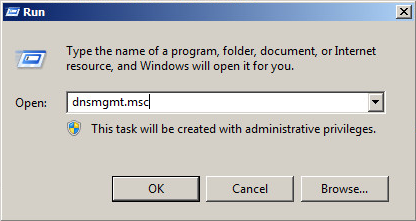
Click Start – Run and type “dnsmgmt.msc” before clicking OK.
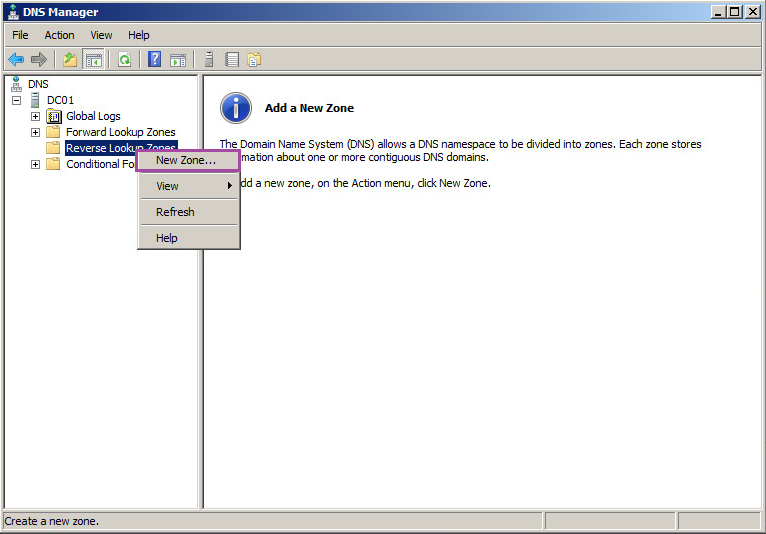
Under your server name, right-click on Reverse Lookup Zones and choose New Zone…
Click Next, then leave it on Primary Zone and click Next again.

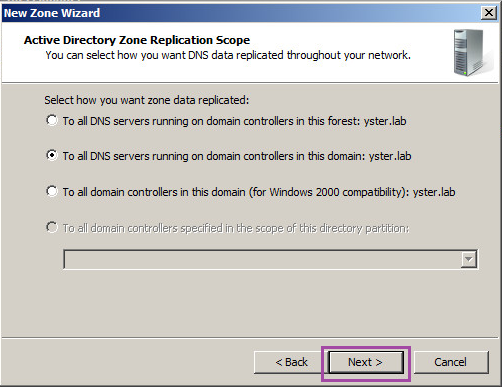
Leave the replication settings as is and click Next.
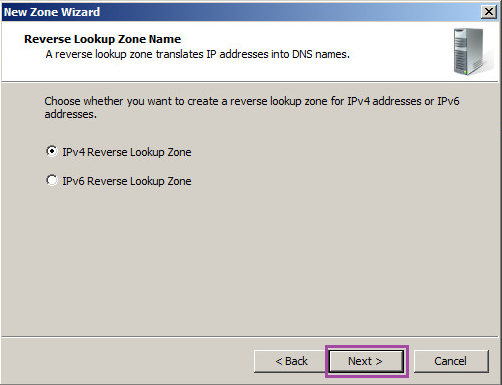
We’re creating an IPv4 Reverse Lookup Zone, so leave it on that and click Next.
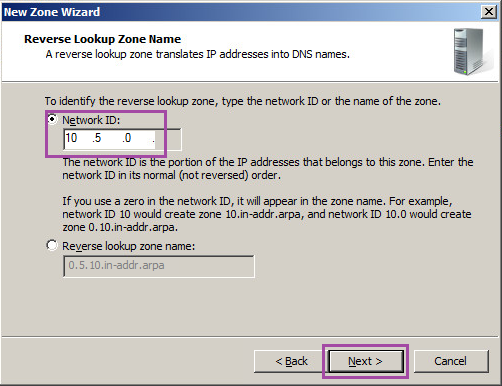
Enter the Network ID of 10.5.0 and then Next.
Enter Next and then Finish to complete the setup of the reverse lookup zone.
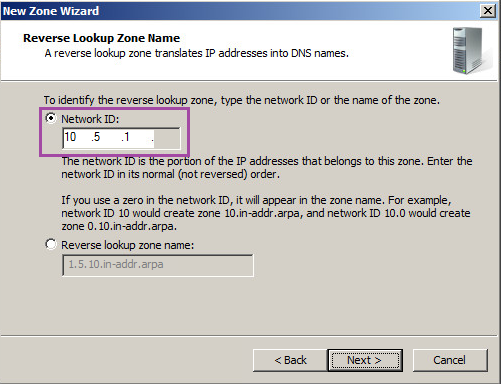
Now perform the same steps, but for the 10.5.1 network.
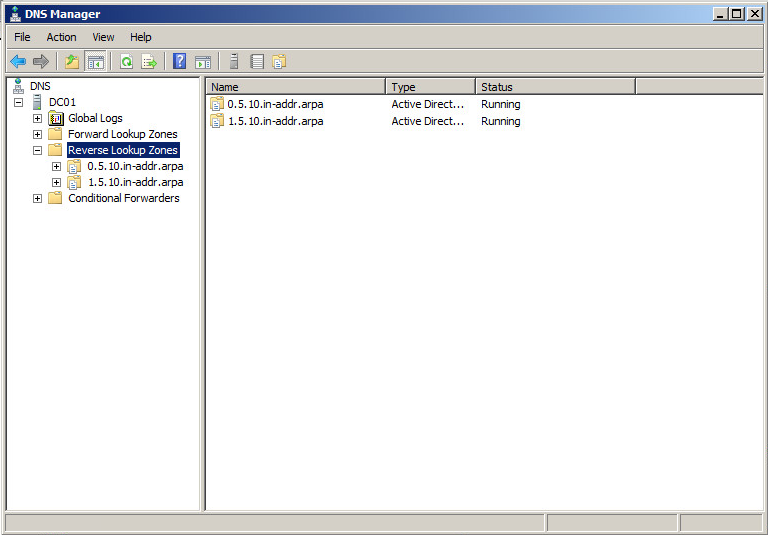
After completing these steps, you will have reverse lookup zones for both your subnets.
The setup of the domain controller is now complete. Next we will set up the virtual machines to use for our virtualised ESXi servers.
Lab-in-a-Box Series: 01 Introduction 02 ESXi Installation on Physical Hardware 03 Installation of vSphere Client 04 Lab Host Configuration 05 Domain Controller Setup 06 Domain and Related Services 07 Configuration of Virtual ESXi Servers 08 vCenter Server Setup 09 vCenter Server Configuration 10 Set up OpenFiler NAS 11 Set up iSCSI 12 Set up NFS 13 Set up Secondary Domain Controller 14 vMotion Tests
Leave a Reply