vSphere Lab-in-a-Box 08: vCenter Server Setup
In this post we will create and install our vCenter server, which we will use to manage our virtual ESXi servers.
Create the Virtual Machine
Firstly, we need to create a New Virtual Machine. The setup of this virtual machine closely matches the setup of the Domain Controller. Below are the areas it differs from the domain controller setup.
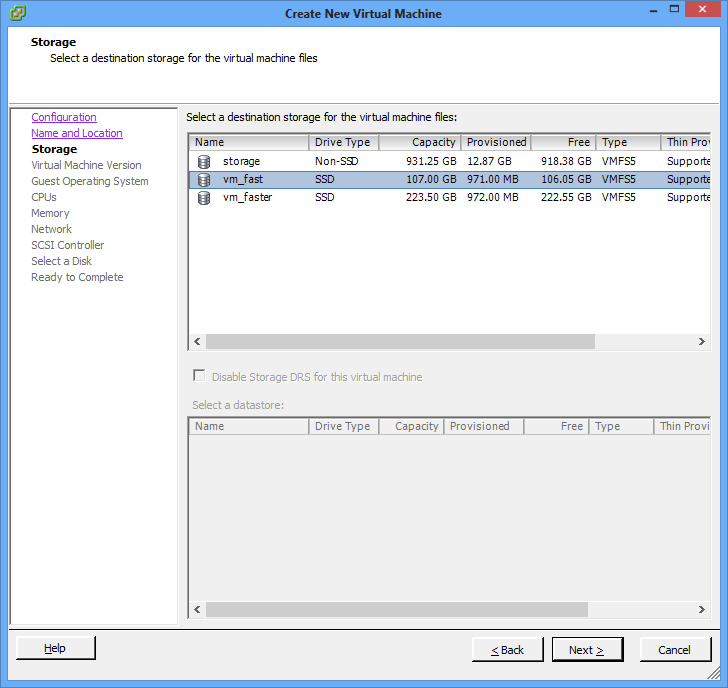
On my Lab Host, I chose to store the vCenter server virtual machine on the fast SSD storage. This server will be running a database, so a fast storage device will speed things up.
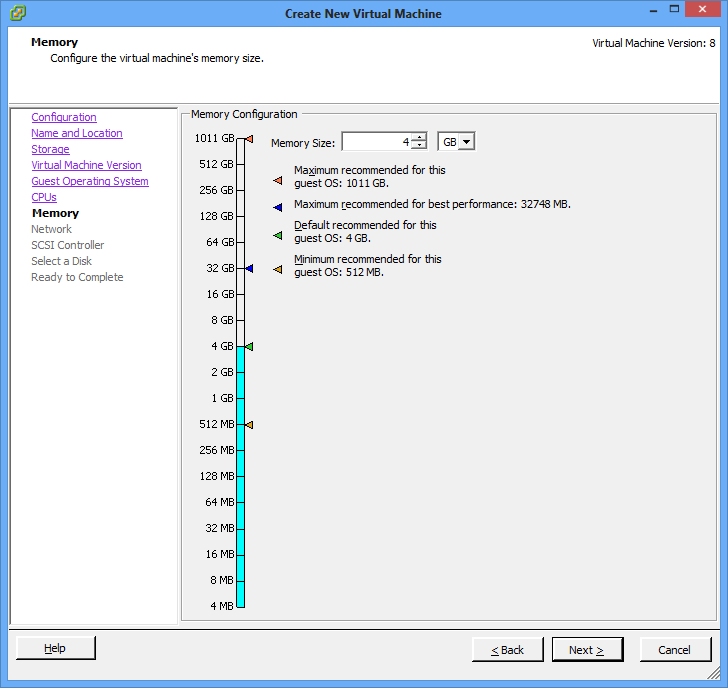
I left the memory allocation on the default of 4GB.
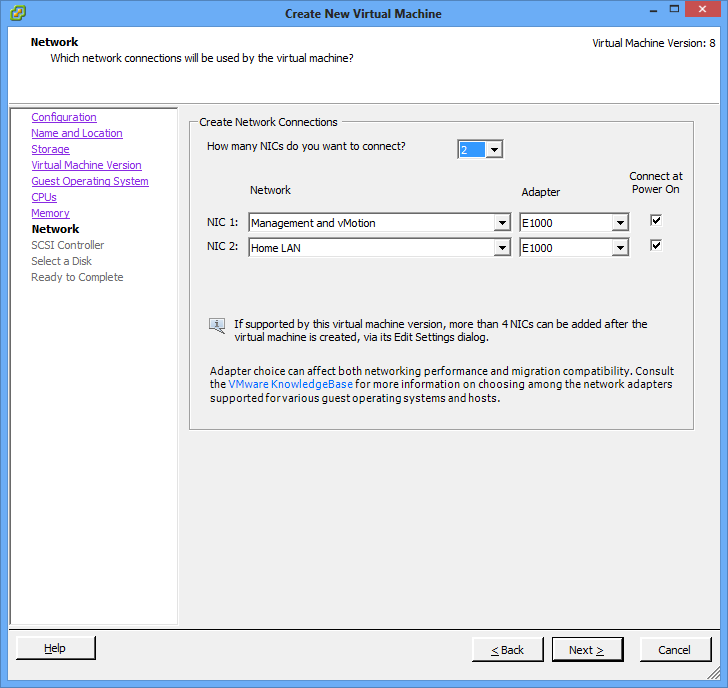
Regarding network cards, I set up 2 NICs, connecting one card to the Management network and the second card to my Home LAN. This is so that I can RDP directly into the vCenter server from my laptop. In my lab, I use the vCenter server as my main “entry point” from my home network, and from the vCenter server, I access the rest of the servers in my lab.
This is not something you would want to do in a production environment, but for the purposes of a lab it’s fine. I find the RDP connection far more responsive than opening a console and using that.
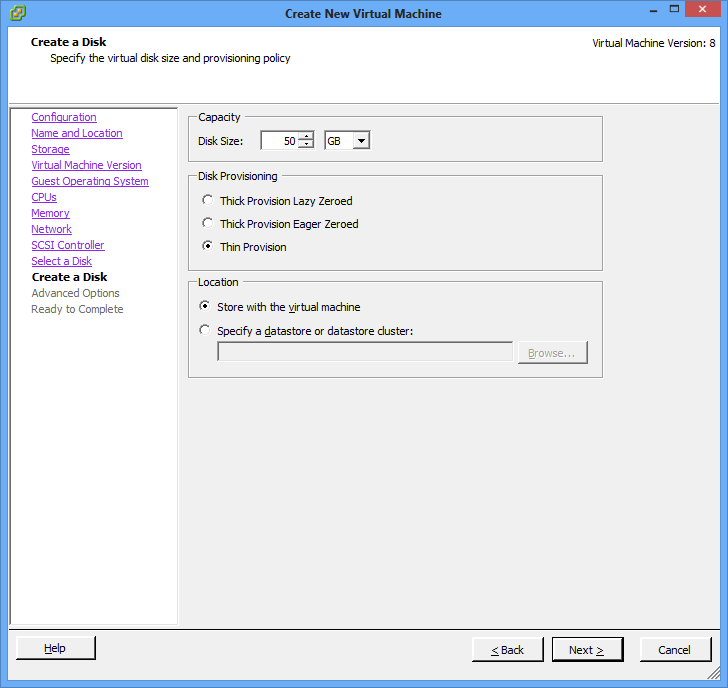
I give the server a 50GB Thin Provisioned disk. vCenter and it’s related components won’t take up that much space, but I like having a bit of extra room to play around with, without having to create a new virtual disk. And since it’s thin provisioned, I don’t waste any space.
The remaining configuration is all standard. I remove the floppy drive device and change the CD/DVD drive to point to the Windows 2008 ISO.
Install Windows 2008 exactly the same way as the domain controller. Once the setup has completed and you log in, you should find that your server has two DHCP IP addresses – 1 from your Domain Controller on the Management Network and one from your home network.
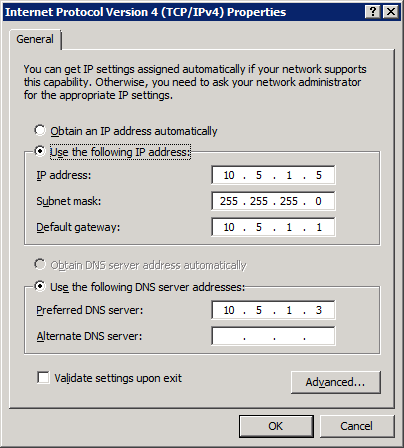
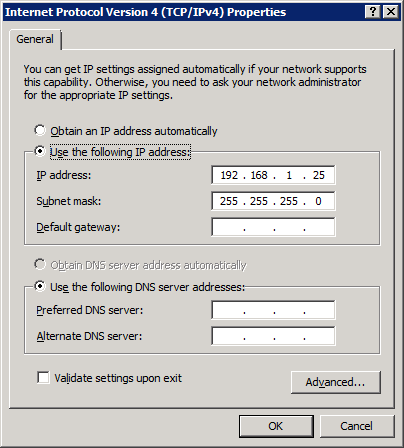
Set a static address on the Management network for your vCenter server, with the domain controller as the DNS server. Set your home network connection to a static IP address as well, but no DNS servers. This way there will be no “interference” from the home network. My configuration is below for reference:
Management Network
Home Network
Install the VMware Tools and change the name of your server. Then join it to the domain after a reboot.
Installation of vCenter
Upload the vCenter Server ISO to your ISOs folder on the Lab Host.
Edit the settings of the vCenter server and point the CD/DVD drive to the vCenter ISO. Tick the Connected box if needed.
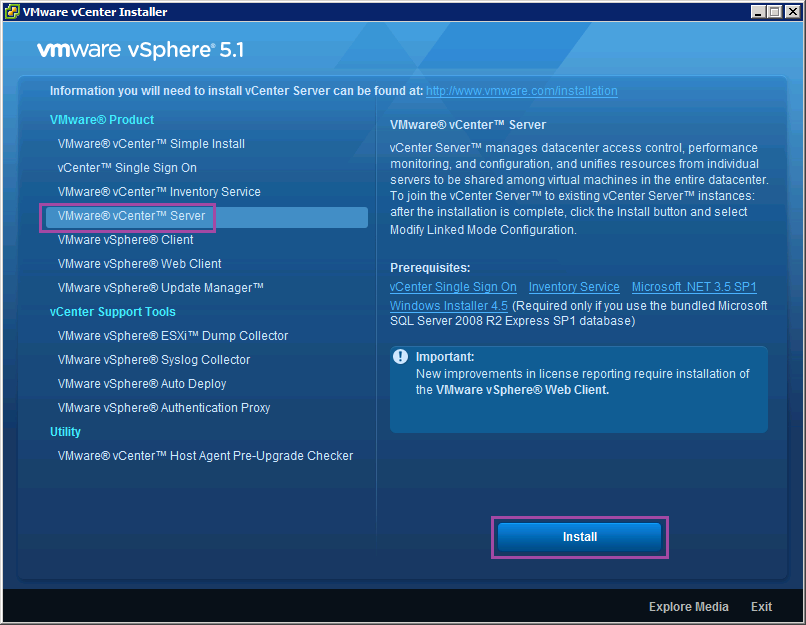
RDP to your vCenter server, or Open Console and open the DVD drive to start the VMware vCenter setup. You will be presented with a number of installation options.
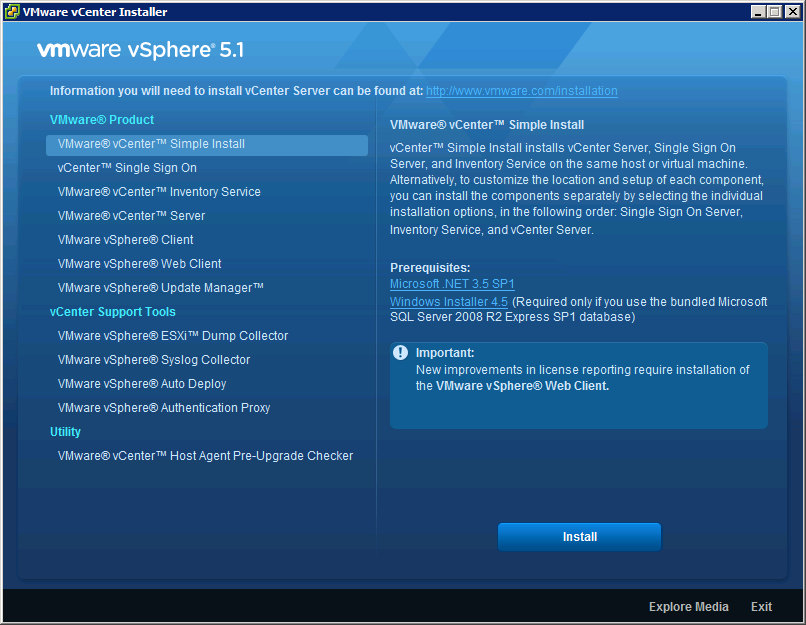
Right at the top is a Simple Install, which claims to install all the needed components in a single step. As usual, I prefer as much control as possible over the installation process and components, so I choose to install each part separately.
vCenter SSO
To start, click the vCenter Single Sign On link, then click Install. Choose your language and accept the End User License.
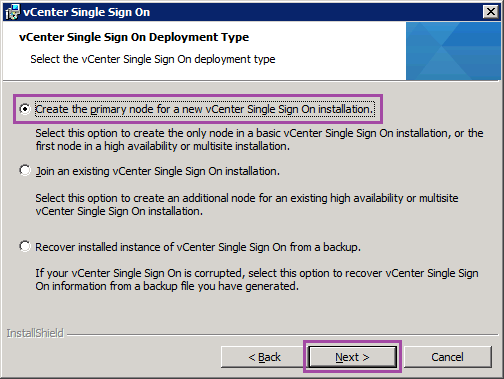
Since this is our first vCenter server, choose Create a primary node and click Next.
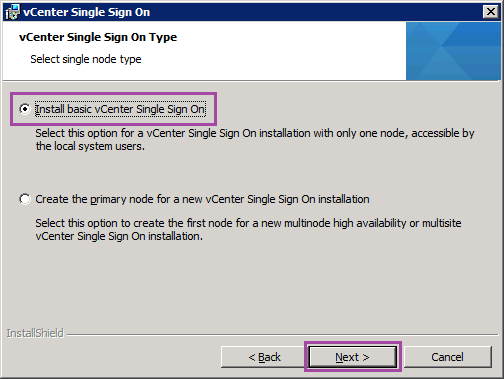
As we’re only installing this in a small lab, choose Install basic vCenter Single Sign On and Next.
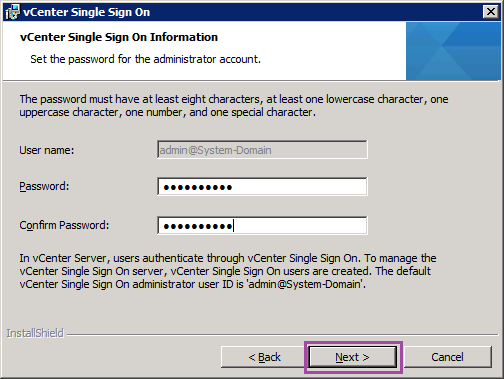
Enter an appropriate password for the Admin user. This password must have at least one of each of the following: uppercase character, lowercase character, number and special character.
Leave it on the default of Install a local Microsoft SQL Server and click Next.
In Fully Qualified Domain Name or IP Address, the FQDN of your server should already be entered. If not, enter the FQDN or IP address and click Next.

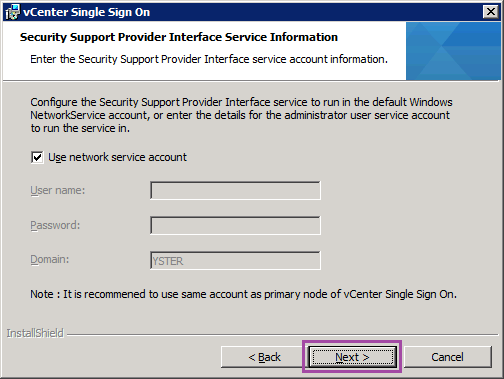
Leave Security Support Provider on the default and click Next.
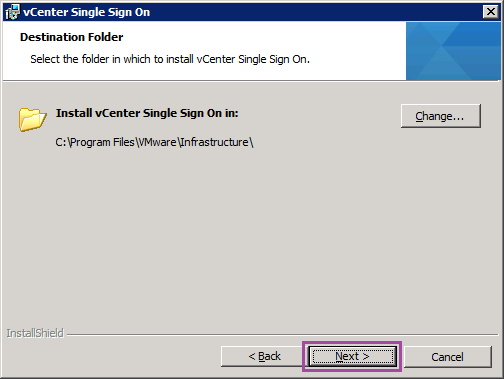
Install to the default location.
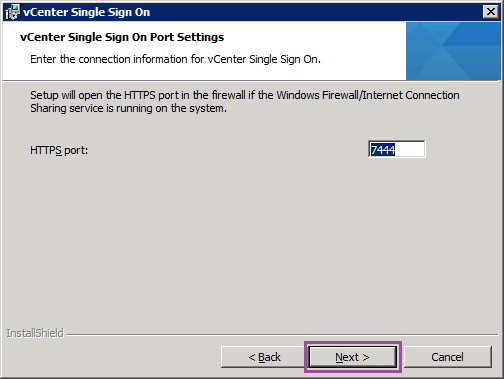
Leave the HTTPS port on default and click Next.
Finally click Install to complete. After a few mins, the installation will complete.
vCenter Inventory Service
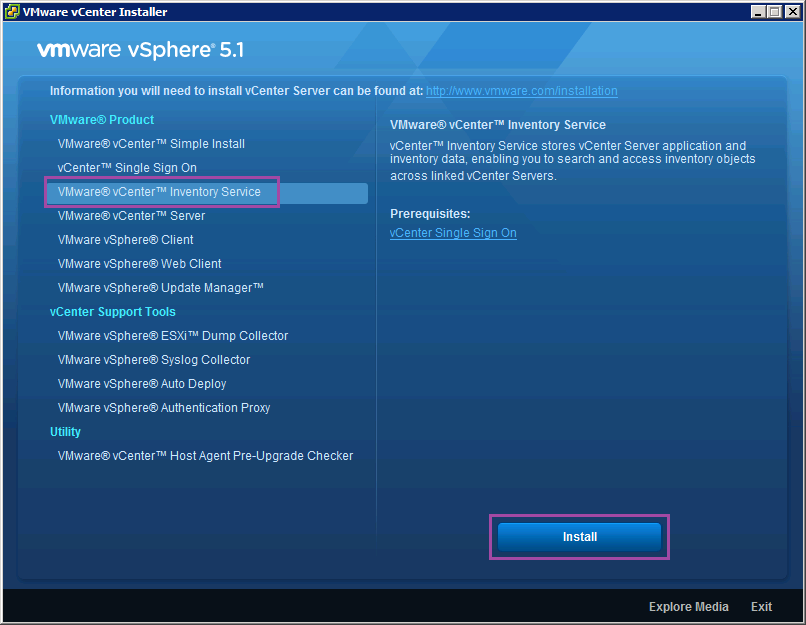
In the VMware vCenter Installer, click VMware vCenter Inventory Service and then Install.
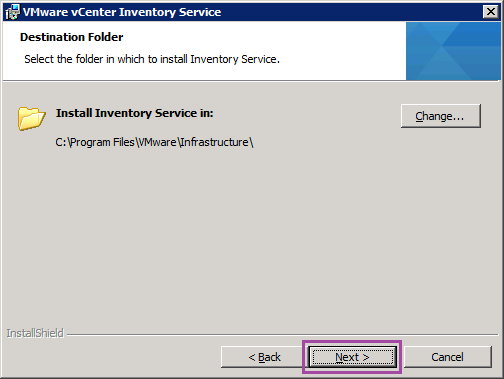
Choose your language and accept the license agreement. Install to the default location and click Next.
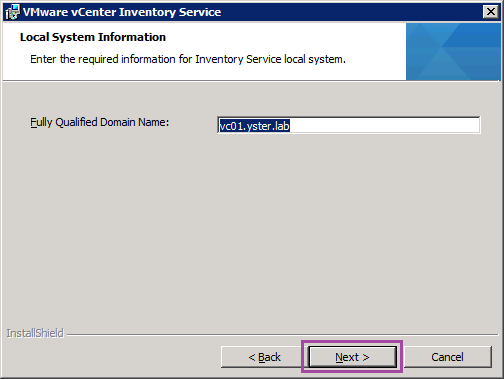
The FQDN of the server should already be populated. If not, enter it and click Next.
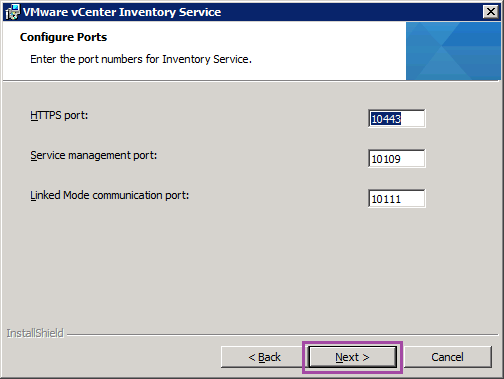
Leave the Port Configuration on default and click Next.
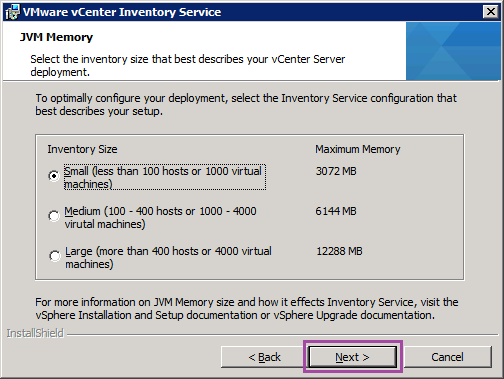
Our lab will never exceed 100 hosts, so choose the Small inventory size.
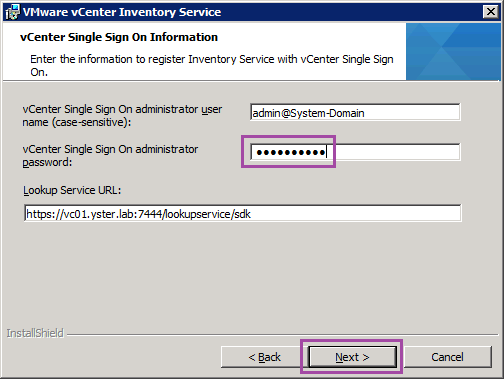
Enter the SSO Admin password. The other fields should already be populated. Click Next.
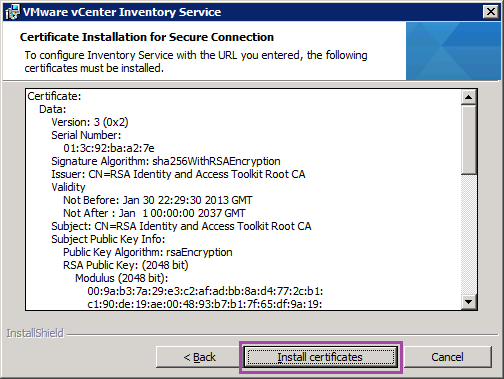
At the Certificate Installation screen, click Install Certificates.
Lastly, click Install to finish the installation.
vCenter Server
From the main VMware vCenter Installer screen, choose VMware vCenter Server and then Install.
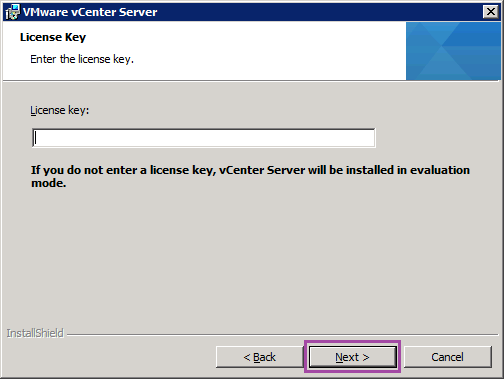
Choose your language and accept the terms of the license agreement. You will be prompted for an optional license key, so just click Next to install the evaluation version.
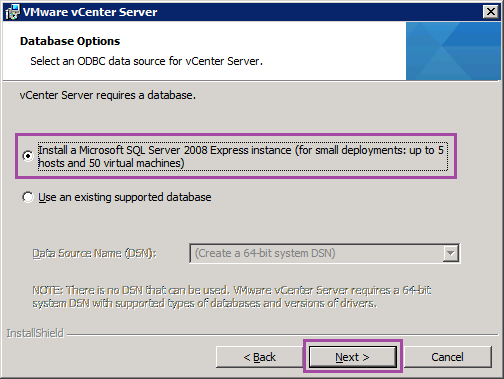
On the Database Options screen, choose Install a Microsoft SQL Server 2008 Express Instance. Click Next.
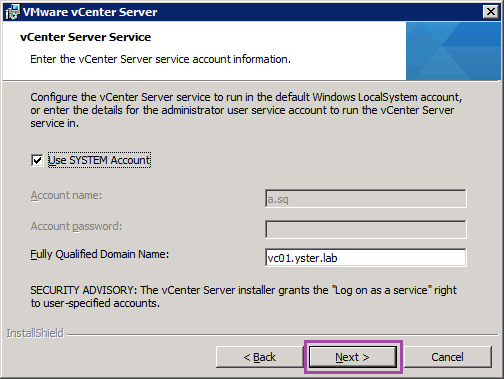
Leave the Service Service using the SYSTEM Account and click Next.
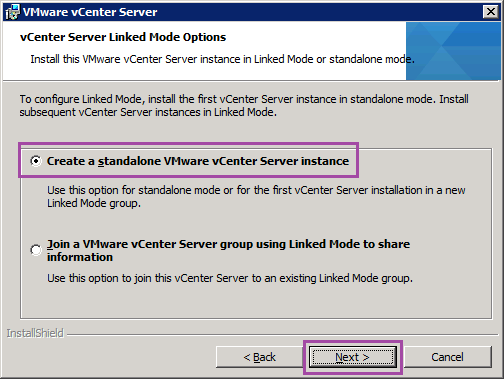
For our lab we’ll create a standalone VMware vCenter Server instance.
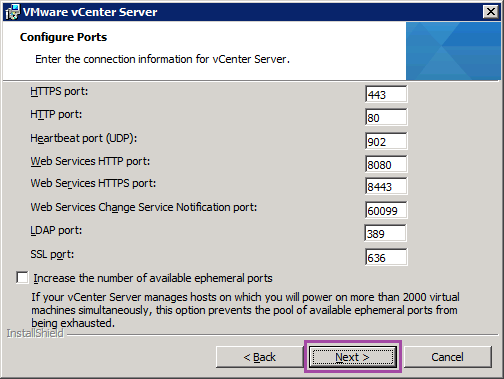
There’s no need to change the default ports, so just click Next.
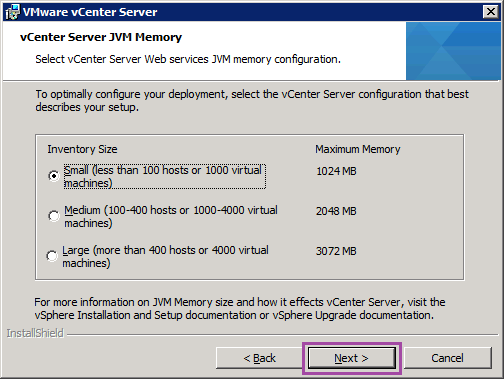
Leave the Inventory Size on Small again and click Next.
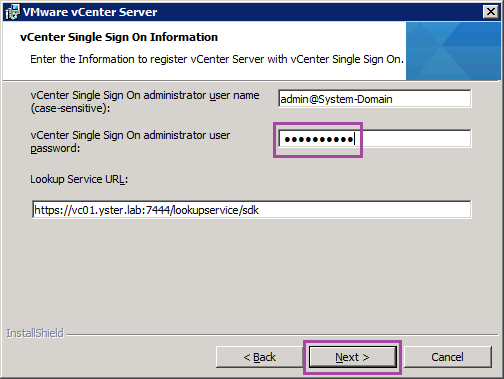
Enter your SSO Admin password again and click Next.
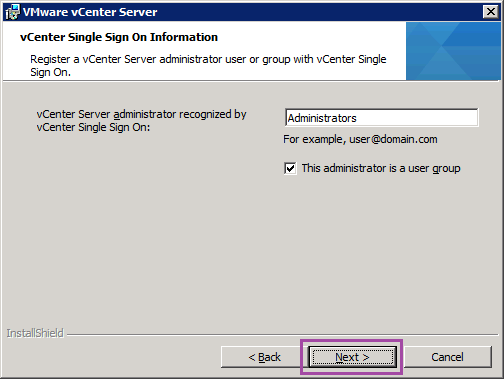
For the vCenter Server Administrators, I prefer to leave it on the default of Adminstrators. This can be changed later if required.
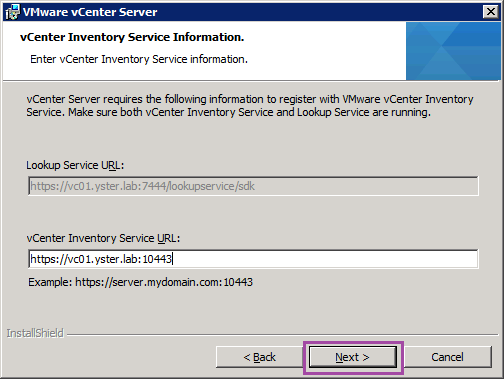
The vCenter Inventory Service URL will be automatically populated, so just click Next.
Install in the default location.

Finally click Install to finish the installation.
vSphere Client
The final part of the setup is to install the vSphere Client. The process is exactly the same as in Part 03, so refer back to that post if needed.
Internet Explorer Enhanced Security Configuration
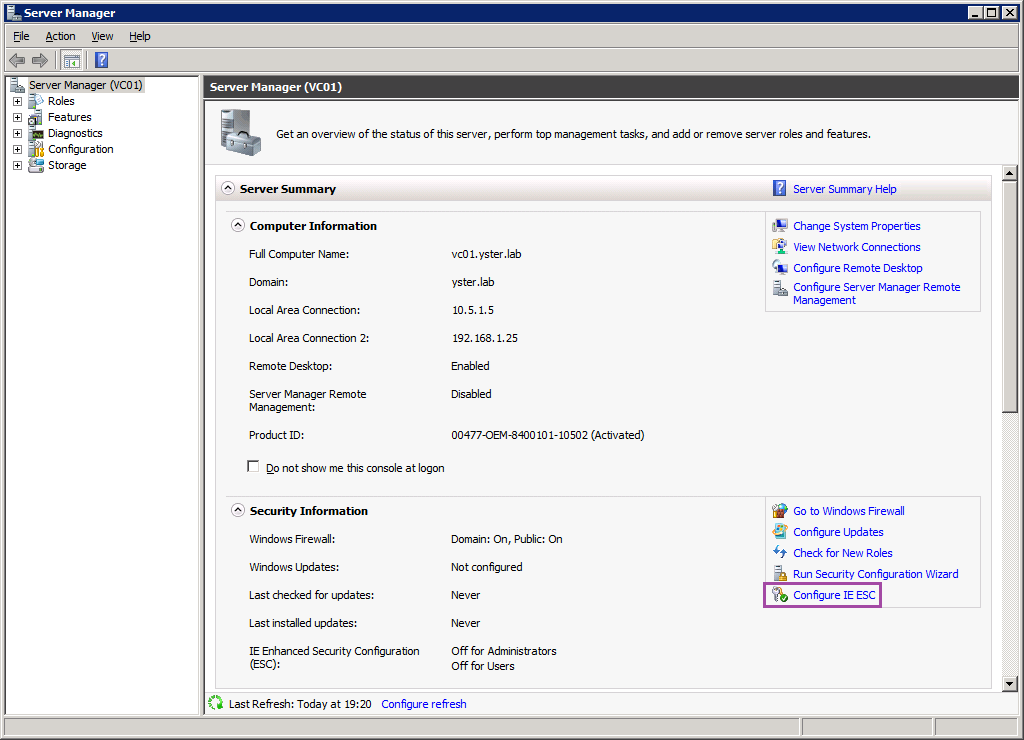
Lastly, since I will be using the vCenter server as my main gateway to the rest of the Lab-in-a-Box, I disable the IE ESC, as it can interfere with parts of the vSphere Client.
Open Server Manager from the taskbar or from Administrative Tools. Click on the IE ESC link.
Choose Off for both Administrators and Users and then click OK.

In the next part, we’ll configure vCenter to manage our two virtual ESXi servers.
Lab-in-a-Box Series: 01 Introduction 02 ESXi Installation on Physical Hardware 03 Installation of vSphere Client 04 Lab Host Configuration 05 Domain Controller Setup 06 Domain and Related Services 07 Configuration of Virtual ESXi Servers 08 vCenter Server Setup 09 vCenter Server Configuration 10 Set up OpenFiler NAS 11 Set up iSCSI 12 Set up NFS 13 Set up Secondary Domain Controller 14 vMotion Tests
Leave a Reply