MDT 2013 Guide 09: Creating the Gold Image
In this post we will create the gold image.
Before continuing, I just want to remind you of the 3 phases that we discussed in part 05:
- Creating a Gold Image
- Capturing the Gold Image
- Deploying the Gold Image to all workstations
This post will complete phase 1.
Booting the Virtual Machine
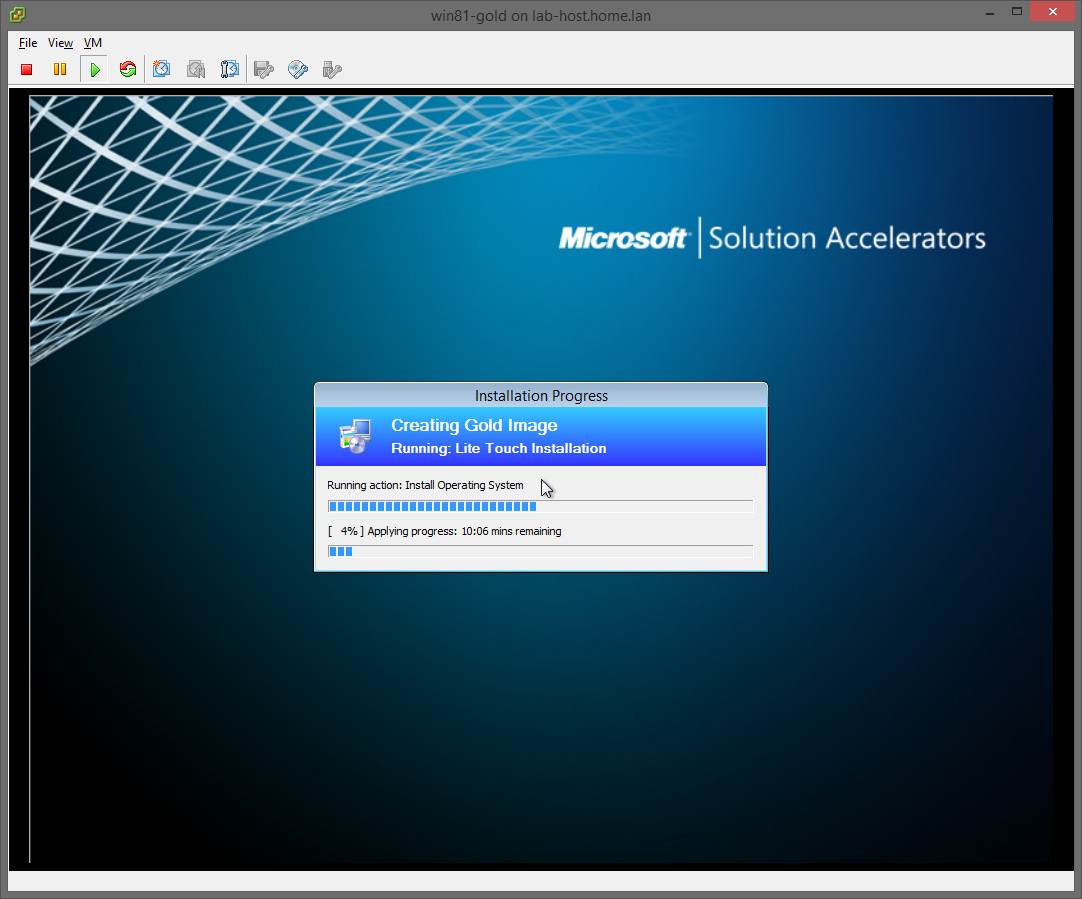
Start the virtual machine for your gold image. If you’ve followed this guide correctly, you should get some output similar to this.

The machine is correctly PXE booting and getting the boot image from WDS. Press F12 when prompted and it will download the boot image and start Windows PE. The installation of Windows will start.
Office 2013 will be installed as well.
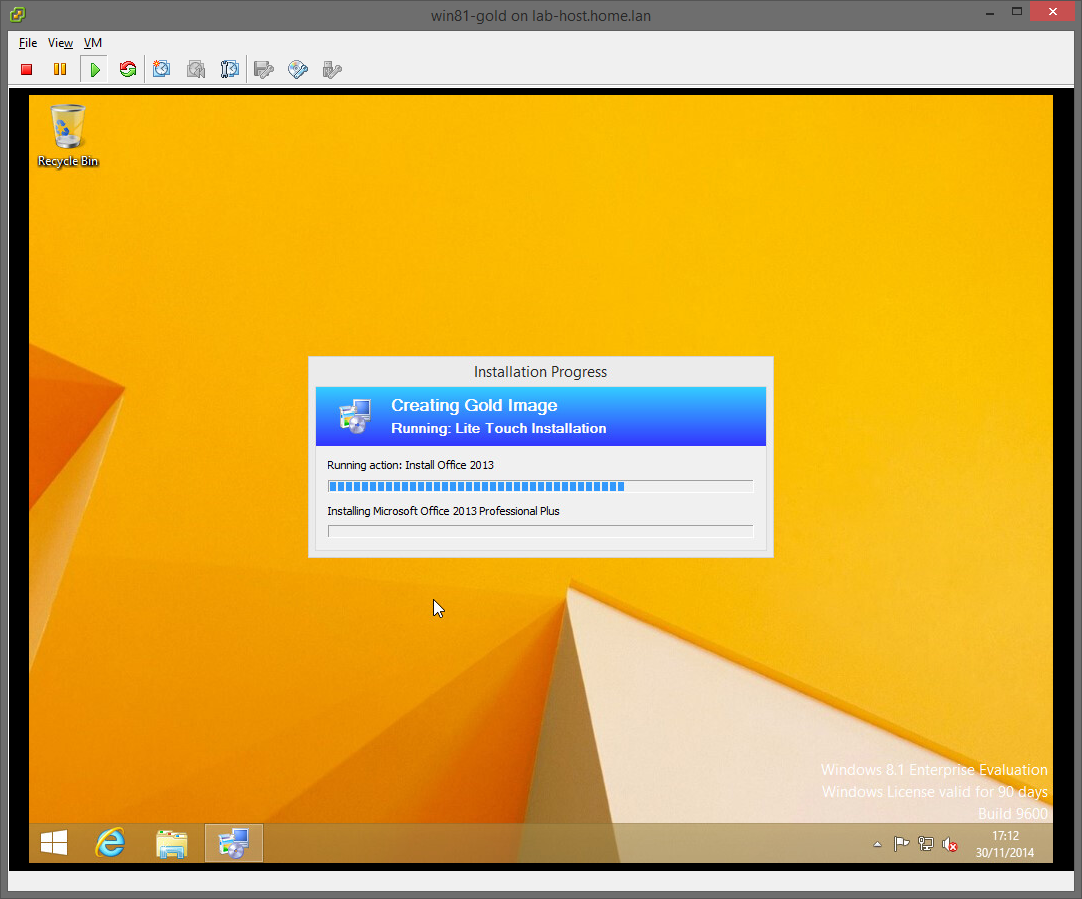
It should just be a matter of waiting for the deployment to complete.
At the end of the deployment, the machine will pause, with the Resume Task Sequence shortcut on the desktop.

Creating Snapshot
Now that we have a virtual machine with the OS, applications and updates installed, the last thing we need to do is to create a snapshot of this virtual machine. This process will vary depending on your virtualisation software, but in VMware ESXi, you can right-click on the virtual machine and choose Snapshot – Take Snapshot…
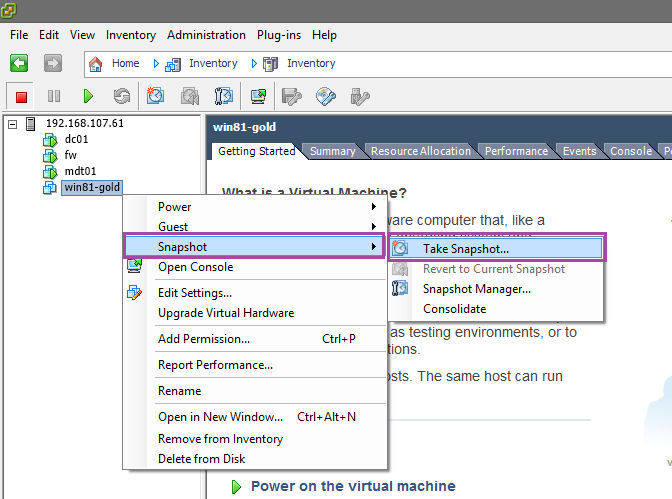
Enter a name and that’s it. I suggest a name with the date somewhere in it, as knowing when the snapshot was taken can be very useful later.
You might be wondering why the need for a snapshot at all…
The main purpose is just to save time. In the future, new updates will be released, and these will need to be integrated into the gold image again. We could run through the whole phase 1 process again and build the gold image from scratch, or we could simply revert to the above snapshot, boot the virtual machine up and install the new updates manually. This is considerably quicker than rebuilding the gold image entirely.
Additionally, this process allows you to easily install other software and/or test configuration changes to the gold image.
Conclusion
We have now created the gold image and a snapshot of it. This completes phase 1.
Next we will capture the image, ready for deployment to workstations.
MDT2013 Series:
01 Intro and Active Directory Setup
02 MDT Software Installation
03 Deployment Share and MDT Database Setup
04 Network Access Permissions
05 Application and OS
06 Creating Build Task Sequence
07 MDT Database
08 WDS and PXE Booting
09 Creating the Gold Image
10 Capturing the Gold Image
11 Creating Deployment Task Sequence
12 Deployment Role and Computer Object
I have a problem when creating the gold image. It boots win pe, processing bootstrap works fine, then processing custum settings works fine, it says initialization complete at the end of this, and then it just reboots and starts all over again with these steps. I tried everything, restarted completely. The pxe boot works, the deploymentshare is mounted to Z:, what did I do wrong?