vSphere Lab-in-a-Box 02: ESXi Installation on Physical Hardware
In the rest of this series, I will refer to the physical ESXi PC as the Lab Host, to differentiate it from the virtual ESXi servers which will be installed on it.
First off, you’ll need to burn the VMware Hypervisor Installer ISO to CD and then boot the Lab Host from that CD. If you have no SSD installed, you might be able to improve disk access a little by installing ESXi to a USB stick (4GB or greater), so that the HDD is dedicated to just your VMs.
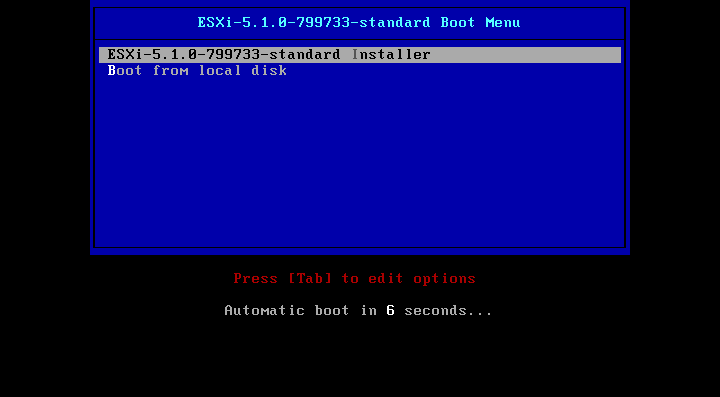
After the CD boots, press Enter to start the ESXi 5.1 installation.
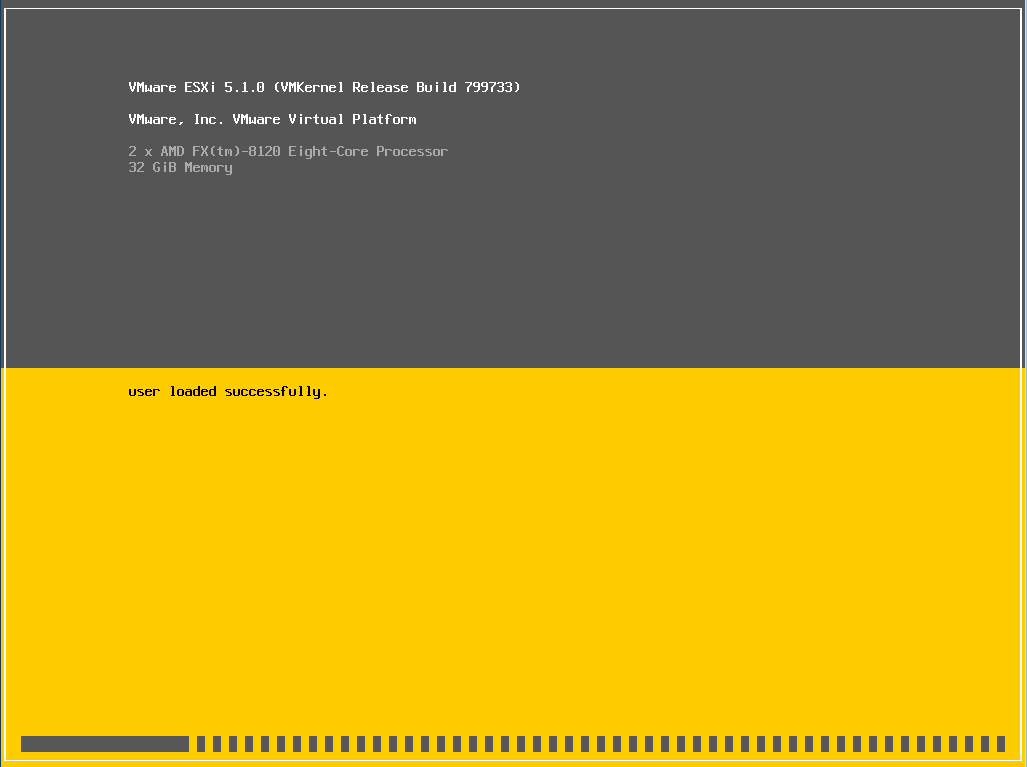
The installation files will load. Press Enter to continue with the installation and then accept the license agreement.
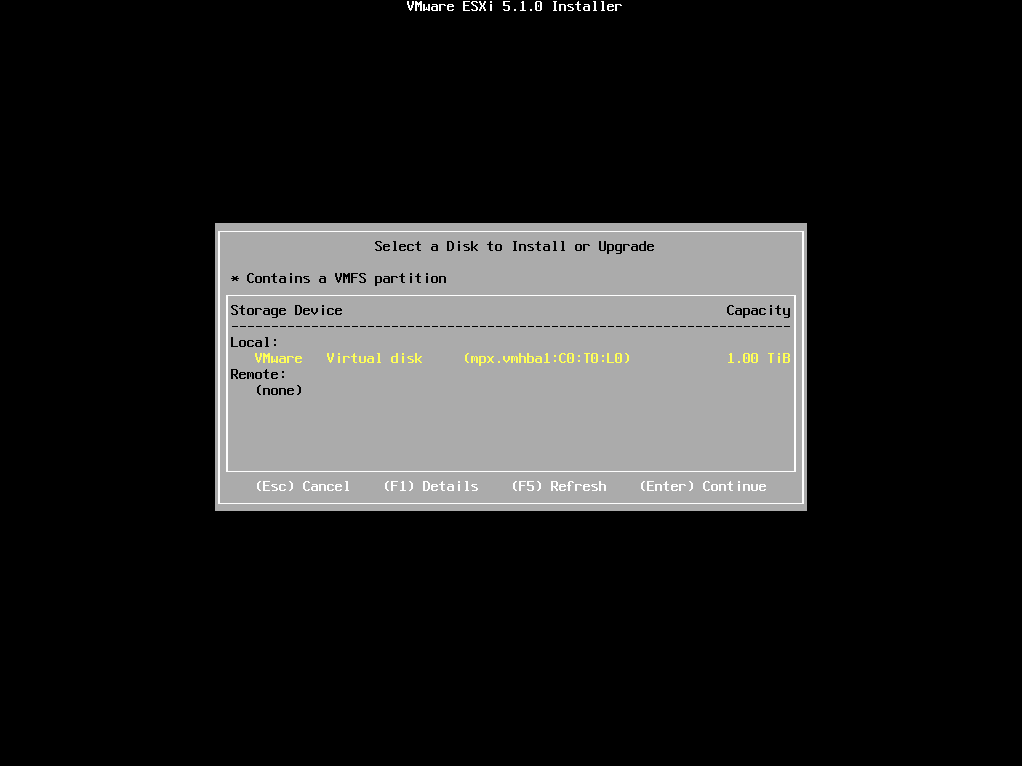
You will be presented with the attached drives to which you can install ESXi. Choose your slowest HDD (or the USB stick if you choose to use it).
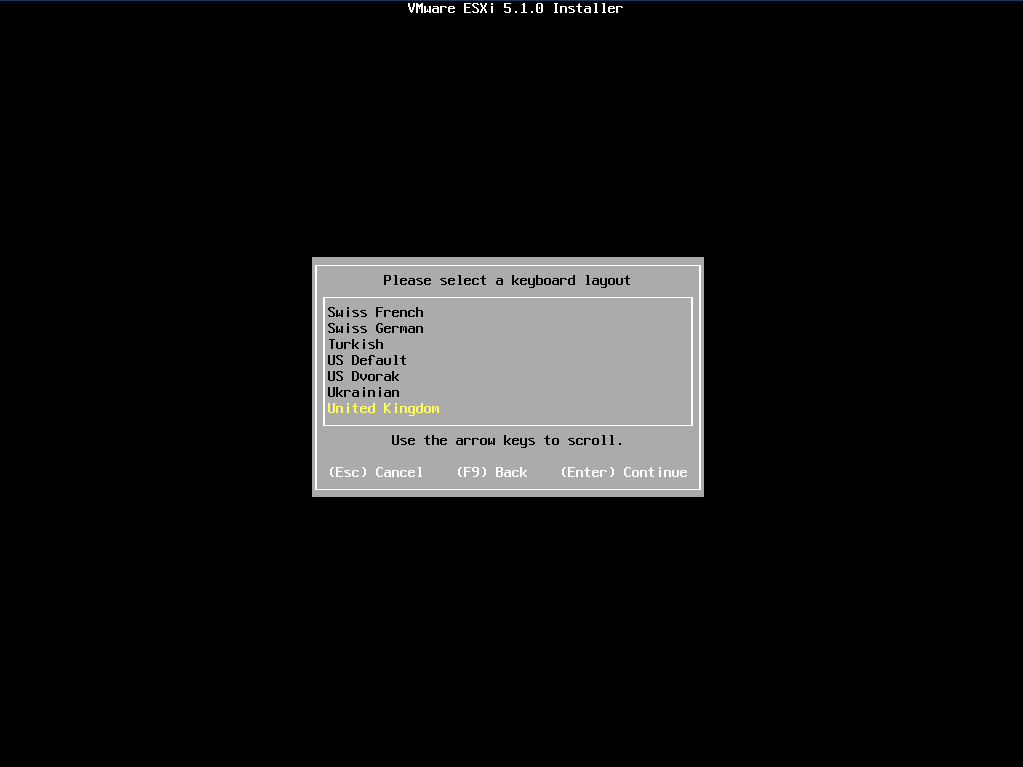
Choose your keyboard layout.
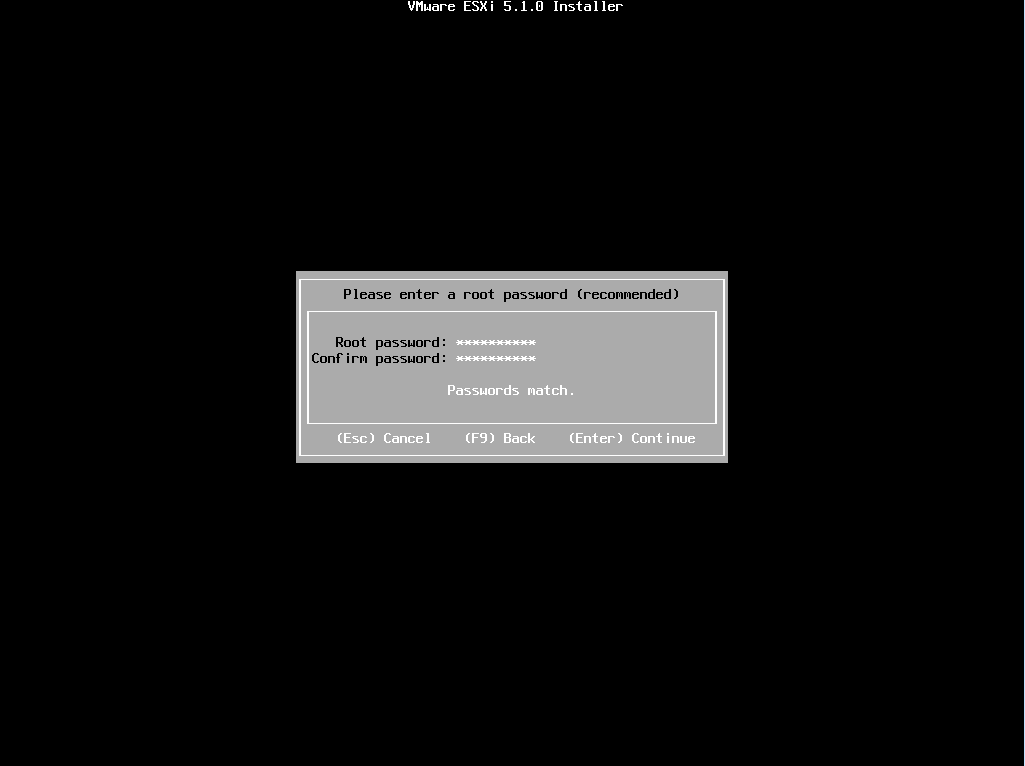
Enter a password for the root user.
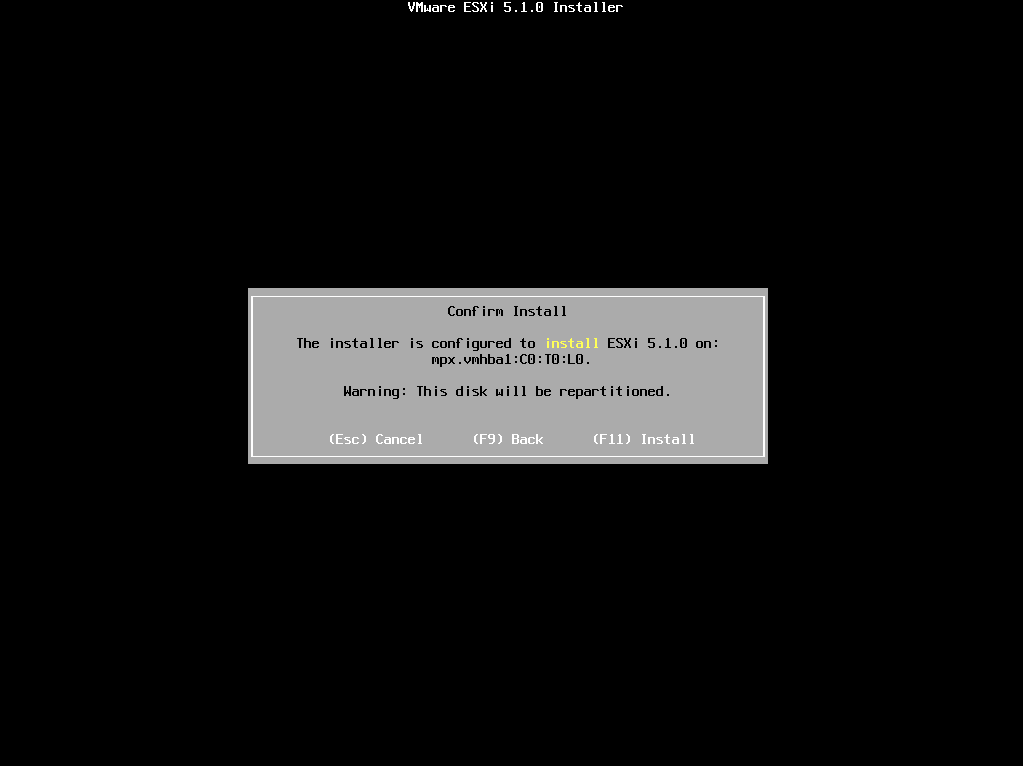
Press F11 to repartition the HDD and install ESXi. All data on this disk will be lost.
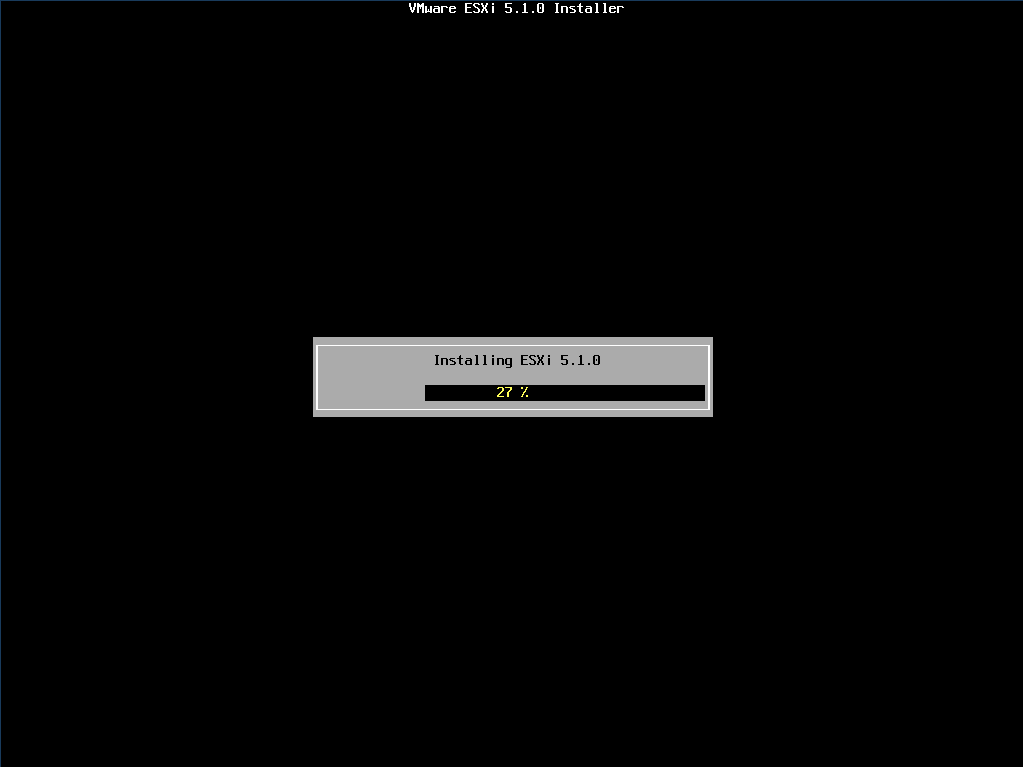
The installation of ESXi will proceed for a few mins.
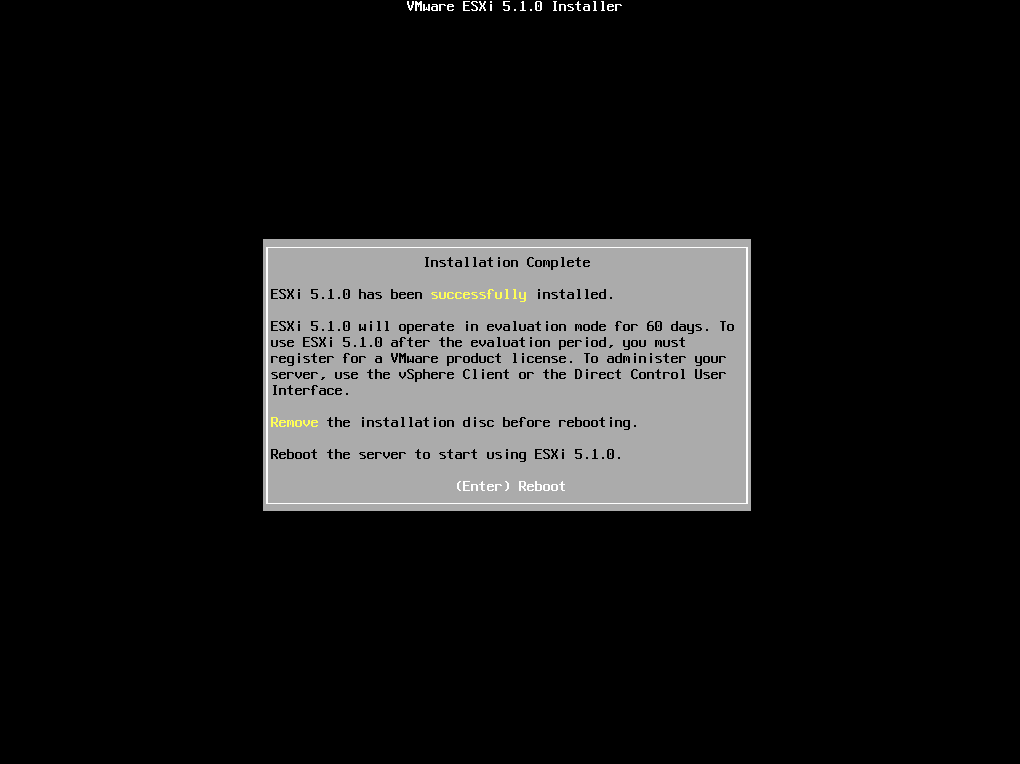
After it has completed, you will be prompted to reboot. Remove the CD and press Enter to reboot.
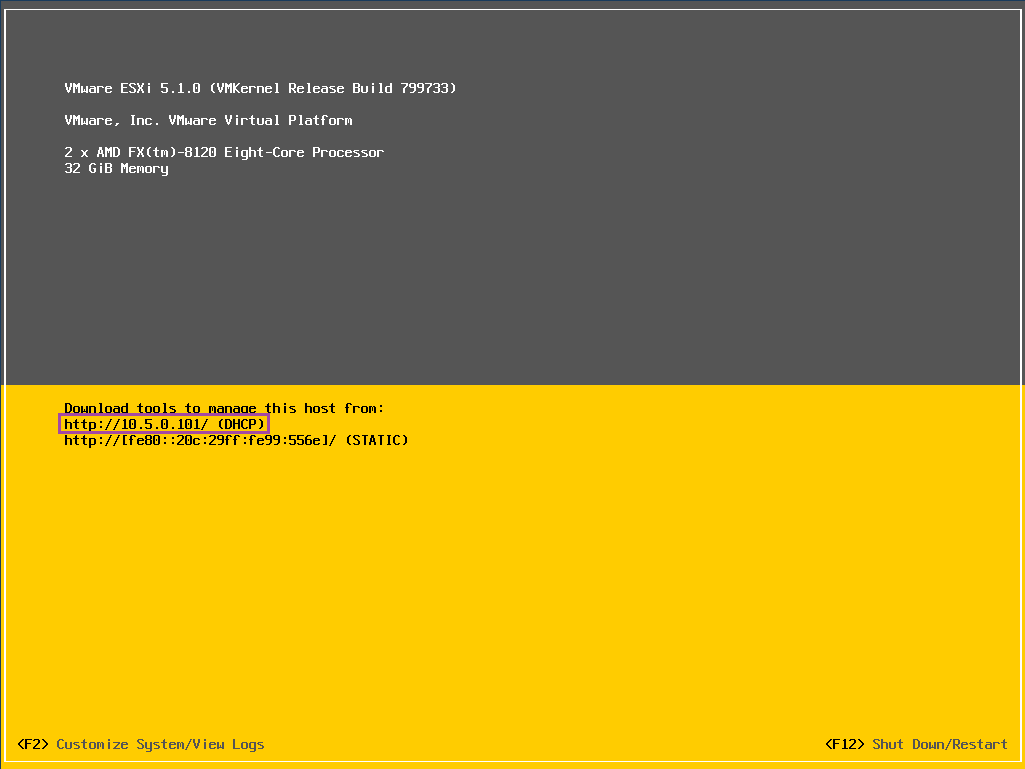
The Lab Host will now boot into ESXi and display the IP address that it has obtained from DHCP.
In the next part, we will go through the installation of the vSphere Client and following that, we’ll configure the Lab Host, ready to host virtual machines.
Lab-in-a-Box Series: 01 Introduction 02 ESXi Installation on Physical Hardware 03 Installation of vSphere Client 04 Lab Host Configuration 05 Domain Controller Setup 06 Domain and Related Services 07 Configuration of Virtual ESXi Servers 08 vCenter Server Setup 09 vCenter Server Configuration 10 Set up OpenFiler NAS 11 Set up iSCSI 12 Set up NFS 13 Set up Secondary Domain Controller 14 vMotion Tests
Leave a Reply