vSphere Lab-in-a-Box 10: Set up OpenFiler NAS
This post will run through the initial configuration of the OpenFiler appliance, to provide some shared storage for the virtual ESXi servers.
Importing the VMware Appliance:
If you haven’t done so already, download the OpenFiler v2.3 VMware appliance and extract it. It will extract 3 files to a folder called openfiler-2.3-x86.
Open the vSphere Client to your Lab Host, go to the Configuration tab, then Storage on the left. Right-click on the appropriate datastore and choose Browse Datastore… On my Lab Host, I chose to install the OpenFiler OS files on the slowest physical disk as the OS will run mostly from memory.
Upload the OpenFiler folder directly to the root of the datastore, so click \ in the folder list, then the Upload button – Upload Folder…
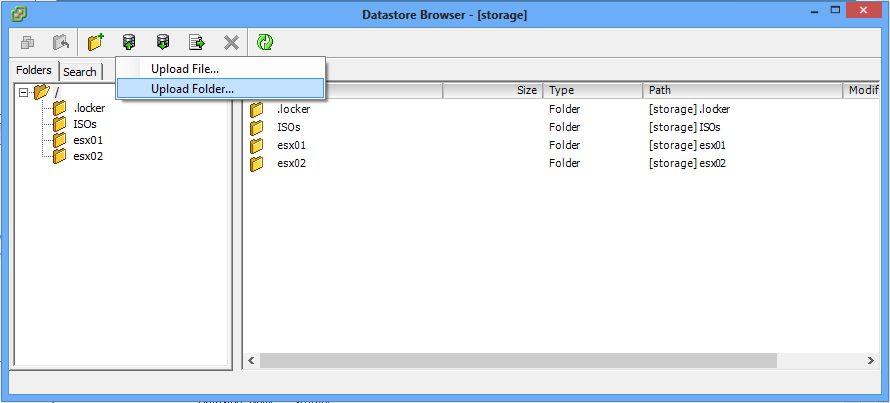
Browse to the “openfiler-2.3-x86” extracted folder and upload that to your Lab Host. You should be left with something similar to this:
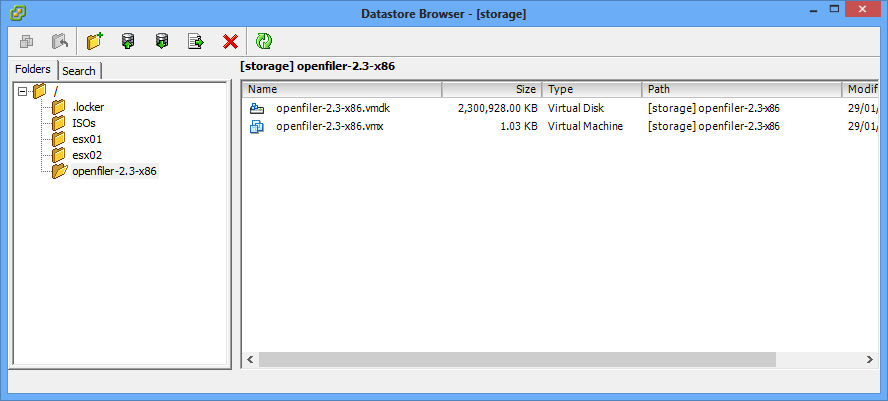
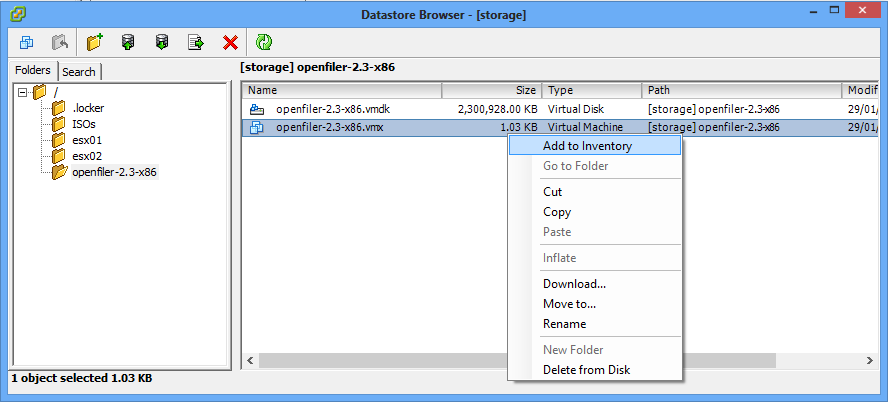
Right-click on the openfiler-2.3-x86.vmx file and choose Add to Inventory.
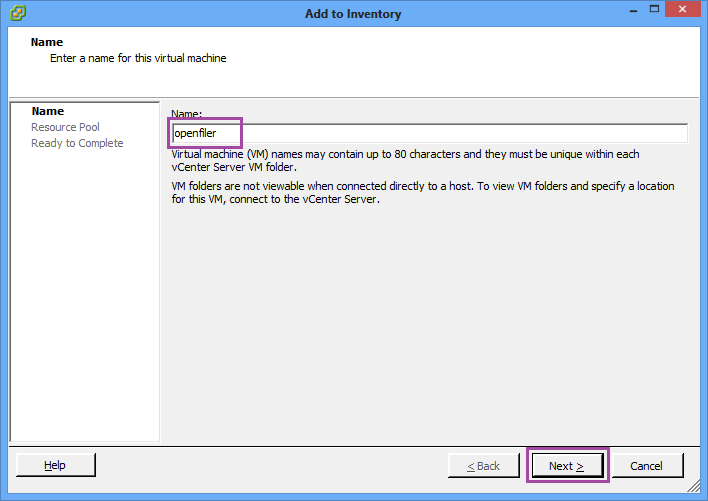
Give the server a name, then click Next.
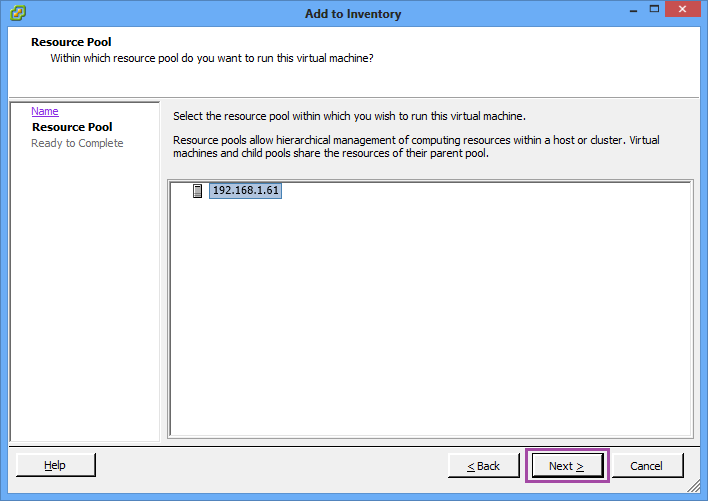
Your Lab Host only has a single Resource Pool, so just click Next and then Finish.
You will now see the new server in the list of virtual machines on your Lab Host, so right-click on it and choose Edit Settings…

Select the Network adapter 1 and connect it up to the Management and vMotion network.

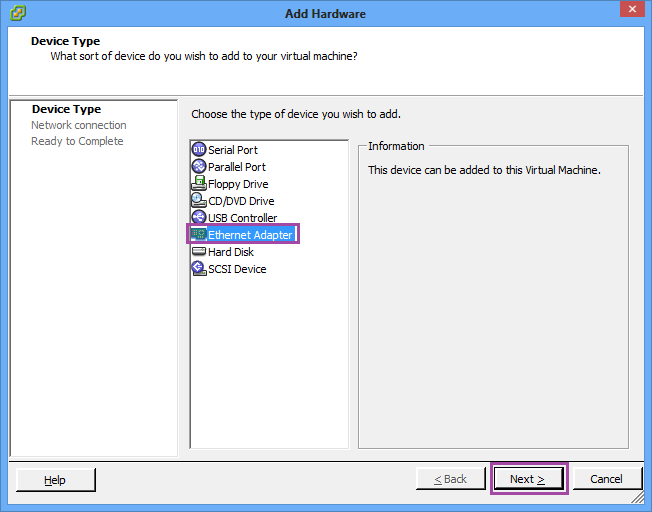
Click Add… and add another Ethernet Adapter.
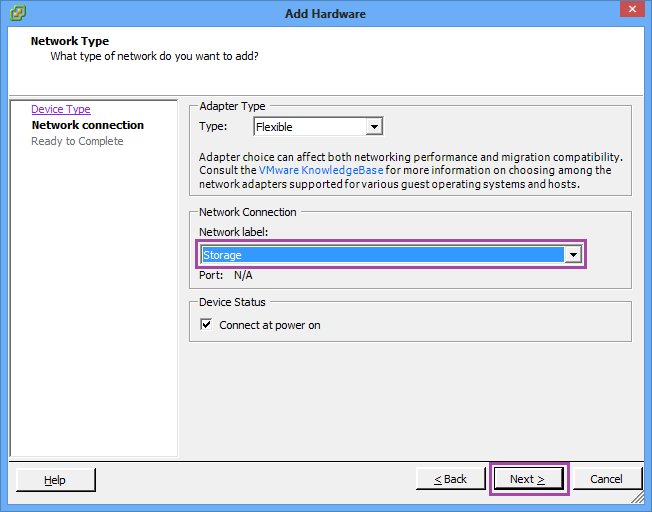
Connect this adapter to the Storage network.
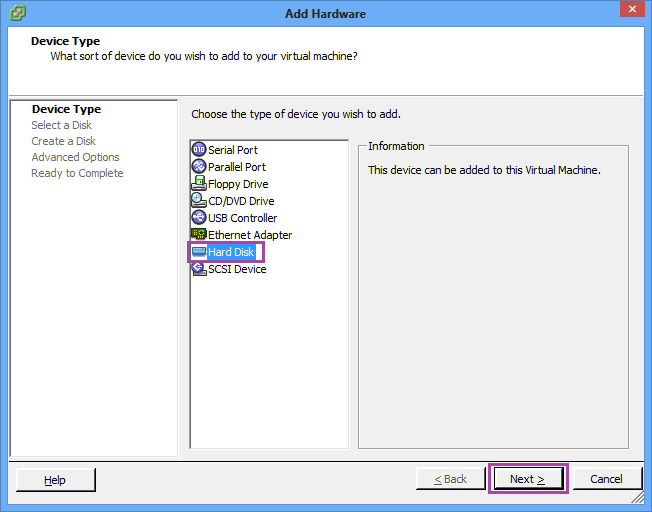
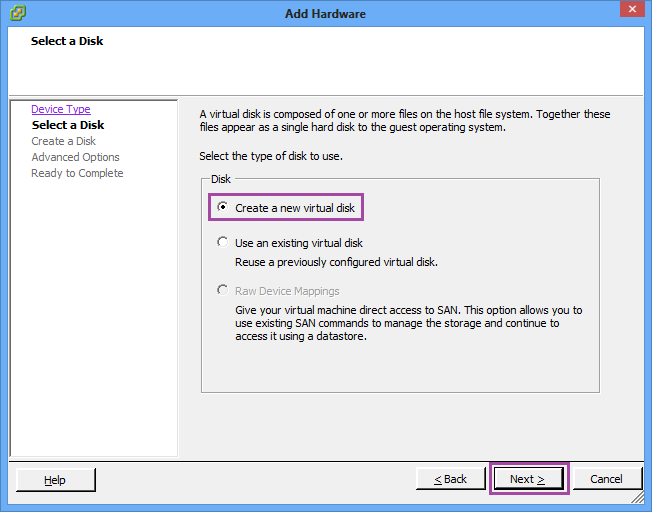
Since the OpenFiler VM will be serving as our iSCSI and NFS shared storage, we will need to add some disks to use as storage. Click Add… and choose Hard Disk.
Create a new virtual disk and click Next.
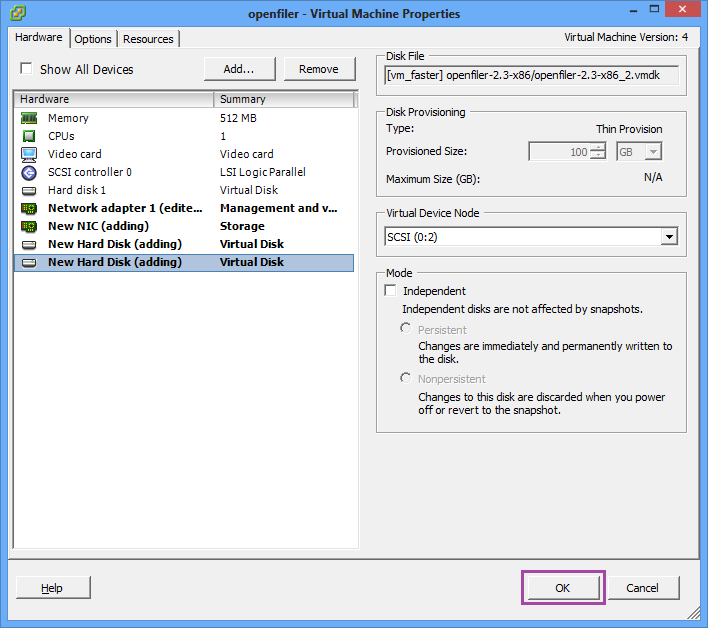
I have a decent sized SSD, so I create a 100GB Thin Provisioned disk. Since I want to keep this disk on my fastest SSD drive, I choose Specify a datastore or datastore cluster and then pick the relevant SSD from the Browse… button.

The remaining options can be left on their defaults, so just click Next and Finish to complete.
To make things simpler when setting up the iSCSI and NFS disks, I create another exact same 100GB Thin Provisioned disk, on the same datastore. One will be used for iSCSI and the other for NFS. Follow the same procedure as above.
When you are complete, click OK to finish editing the OpenFiler VM.
Configuring the OpenFiler Server
Open a console to the server, then Power it on and wait for it to complete booting. You will be presented with a login screen, indicating the DHCP address that has been assigned to the OpenFiler server.
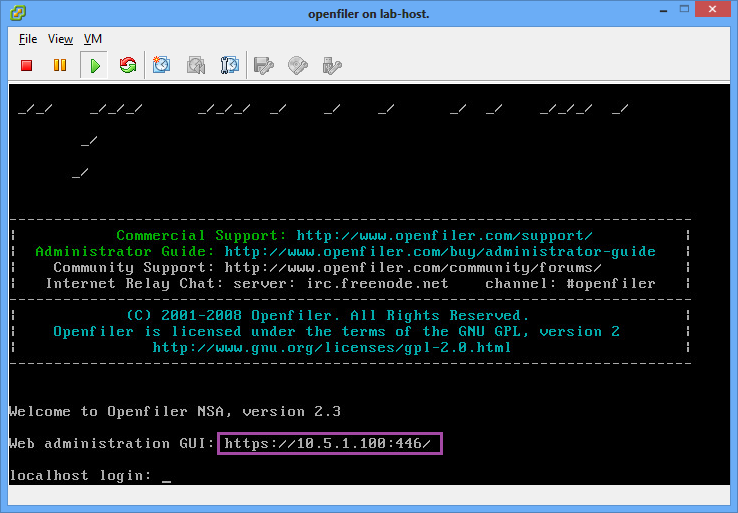
Note down the address and then close the console. Log into your vCenter Server, open Internet Explorer and type in the URL. Continue past the certificate error and the login screen will load.
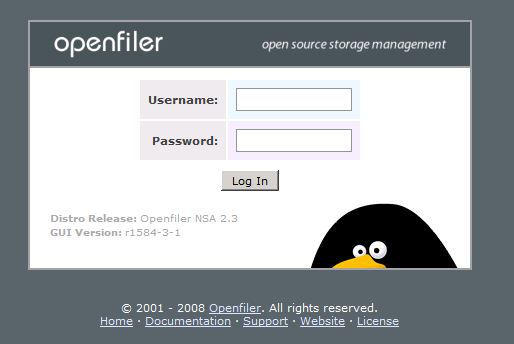
Log in with the username “openfiler” and the password “password”.
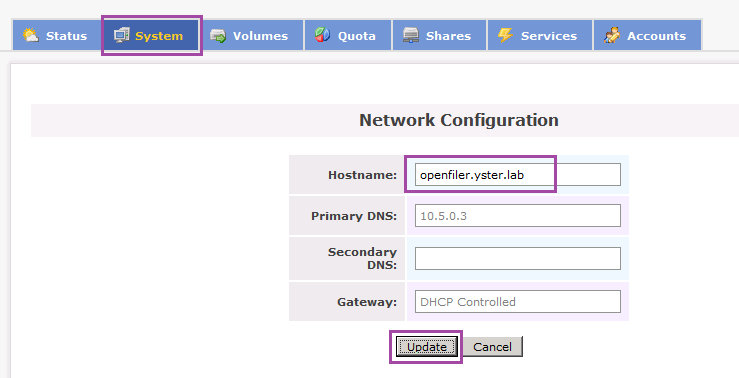
Click on System, then change the Hostname and click Update.
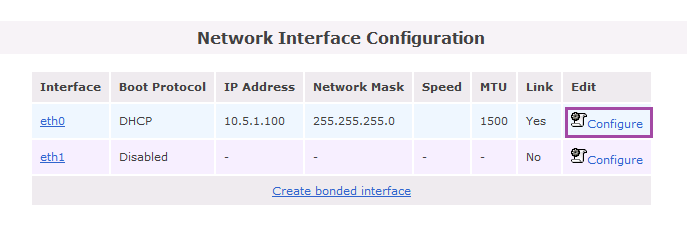
Scroll down to Network Interface Configuration and click Configure next to eth0.
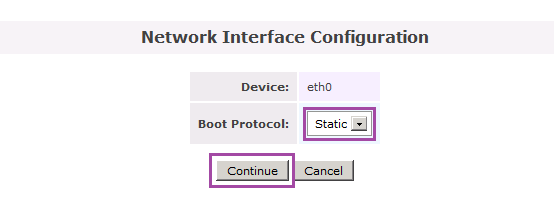
Change Boot Protocol to Static and click Continue.
Set a static IP address on the Managment network (I use 10.5.1.7) and click Confirm.
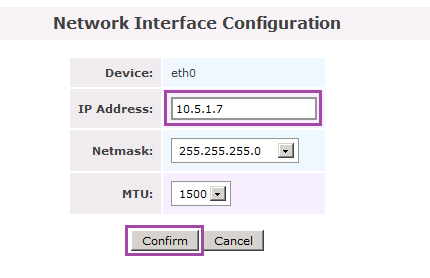
Your browser will timeout trying to refresh after clicking this.
On your domain controller, open DNS Management and create a New Host, named openfiler with the IP address 10.5.1.7.

On the vCenter Server, browse to https://openfiler:446/ and log in again.
Go back to System, and click Configure next to eth1.
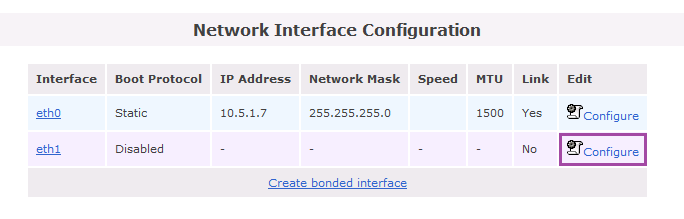
Choose Static and click Continue.

Set a static IP address on the Storage network and the appropriate Netmask. I use 10.5.2.7 and 255.255.255.0. Click Confirm to save this configuration.

The initial configuration of the OpenFiler VM is now complete. In the next post, we’ll set up the iSCSI target for use by the virtual ESXi servers.
Lab-in-a-Box Series: 01 Introduction 02 ESXi Installation on Physical Hardware 03 Installation of vSphere Client 04 Lab Host Configuration 05 Domain Controller Setup 06 Domain and Related Services 07 Configuration of Virtual ESXi Servers 08 vCenter Server Setup 09 vCenter Server Configuration 10 Set up OpenFiler NAS 11 Set up iSCSI 12 Set up NFS 13 Set up Secondary Domain Controller 14 vMotion Tests
Leave a Reply