vSphere Lab-in-a-Box 05: Domain Controller Setup
The first virtual machine we will create will be the domain controller, which will also handle DHCP and DNS, running Windows 2008 R2 64-bit.
Create Virtual Machine
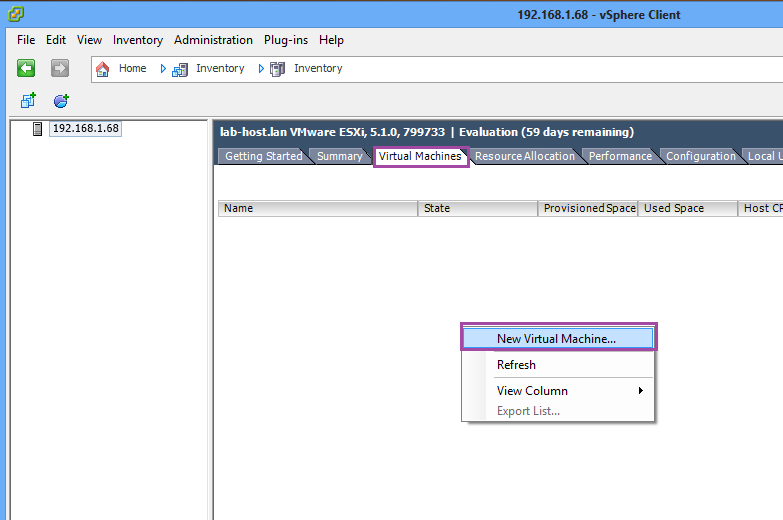
In the vSphere Client, go to the Virtual Machines tab, right-click and choose New Virtual Machine…
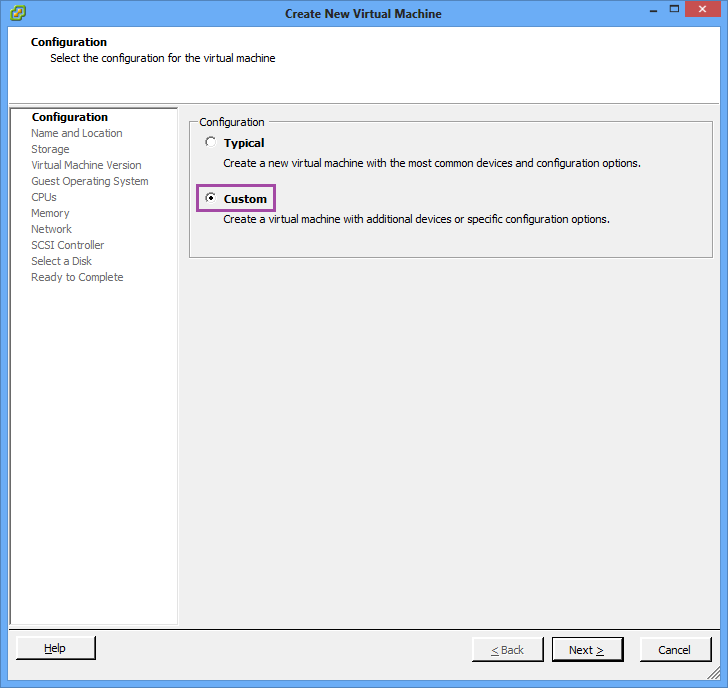
I always choose to create a Custom virtual machine, as it gives me more control.
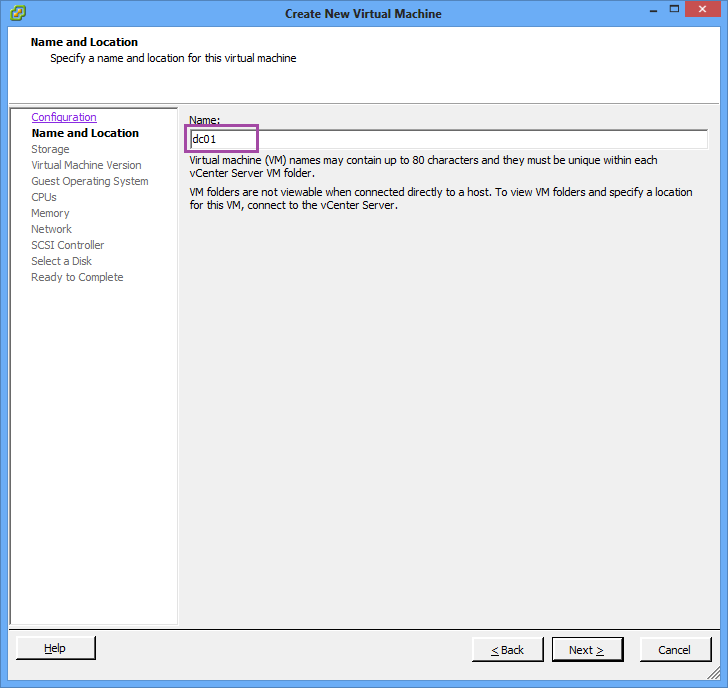
Give it a Name.
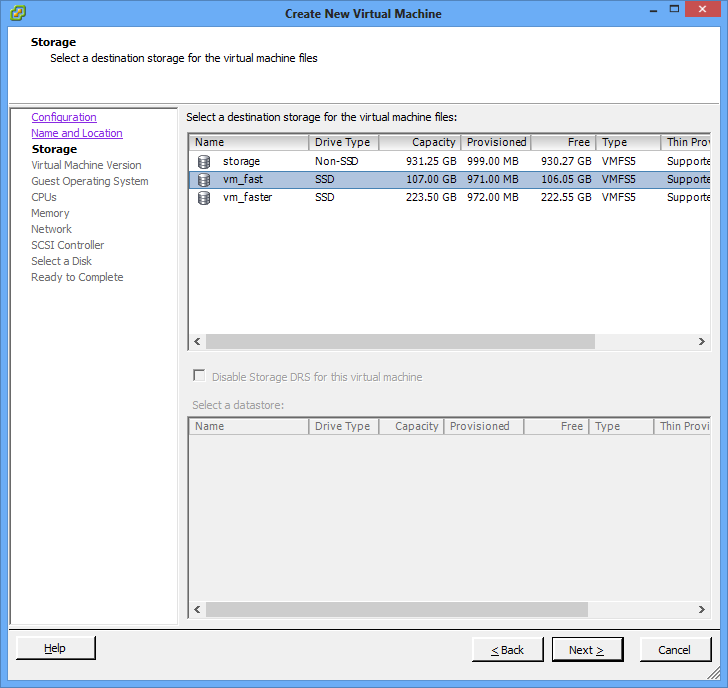
Pick a storage device
Since we’re just setting up our lab, there’s no need to use a legacy Virtual Machine Version, so leave it on version 8

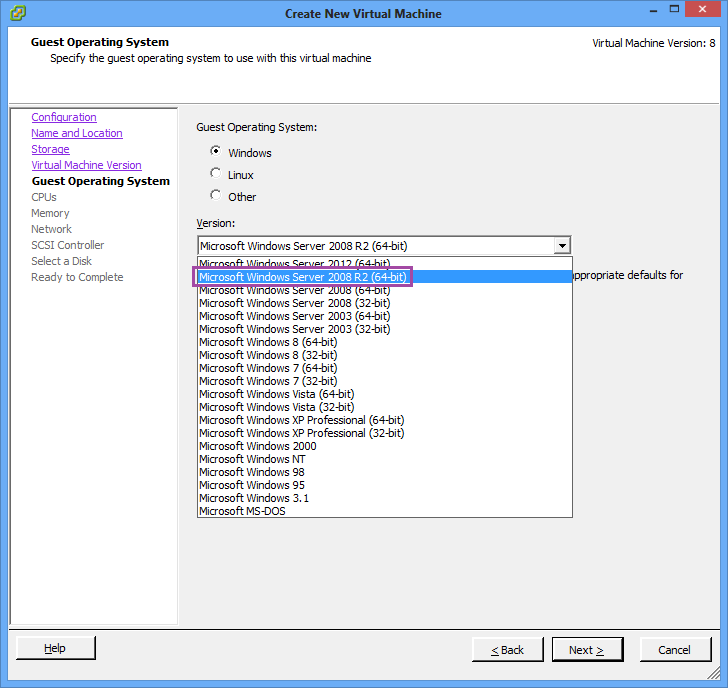
Choose Microsoft Windows Server 2008 R2 (64-bit) from the list of Guest Operating Systems
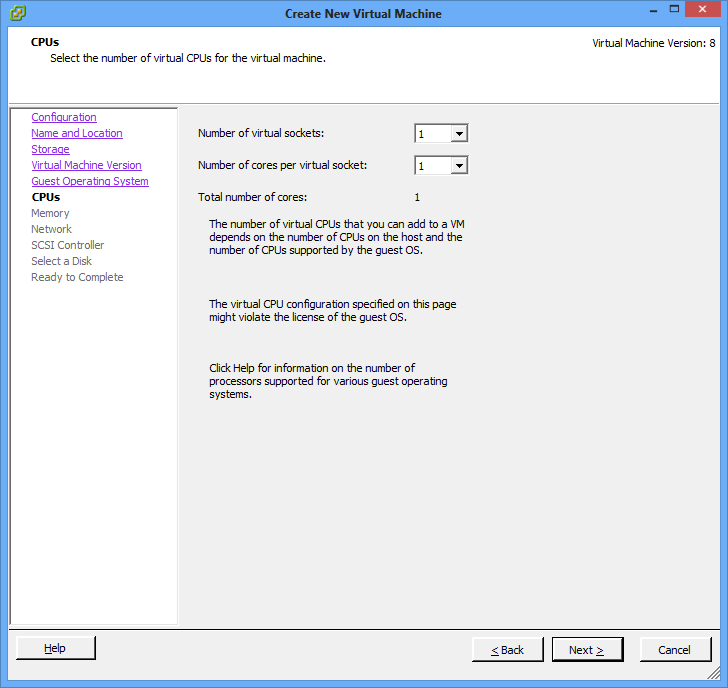
As this is only a domain controller and won’t require much in the way of CPU resources, leave it on the default of 1 socket and 1 core
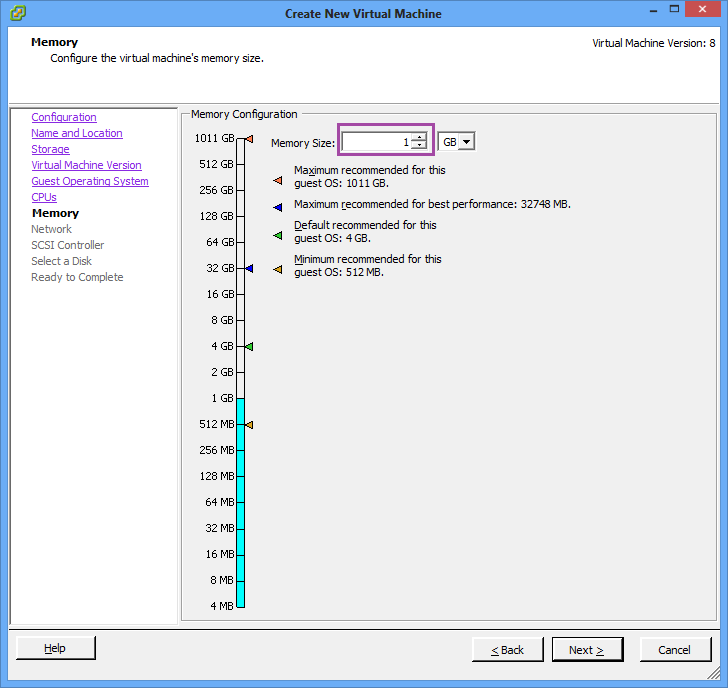
The memory usage of a domain controller on such a small network will be minimal, so I lower the memory to 1GB.
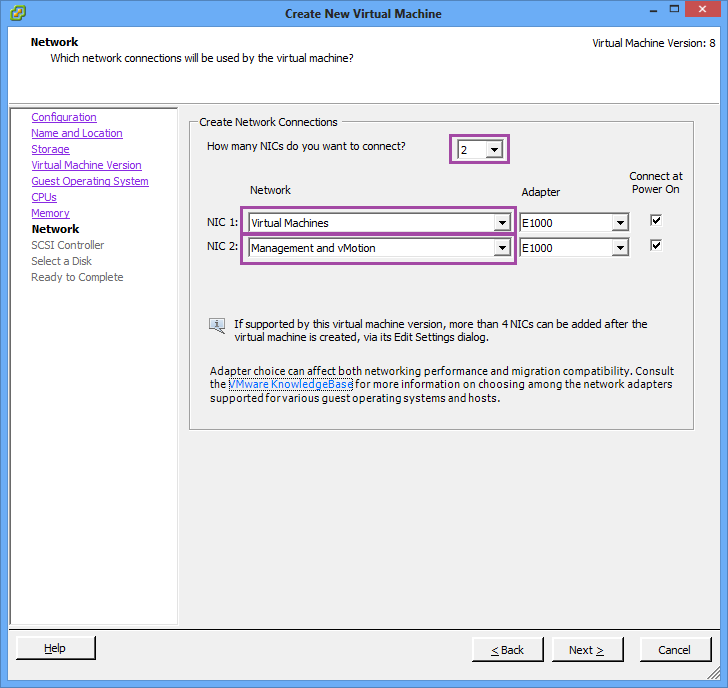
On the networking side, for the sake of convenience, I connect 2 network cards. The primary will be to the Virtual Machines network and the secondary to the Management and vMotion network. This way we can do domain lookups and allocate DHCP addresses on both networks without having to set up a firewall/router.
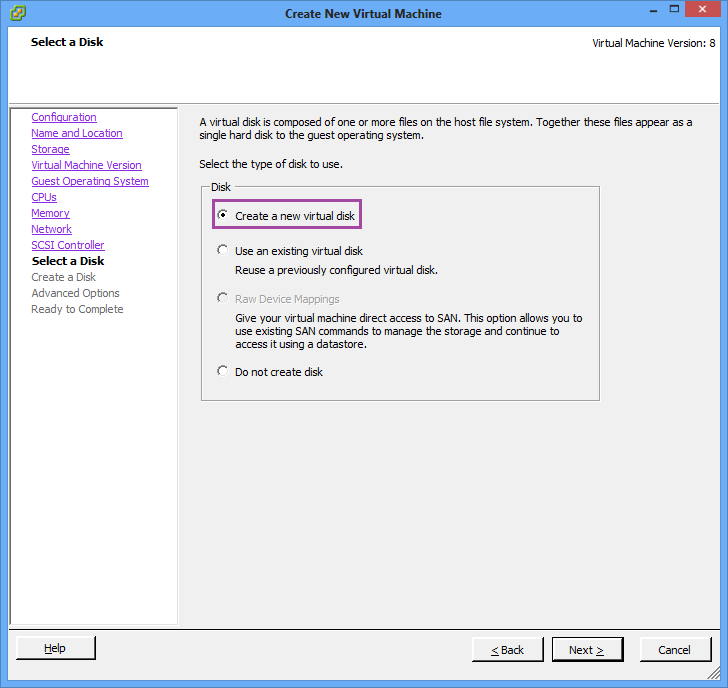
Leave the SCSI Controller on the default and Create a new virtual disk.
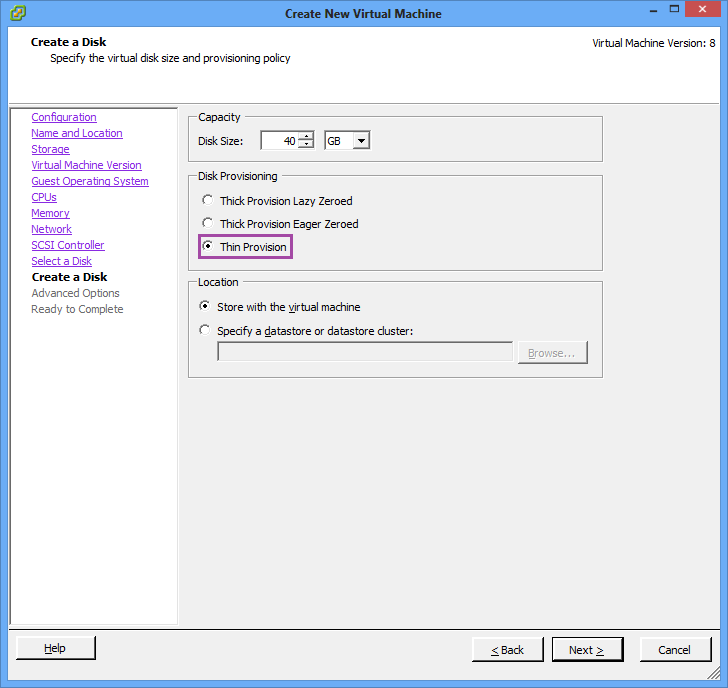
The default size will be fine for my purposes. I always choose Thin Provision, to save the precious space on my SSDs. Again, not something you’d want to do in a live environment, but in a lab it’s easy to keep an eye on free disk space.
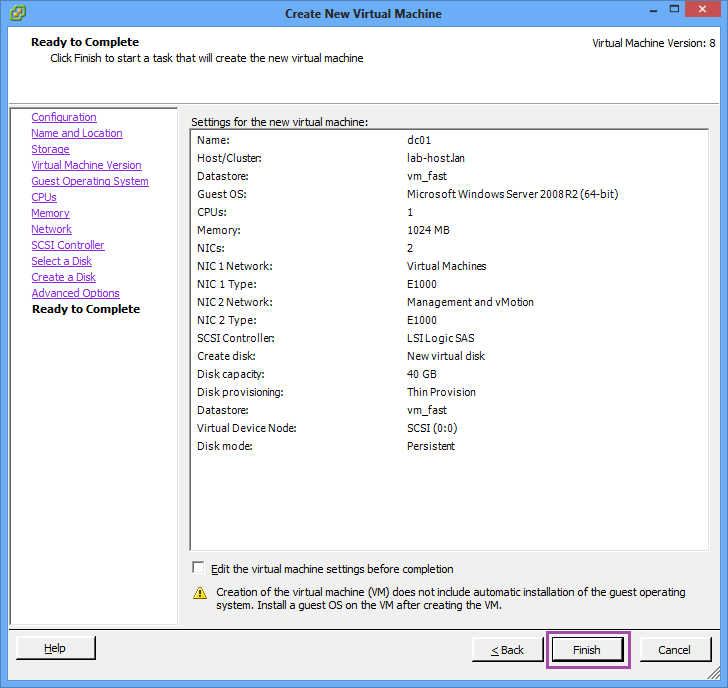
Leave the advanced disk options on default and click Finish to complete the setup of the domain controller virtual machine.
Upload ISO Image
In order to build the domain controller, we need to upload the ISO image, so we can attach it to the virtual machine’s CD drive.
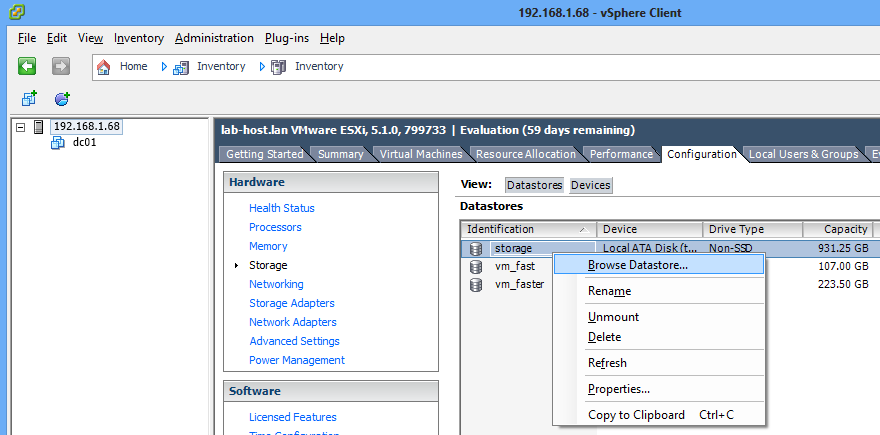
Open the Configuration tab, then click Storage

Right-click on the datastore you want to use for storing the ISO and choose Browse Datastore…
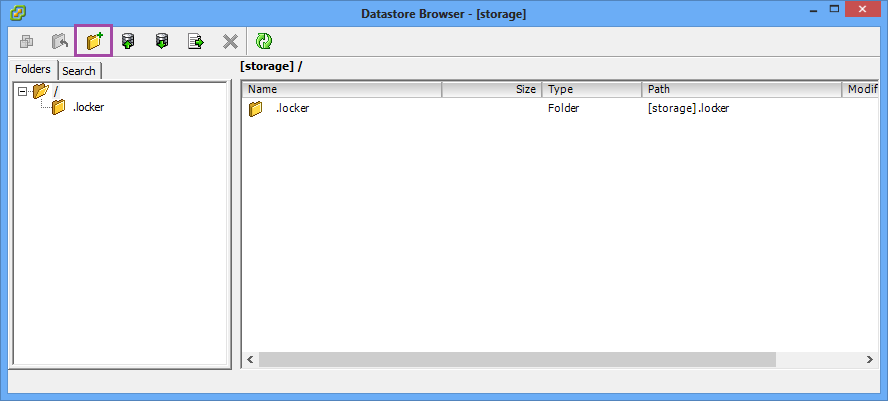
I prefer to store all my ISOs in a single folder, so click the New Folder button
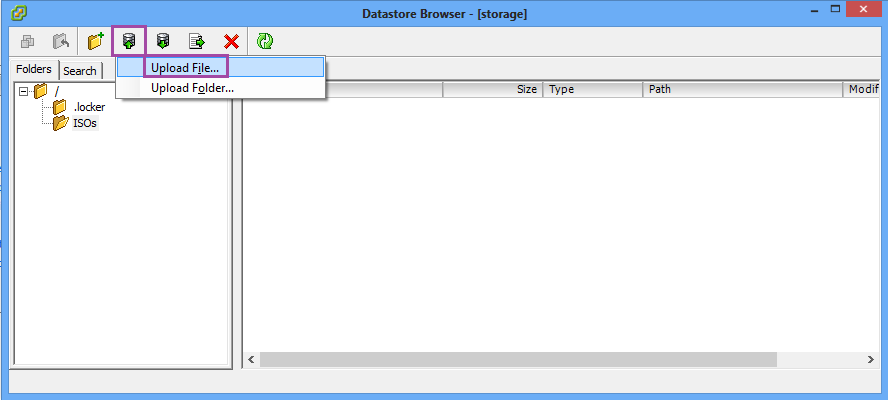
Give the folder a name, then click into it. Then click on the Upload button and choose Upload File…
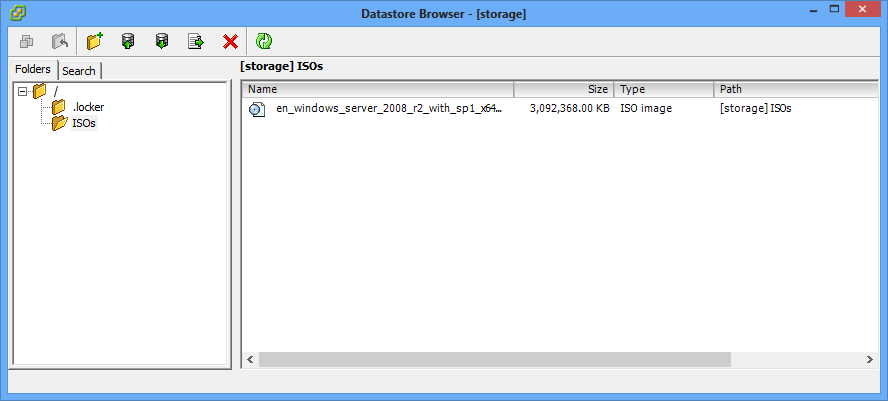
Browse to your Windows Server 2008 R2 ISO and wait for the upload to complete.
Configure Domain Controller VM
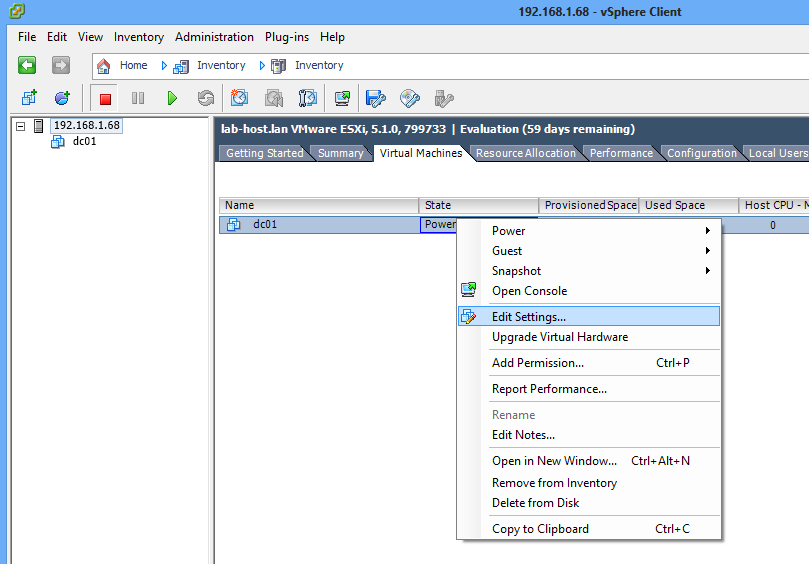
Go back to the Virtual Machines tab, right-click on your domain controller and choose Edit Settings…
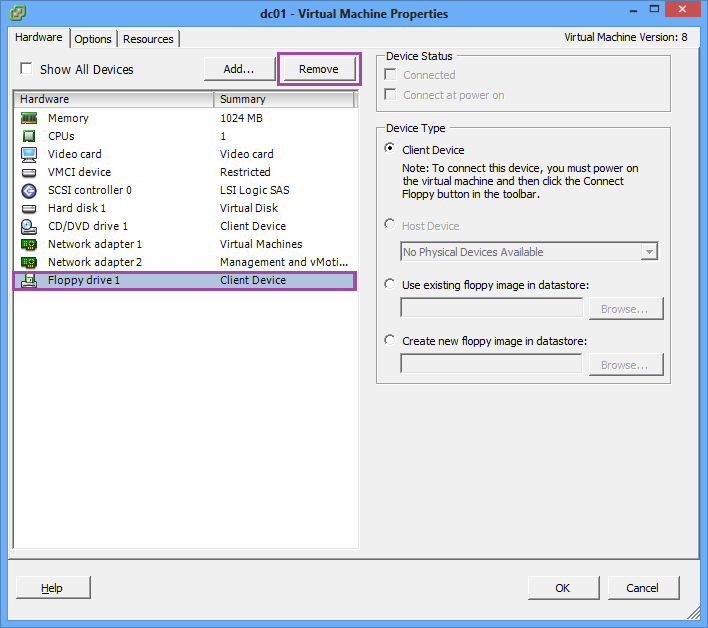
I have no need for a floppy drive, so choose Floppy drive 1 and click Remove
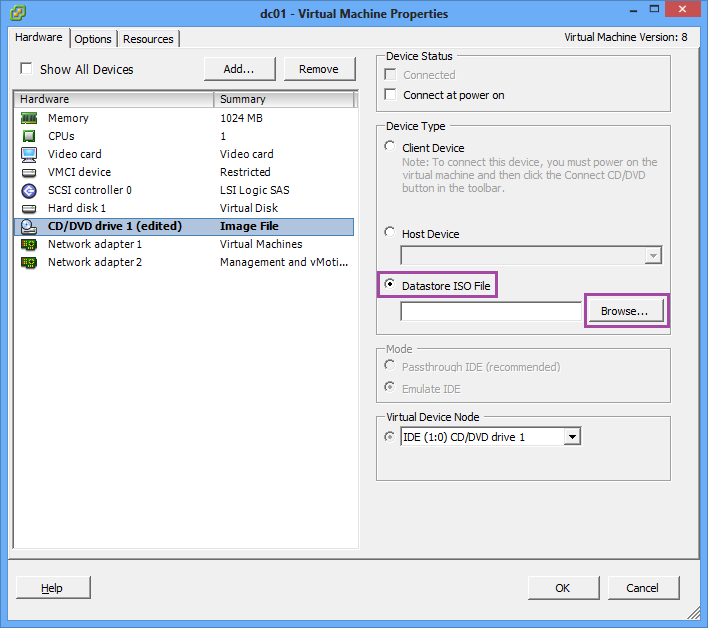
Next choose the CD drive and change the Device Type to Datastore ISO File. Click Browse and select the Windows 2008 ISO that was uploaded earlier.
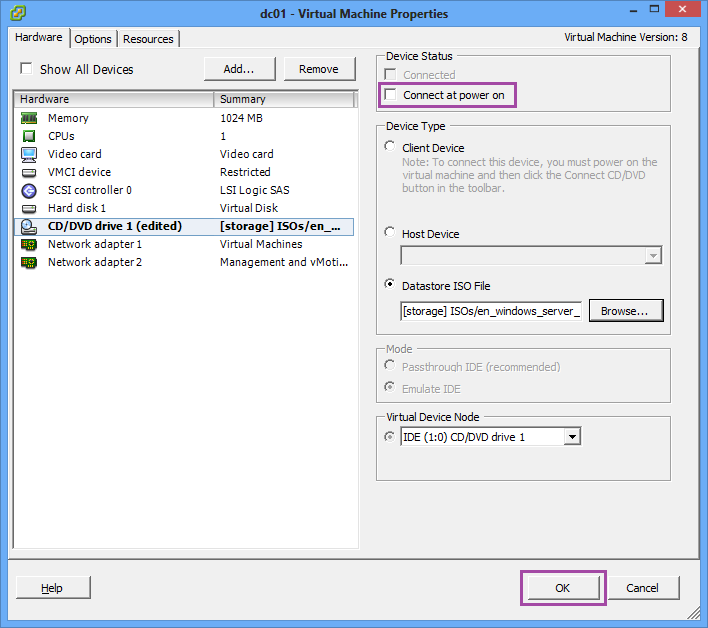
Lastly, tick the box Connect at power on and then click OK to save the configuration.
Install OS on Virtual Machine
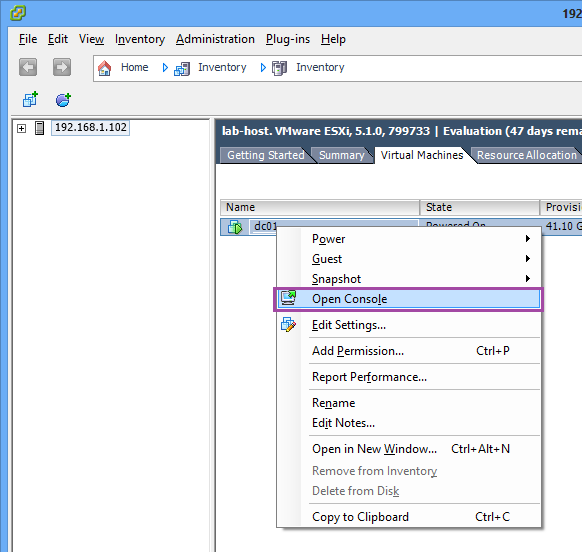
Power the virtual machine on and then right-click and Open Console.
You will soon be presented with the Windows 2008 installation screen.
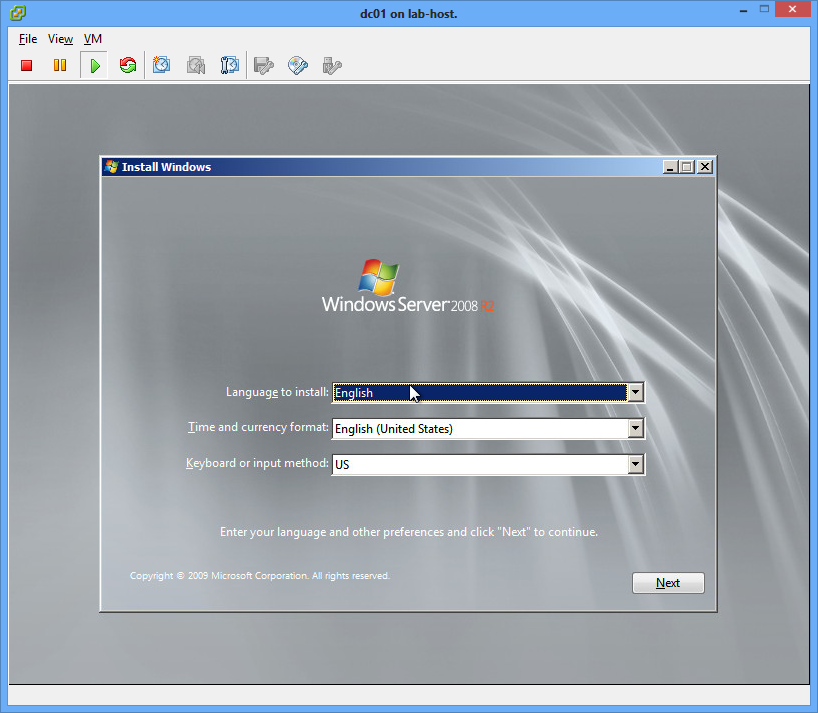
The installation of Windows 2008 is fairly simple and there are many guides available online to walk you through the installation process. If you need assistance, search google for further help.
In the next post, we’ll set up a domain and configure some other related services on the domain controller.
Lab-in-a-Box Series: 01 Introduction 02 ESXi Installation on Physical Hardware 03 Installation of vSphere Client 04 Lab Host Configuration 05 Domain Controller Setup 06 Domain and Related Services 07 Configuration of Virtual ESXi Servers 08 vCenter Server Setup 09 vCenter Server Configuration 10 Set up OpenFiler NAS 11 Set up iSCSI 12 Set up NFS 13 Set up Secondary Domain Controller 14 vMotion Tests
Leave a Reply