vSphere Lab-in-a-Box 04: Lab Host Configuration
Before we can create our virtual servers and virtual ESXi hosts, we need to configure the Lab Host for our virtual environment.
Hostname
Although it’s not strictly necessary, I like to configure my Lab Host with a suitable hostname.
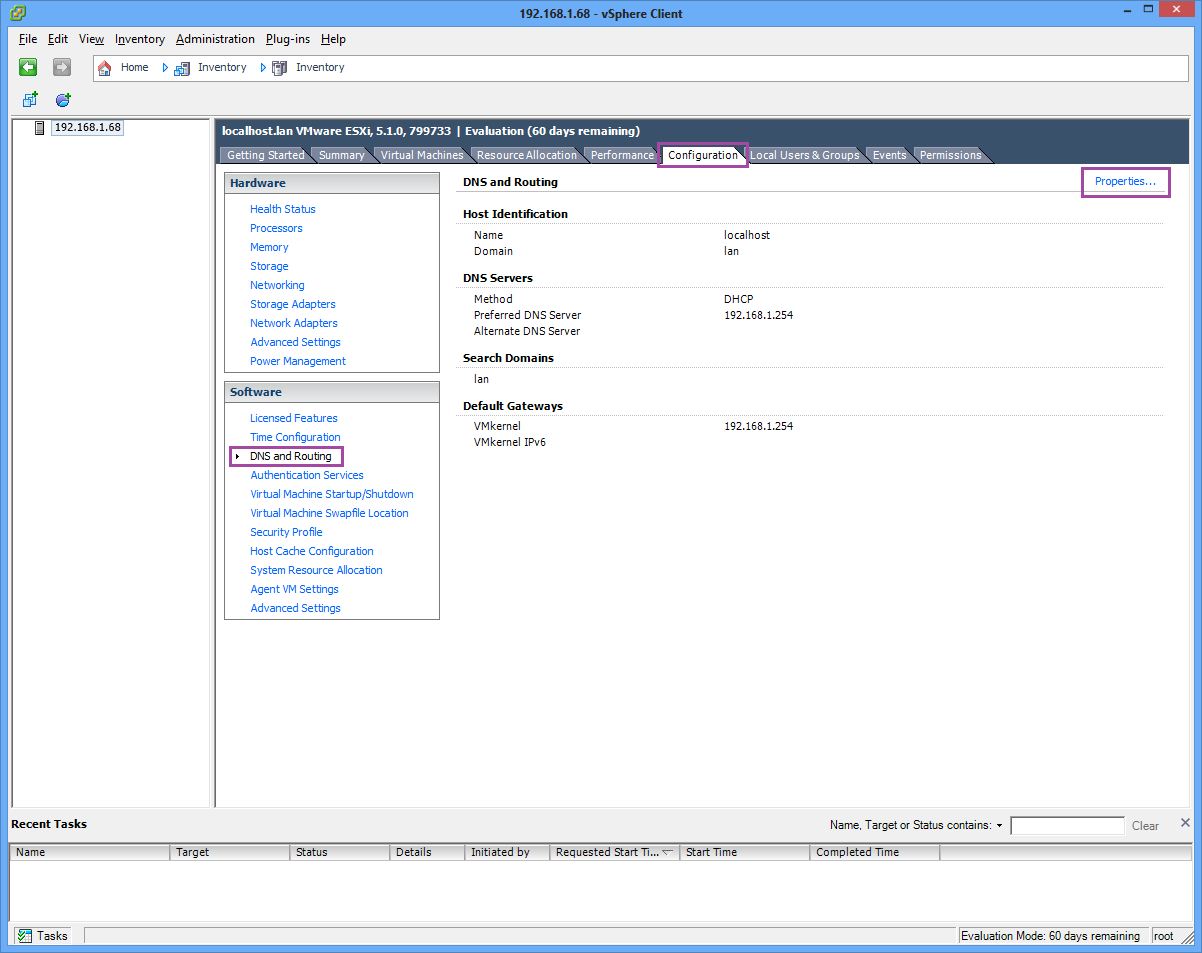
In the vSphere Client, click on the Configuration tab, DNS and Routing on the left, and Properties…
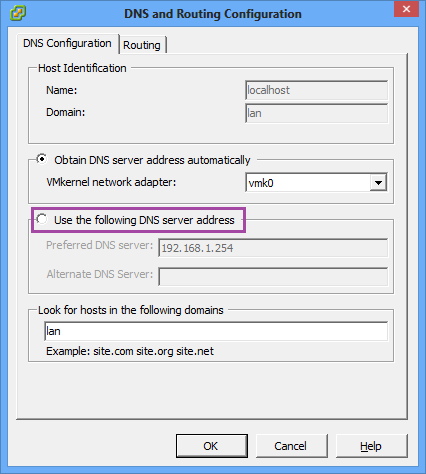
In order to change the hostname, you’ll need to choose “Use the following DNS server address”
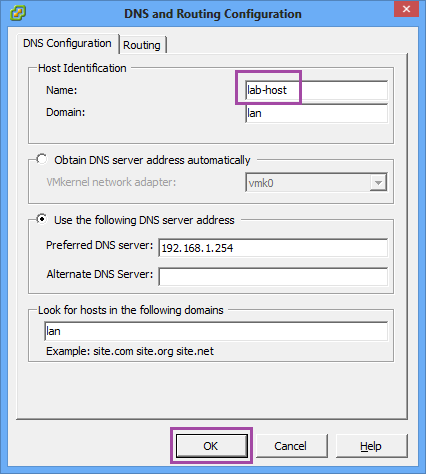
Set the Name and then click OK to save.
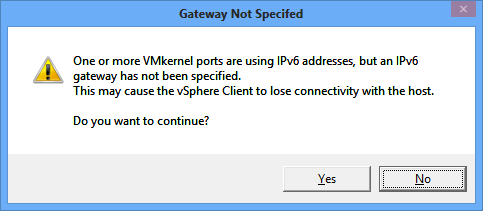
You will be prompted with a warning about having no IPv6 gateway. Since I don’t use IPv6 on my internal home network, I’m not bothered by this, so I just click Yes to continue.
If you want to set the DNS servers back to DHCP, simply open the Properties again, choose “Obtain DNS server address automatically” and OK to save.
Disks
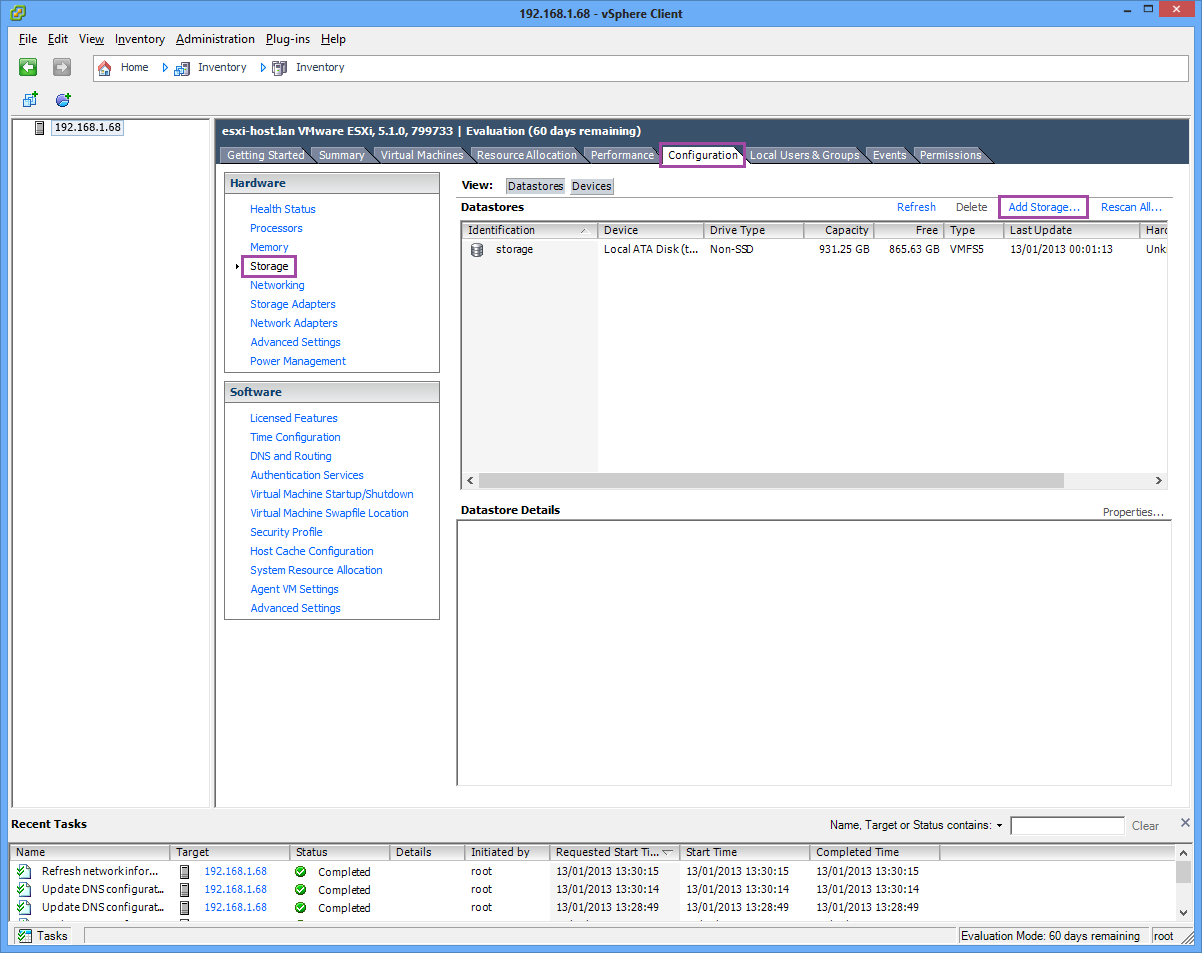
If you have more than a single disk in your Lab Host, you will need to add them as datastores in order to use them for VMs. If you have only one disk, then it will have been configured automatically by the ESXi setup process.
Click the Configuration tab, Storage on the left and then Add Storage…
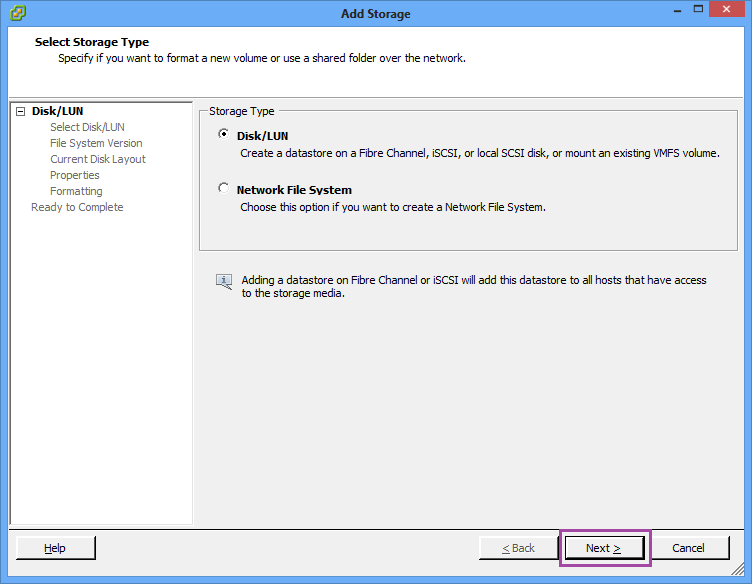
Click Next to configure a Disk
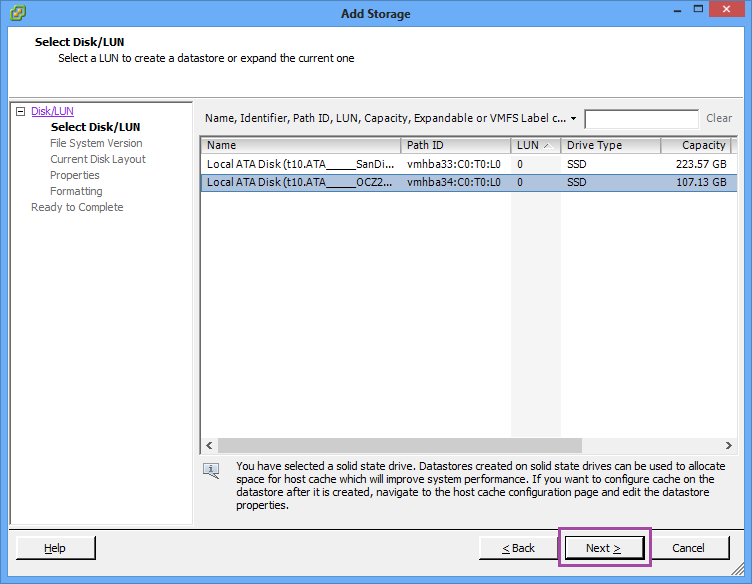
You will be presented with a list of unconfigured disks. Select the disk you want to configure and click Next.
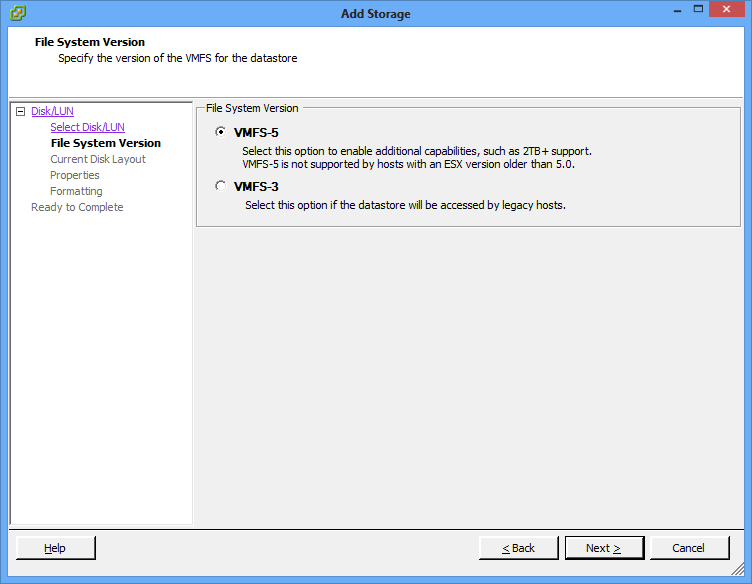
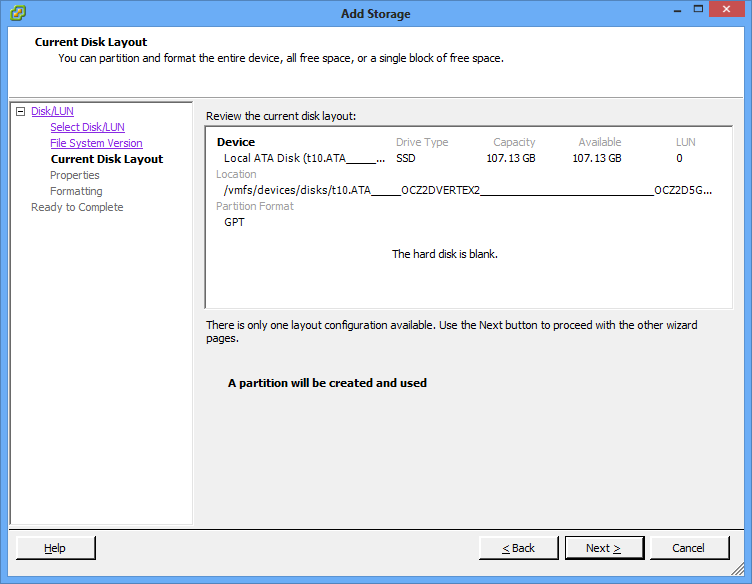
Leave the File System Version on VMFS-5
This hard disk is blank, so there is only one layout configuration
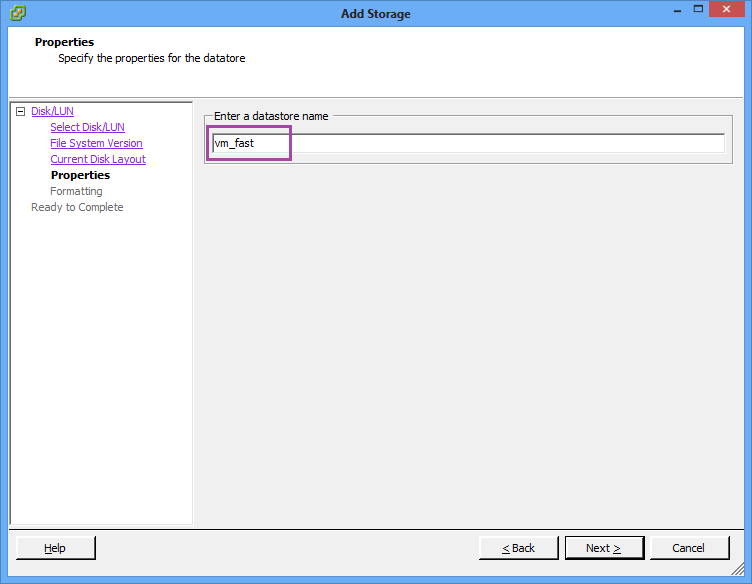
Give the datastore a name
I chose to use all available space, so I left it on the default
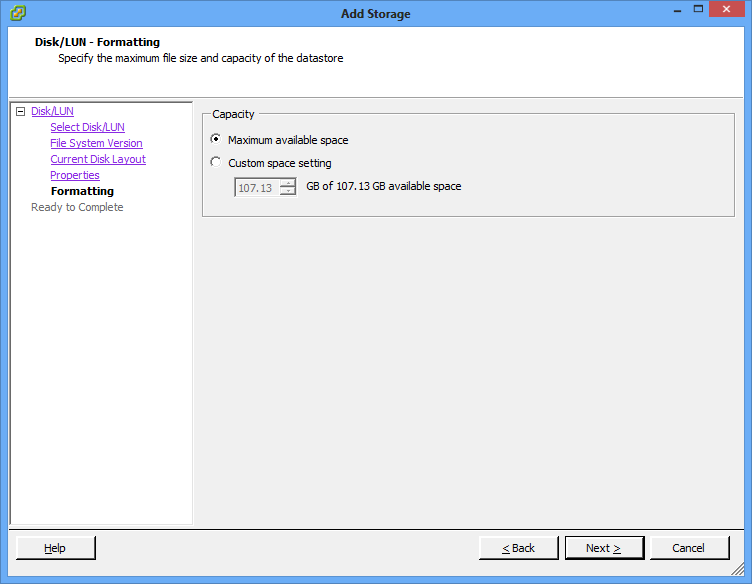
Click Finish to complete the disk setup.

After a short time, the datastore will appear in the list of storage devices.
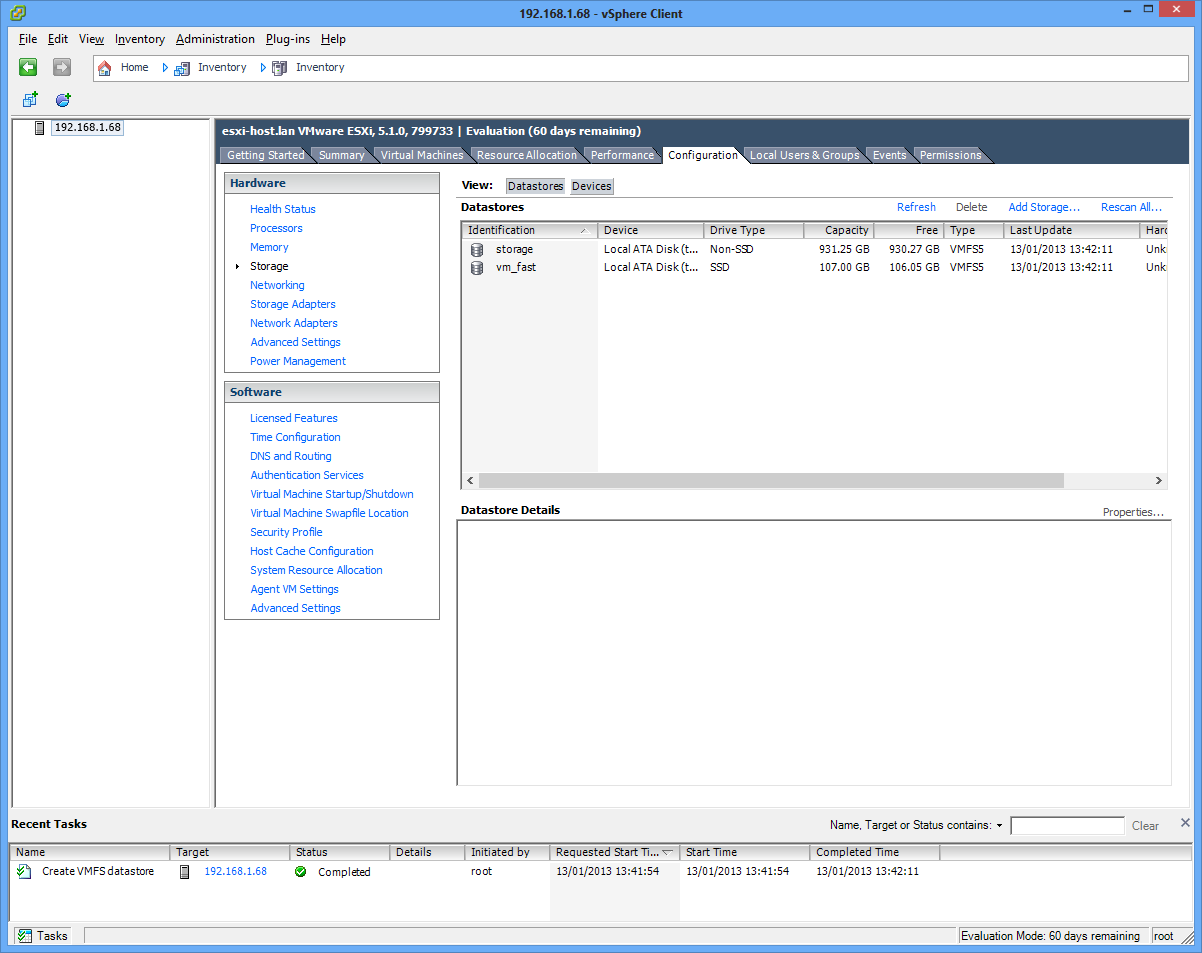
If you have further disks, repeat the same process for all of them.
Networking
Next, we’ll configure the virtual networking needed to let all the machines on our Lab Host talk to each other.
In addition to the network connected to the physical adapter (ie. your home network), 3 virtual networks will be created to simulate a common real-world configuration – having 6 network cards in a physical ESXi host, with each pair of network cards attached to one of the following networks:
- Management and vMotion – VMware management traffic (eg. vCenter) shares a network with vMotion traffic, which is common if you don’t have sufficient network cards to separate the traffic.
- Storage – all iSCSI and NFS traffic will go over this network.
- Virtual Machines – all virtual VMs set up on the virtual ESXi servers will communicate on this network.
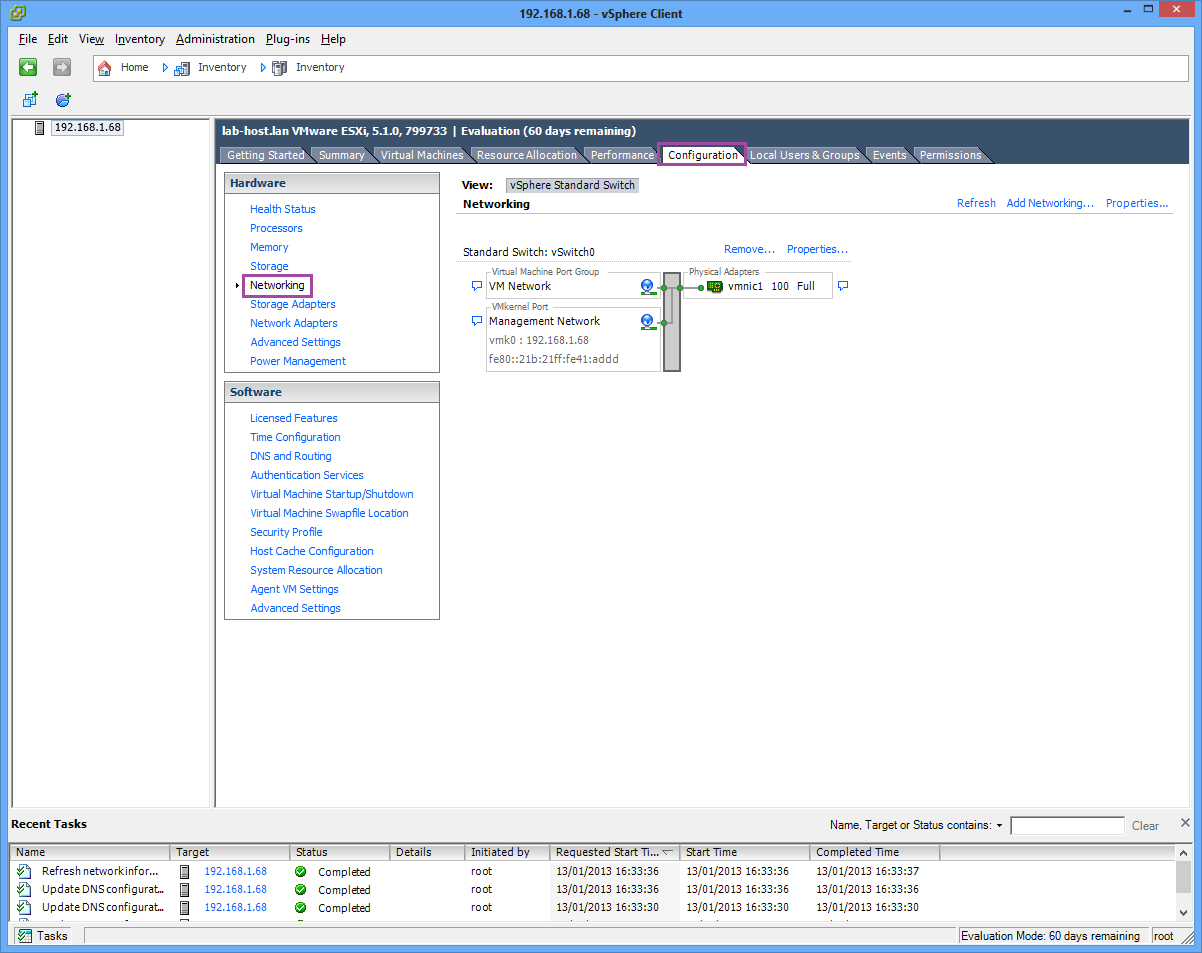
Go to the Configuration tab, then click Networking. You’ll be presented with the default setup.
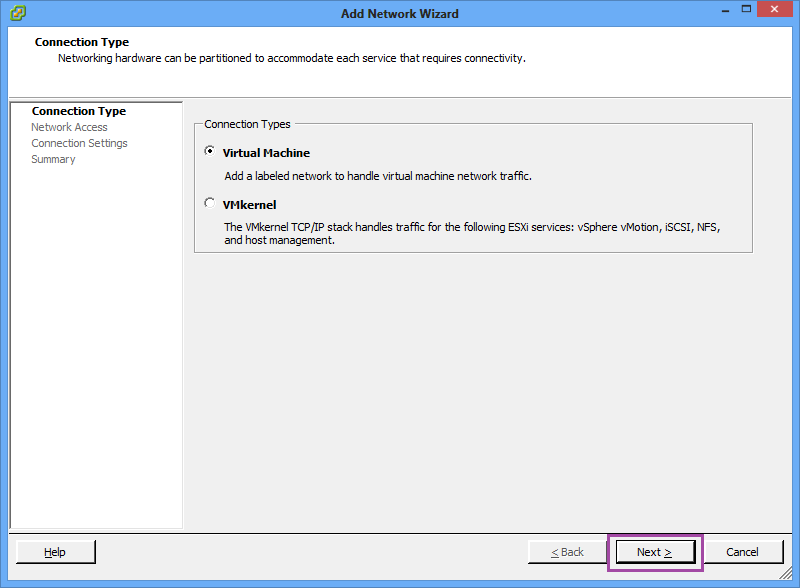
To add the first virtual switch, click on Add Networking… Click Next to create a Virtual Machine network.
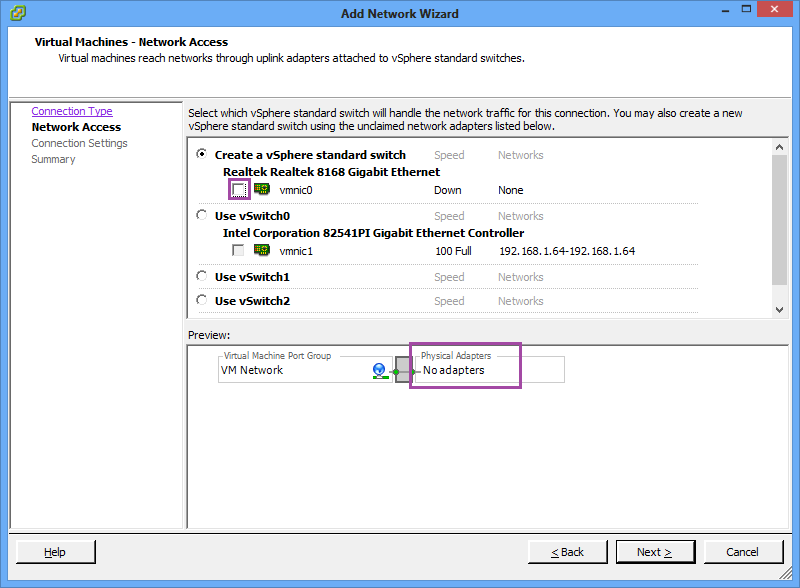
Untick any network adapters. On my Lab Host, the onboard network card is detected (although it doesn’t work), so I unticked it. In the preview there should be no adapters connected.
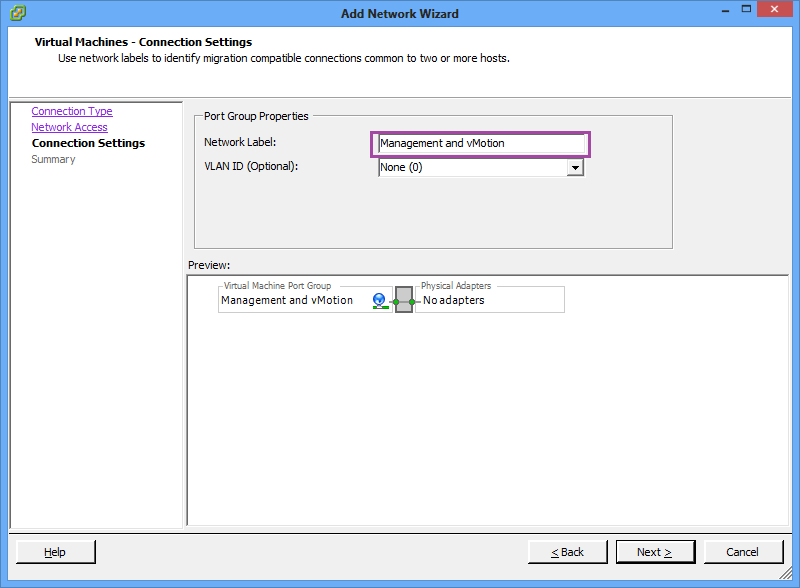
Change the Network Label to Management and vMotion.
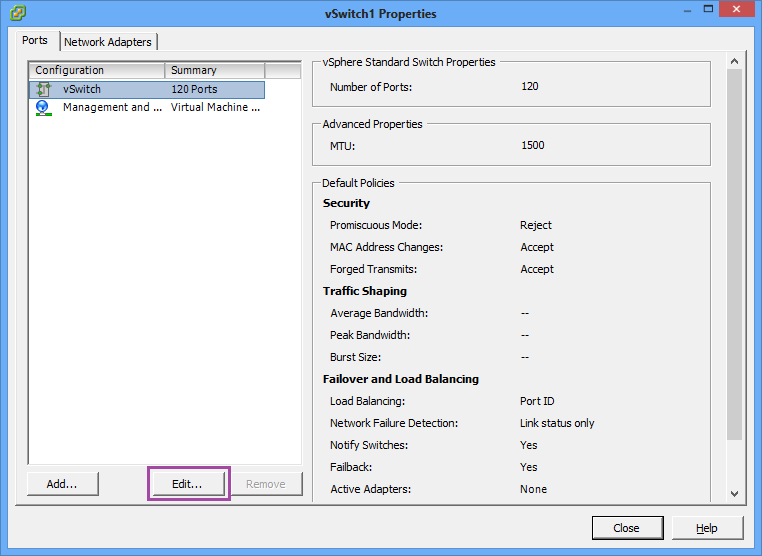
Click Finish to create vSwitch1. Once it has been created, click Properties… next to vSwitch1.

Click on vSwitch in the left column and then Edit…
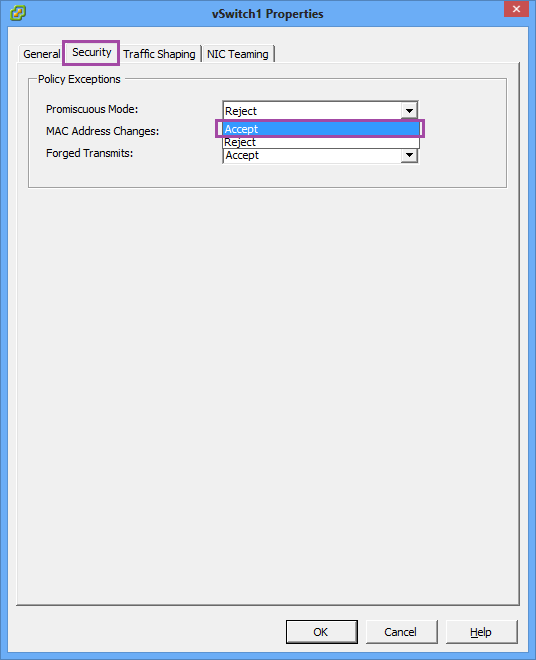
Click on the Security tab and change Promiscuous Mode to Accept before clicking OK. You will receive a warning regarding having no active NICs, just click Yes to continue.
Close the vSwitch1 configuration.
Perform the same procedure to create 2 additional vSwitches, named “Storage” and “Virtual Machines“, making sure to enable promiscuous mode on them as well. In order to reduce confusion when adding network cards to virtual machines, I rename the “VM Network” under vSwitch0 to “Home LAN“. You will be left with a setup like below:

That completes the configuration of the Lab Host. In the next post we’ll configure the first virtual server: the Domain Controller.
Lab-in-a-Box Series: 01 Introduction 02 ESXi Installation on Physical Hardware 03 Installation of vSphere Client 04 Lab Host Configuration 05 Domain Controller Setup 06 Domain and Related Services 07 Configuration of Virtual ESXi Servers 08 vCenter Server Setup 09 vCenter Server Configuration 10 Set up OpenFiler NAS 11 Set up iSCSI 12 Set up NFS 13 Set up Secondary Domain Controller 14 vMotion Tests
Leave a Reply