MDT 2013 Guide 10: Capturing the Gold Image
This post will deal with phase 2 of the deployment – capturing the gold image and importing it into MDT.
Capturing the Gold Image
This is the easy part. Simply double-click on the Resume Task Sequence shortcut and the virtual machine should start the sysprep and capture process.
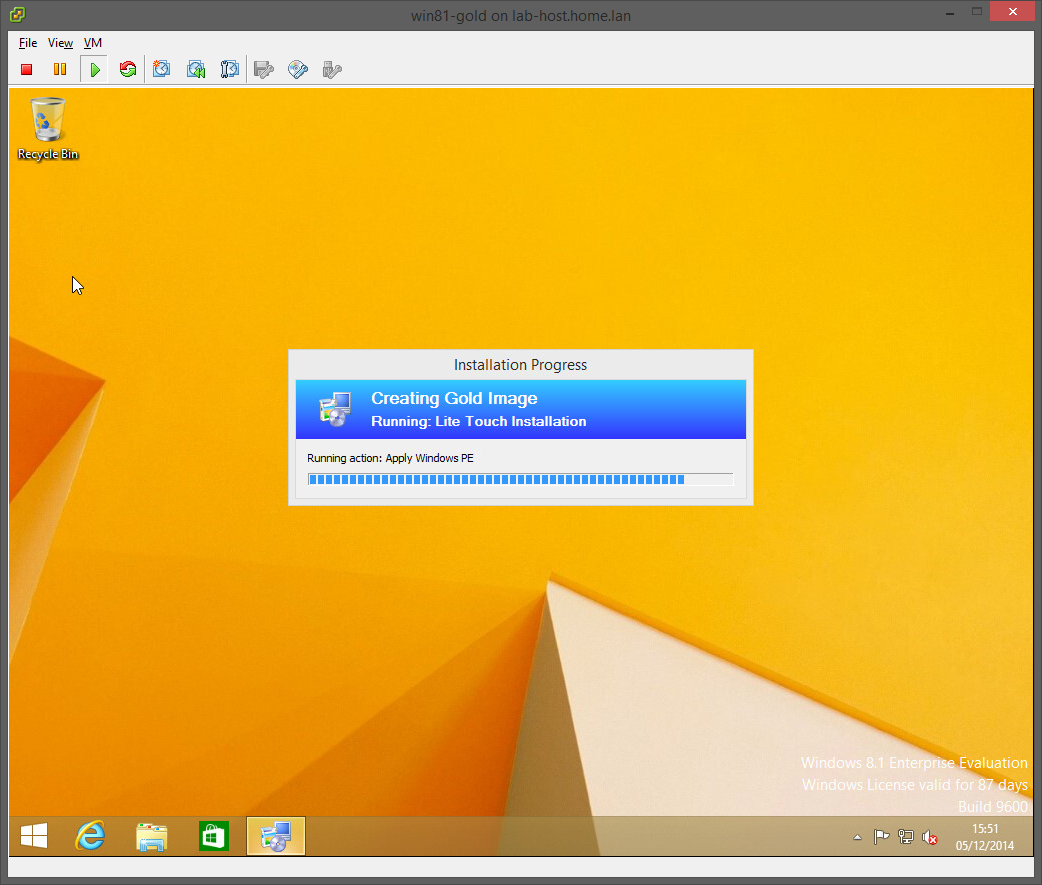
It will then reboot back into Windows PE and capture the WIM file.
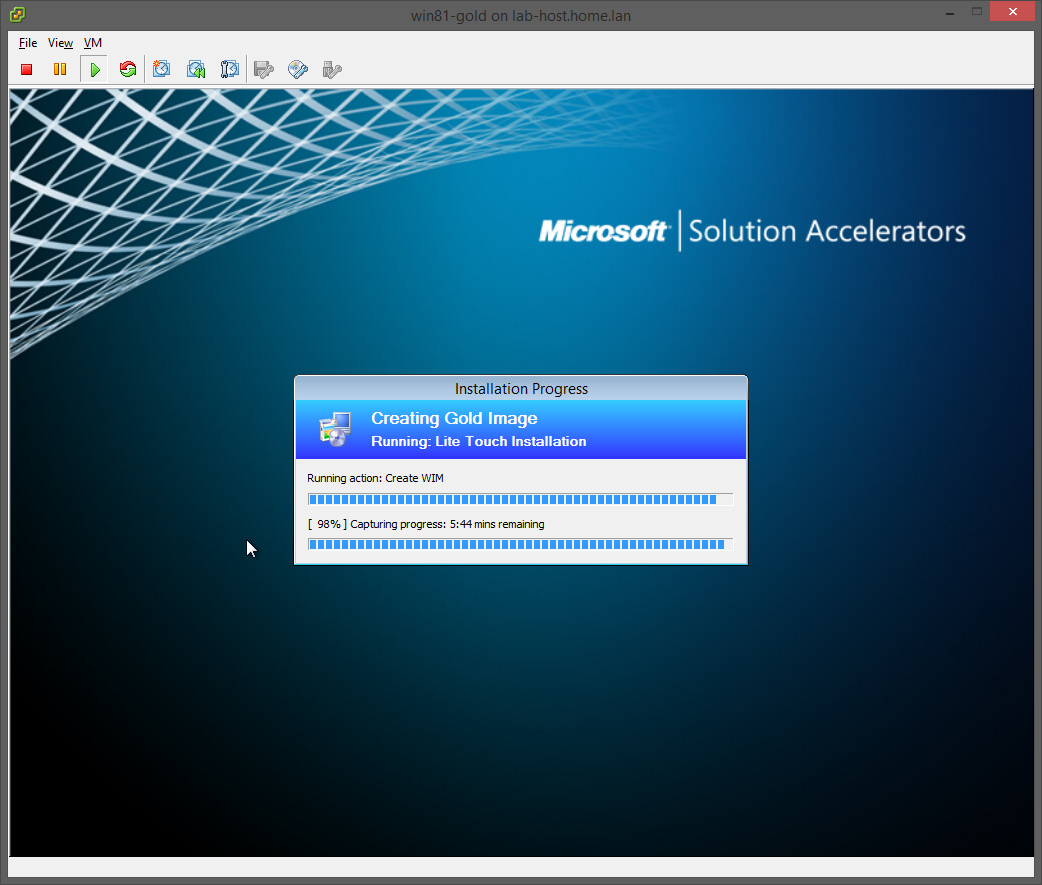
The virtual machine will power down when it is complete.
Importing the Gold Image
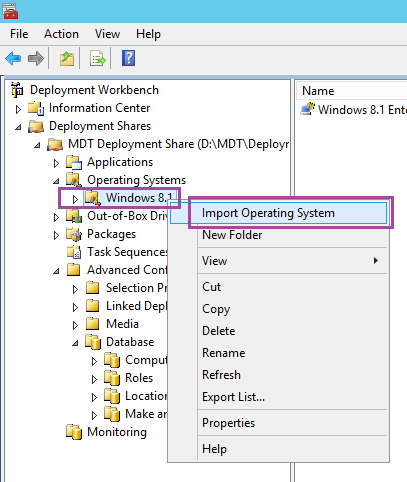
On the MDT server, open Deployment Workbench. Navigate to Operating Systems – Windows 8.1. Right-click and choose Import Operating System.
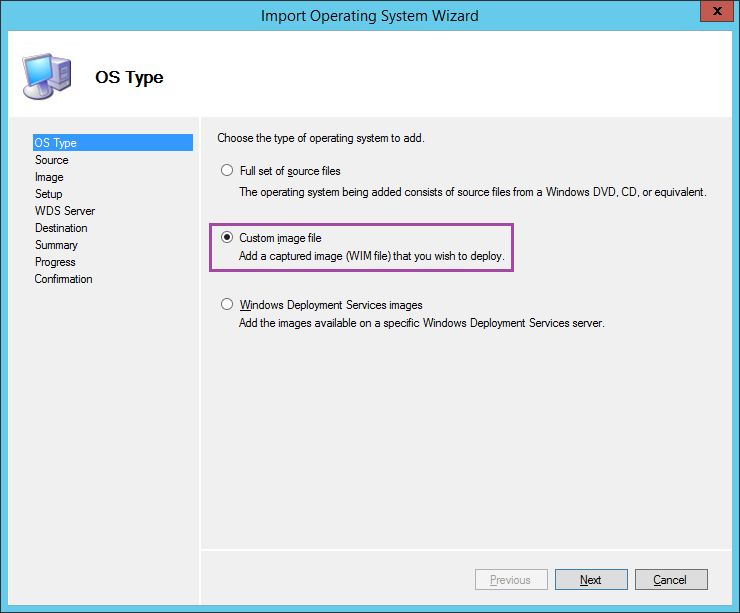
Choose Custom image file.
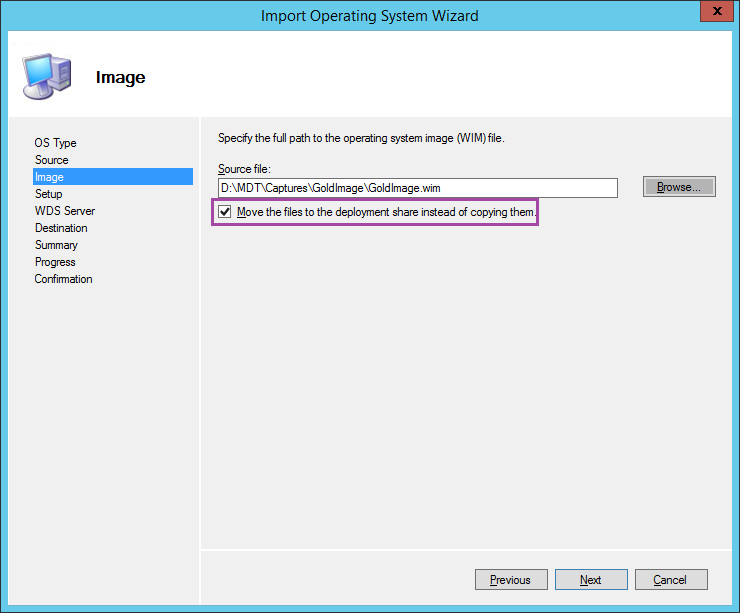
Click Browse… and navigate to D:\MDT\Captures\GoldImage. Select the GoldImage.wim file.

Tick the box marked Move the files to the deployment share instead of copying them.
When prompted for a destination directory name, I like to add the date into the directory name, as it makes it easy to see how old the image is, as well as work out which security updates have been applied to it.
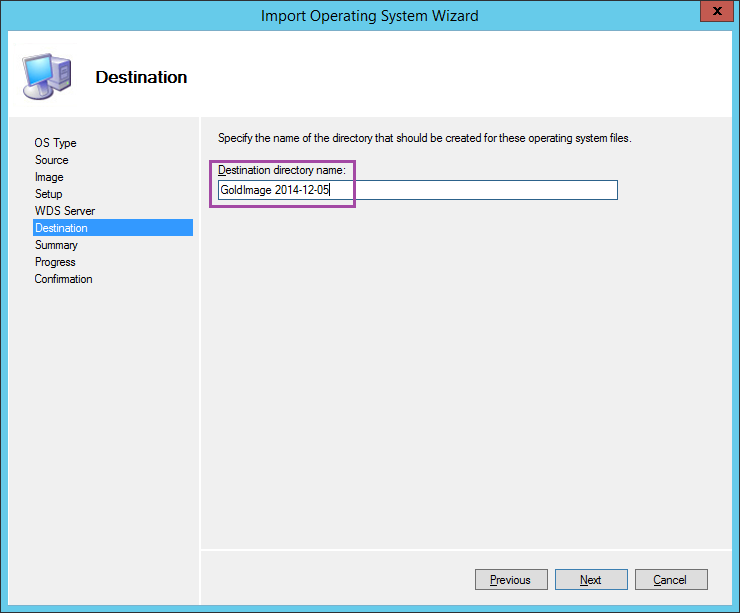
After it has been imported, I rename it.

Conclusion
We have now completed phase 2 – Capturing the Gold Image. Next we will create a deployment task sequence using the gold image.
MDT2013 Series:
01 Intro and Active Directory Setup
02 MDT Software Installation
03 Deployment Share and MDT Database Setup
04 Network Access Permissions
05 Application and OS
06 Creating Build Task Sequence
07 MDT Database
08 WDS and PXE Booting
09 Creating the Gold Image
10 Capturing the Gold Image
11 Creating Deployment Task Sequence
12 Deployment Role and Computer Object
Leave a Reply