MDT 2013 Guide 03: Create Deployment Share and Set Up Database
In this post we will start the configuration of the MDT environment by setting up the Deployment Share and the MDT database.
Deployment Share
The first thing we’ll need to create is a Deployment Share, which is where MDT will store all the files it requires to complete the deployment process.
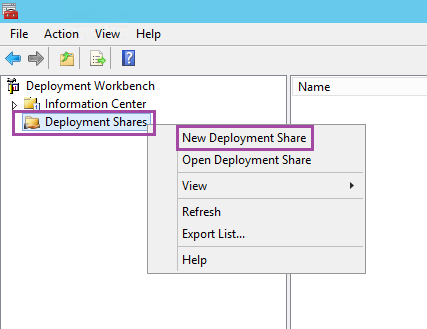
Open Deployment Workbench, right-click on Deployment Shares and choose New Deployment Share.
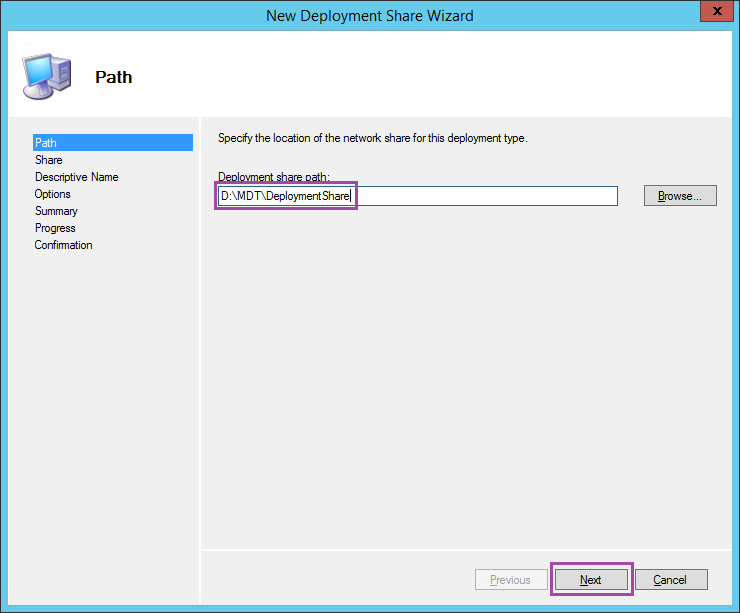
Choose a folder to store all the files. I like to keep all MDT-related files, including the Deployment Share, under a top level MDT folder for easier organisation. To to this, click Browse… next to Deployment share path. I create the folder D:\MDT and then set the Deployment share path to D:\MDT\DeploymentShare.
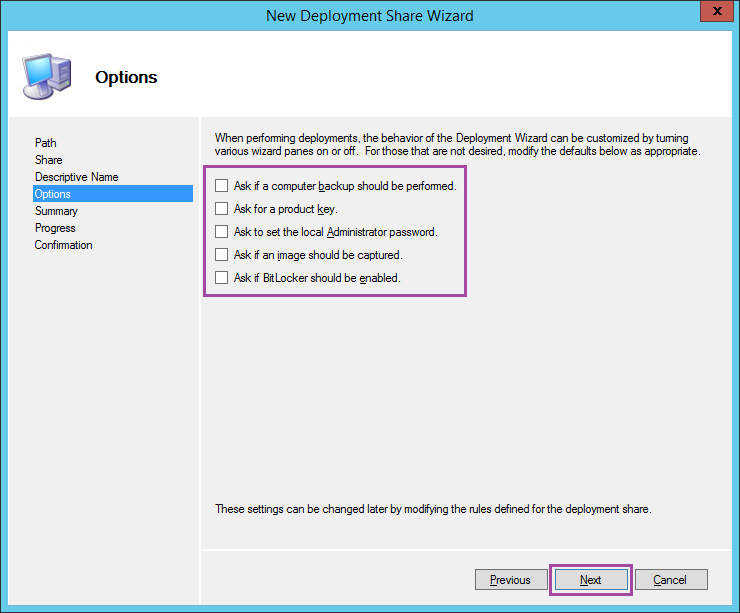
The share name and description are fine left on the defaults. When prompted by the Options page, deselect all the options. We will control all these options within the settings file, so it’s unnecessary to set any of them here. Click Next and then Finish to complete.
MDT Database
Next to set up is the MDT database.
In a fully automated (zero touch) deployment, all configuration settings in MDT can either be read from the configuration file (CustomSettings.ini) or from the MDT database. For a small environment, it’s quite possible to simply set everything in the configuration file and ignore the database completely. But for a larger environment, the database makes sense, as it’s much easier to script a large number of additions and/or changes. Since I like my lab environment to mimic a live environment as much as possible, we’ll set up the database here too.
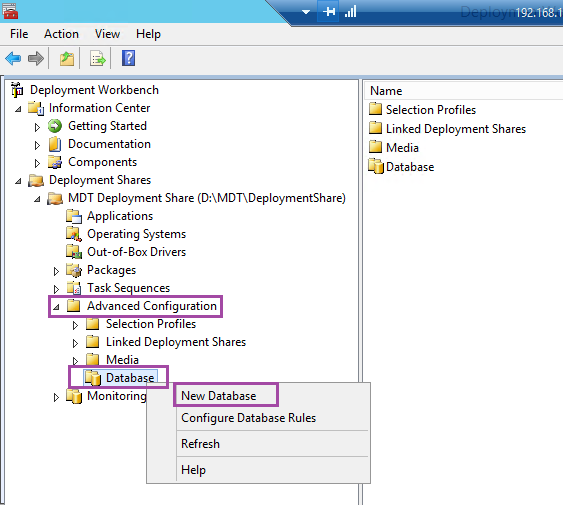
Open MDT Deployment Share – Advanced Configuration, right-click on Database and choose New Database.
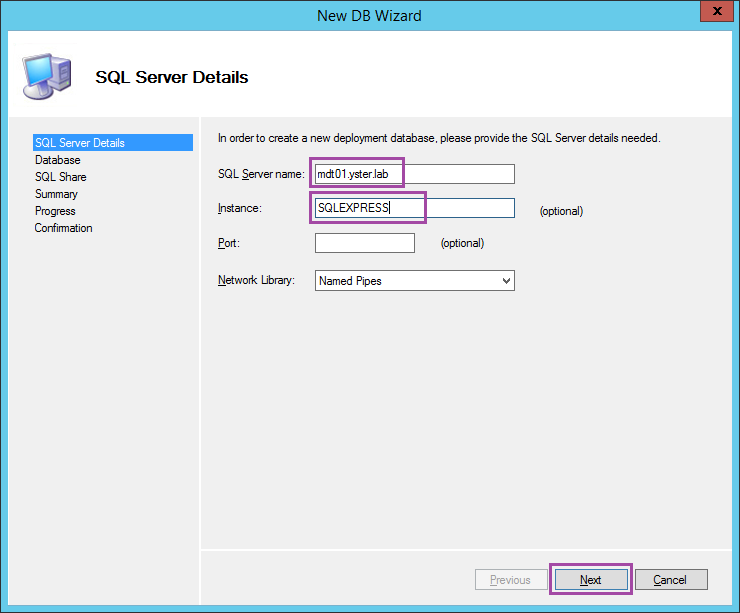
Enter the name of your MDT server (I always use the FQDN) and the Instance as SQLEXPRESS.
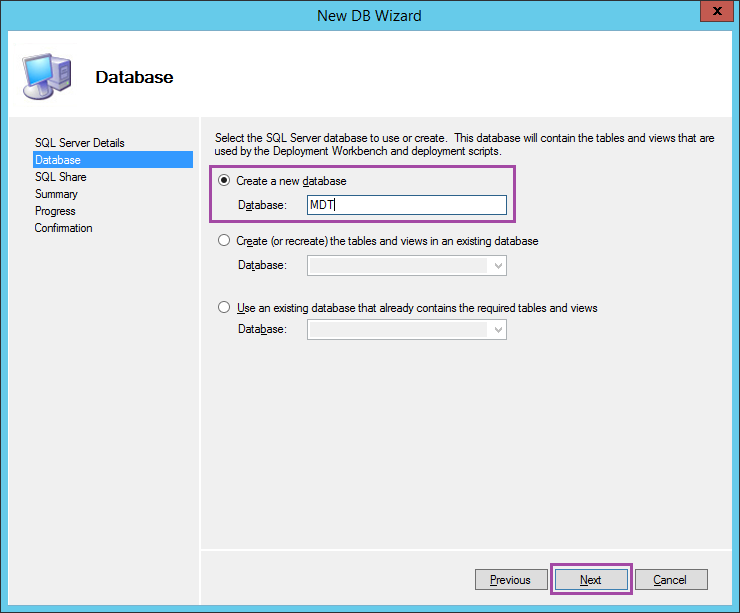
Choose Create a new database and call it MDT.
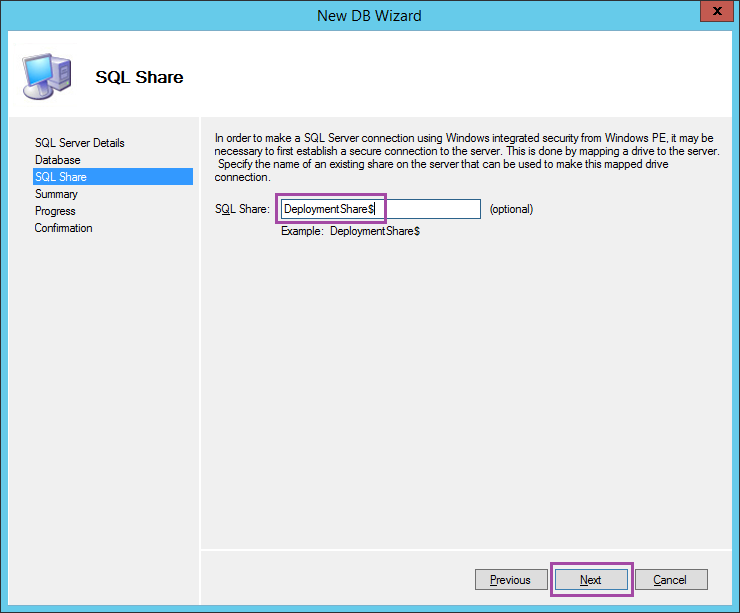
Enter DeploymentShare$ as the SQL Share before clicking Next and then Finish.
Right-click on Database and choose Configure Database Rules.
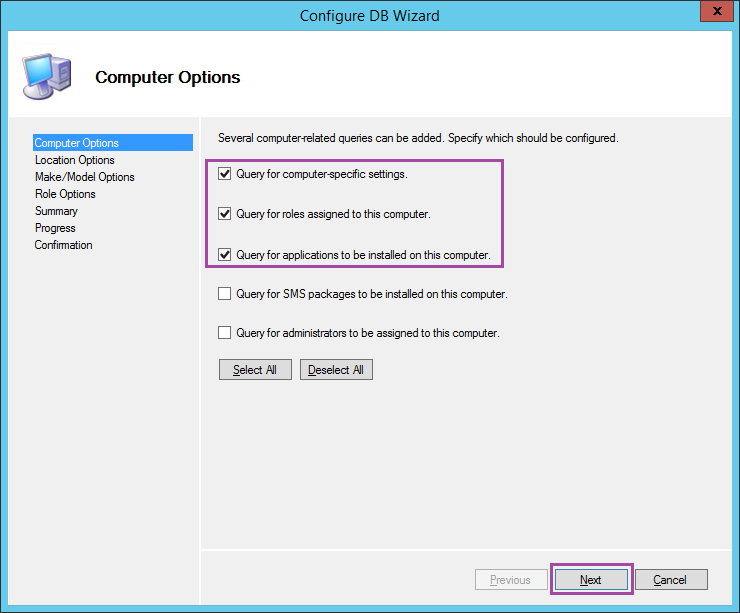
The options presented in the next wizard tell MDT which things to look up in the database and which things to look up in the configuration file. Leaving all of the items on all the pages ticked is certainly possible, however it’s best practice only to query the database for the items that will likely be set within. A large number of unnecessary database queries might slow the deployment a little, although nowadays it’s probably negligible.
For this lab though, tick only the first 3 items under Computer Options.
Untick all the items under Location Options and Make/Model Options, as my lab has only one location and I’m only deploying to a single type of hardware.
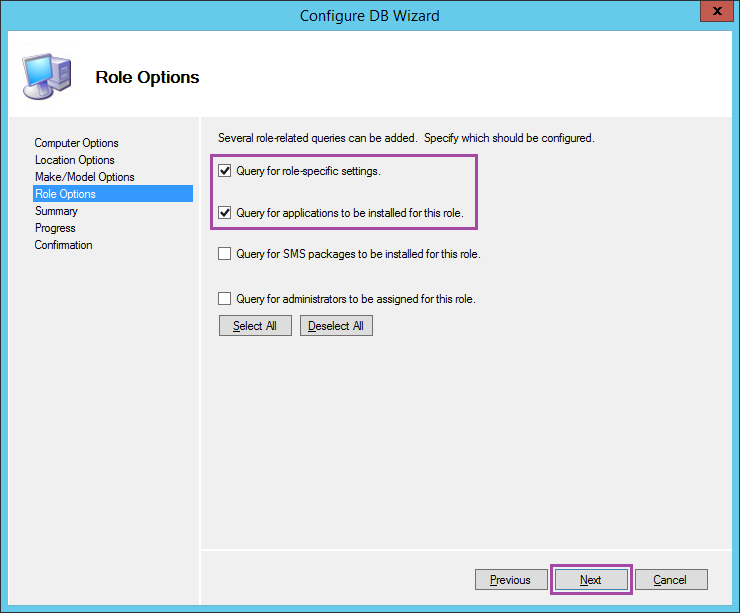
On the Role Options page, tick only the first 2 items.
Click Next until the wizard completes.
Conclusion
The initial configuration of the MDT Deployment Share is complete. The next step will be to set up a user account for access to the Deployment Share and database.
MDT2013 Series:
01 Intro and Active Directory Setup
02 MDT Software Installation
03 Deployment Share and MDT Database Setup
04 Network Access Permissions
05 Application and OS
06 Creating Build Task Sequence
07 MDT Database
08 WDS and PXE Booting
09 Creating the Gold Image
10 Capturing the Gold Image
11 Creating Deployment Task Sequence
12 Deployment Role and Computer Object
Leave a Reply